
I have been making this toffee now for about 50 years. I don’t make it every year, because frankly, I can’t stop eating most of it myself. It is truly my favorite candy. It’s basically better than Almond Roca. And I know, is that even possible? But you’ve just got to trust me here. It is better, and a hell of a lot cheaper and fresher than the stuff you get in a can. (No offense, Brown & Haley!) And the best part of all, it’s really easy to make. You do, however, need a heavy pan (I use one of my smaller Le Creuset Dutch ovens) and a good candy thermometer. And you must have patience. Not easy at Christmas time. But a must if you are going to produce perfect toffee.
Anyway, as you can see from the list of ingredients, this is not a complicated recipe. In fact, if you use salted butter you don’t even need the ¼ teaspoon of salt. So, it would take a little bit of work to find a candy recipe with fewer ingredients.
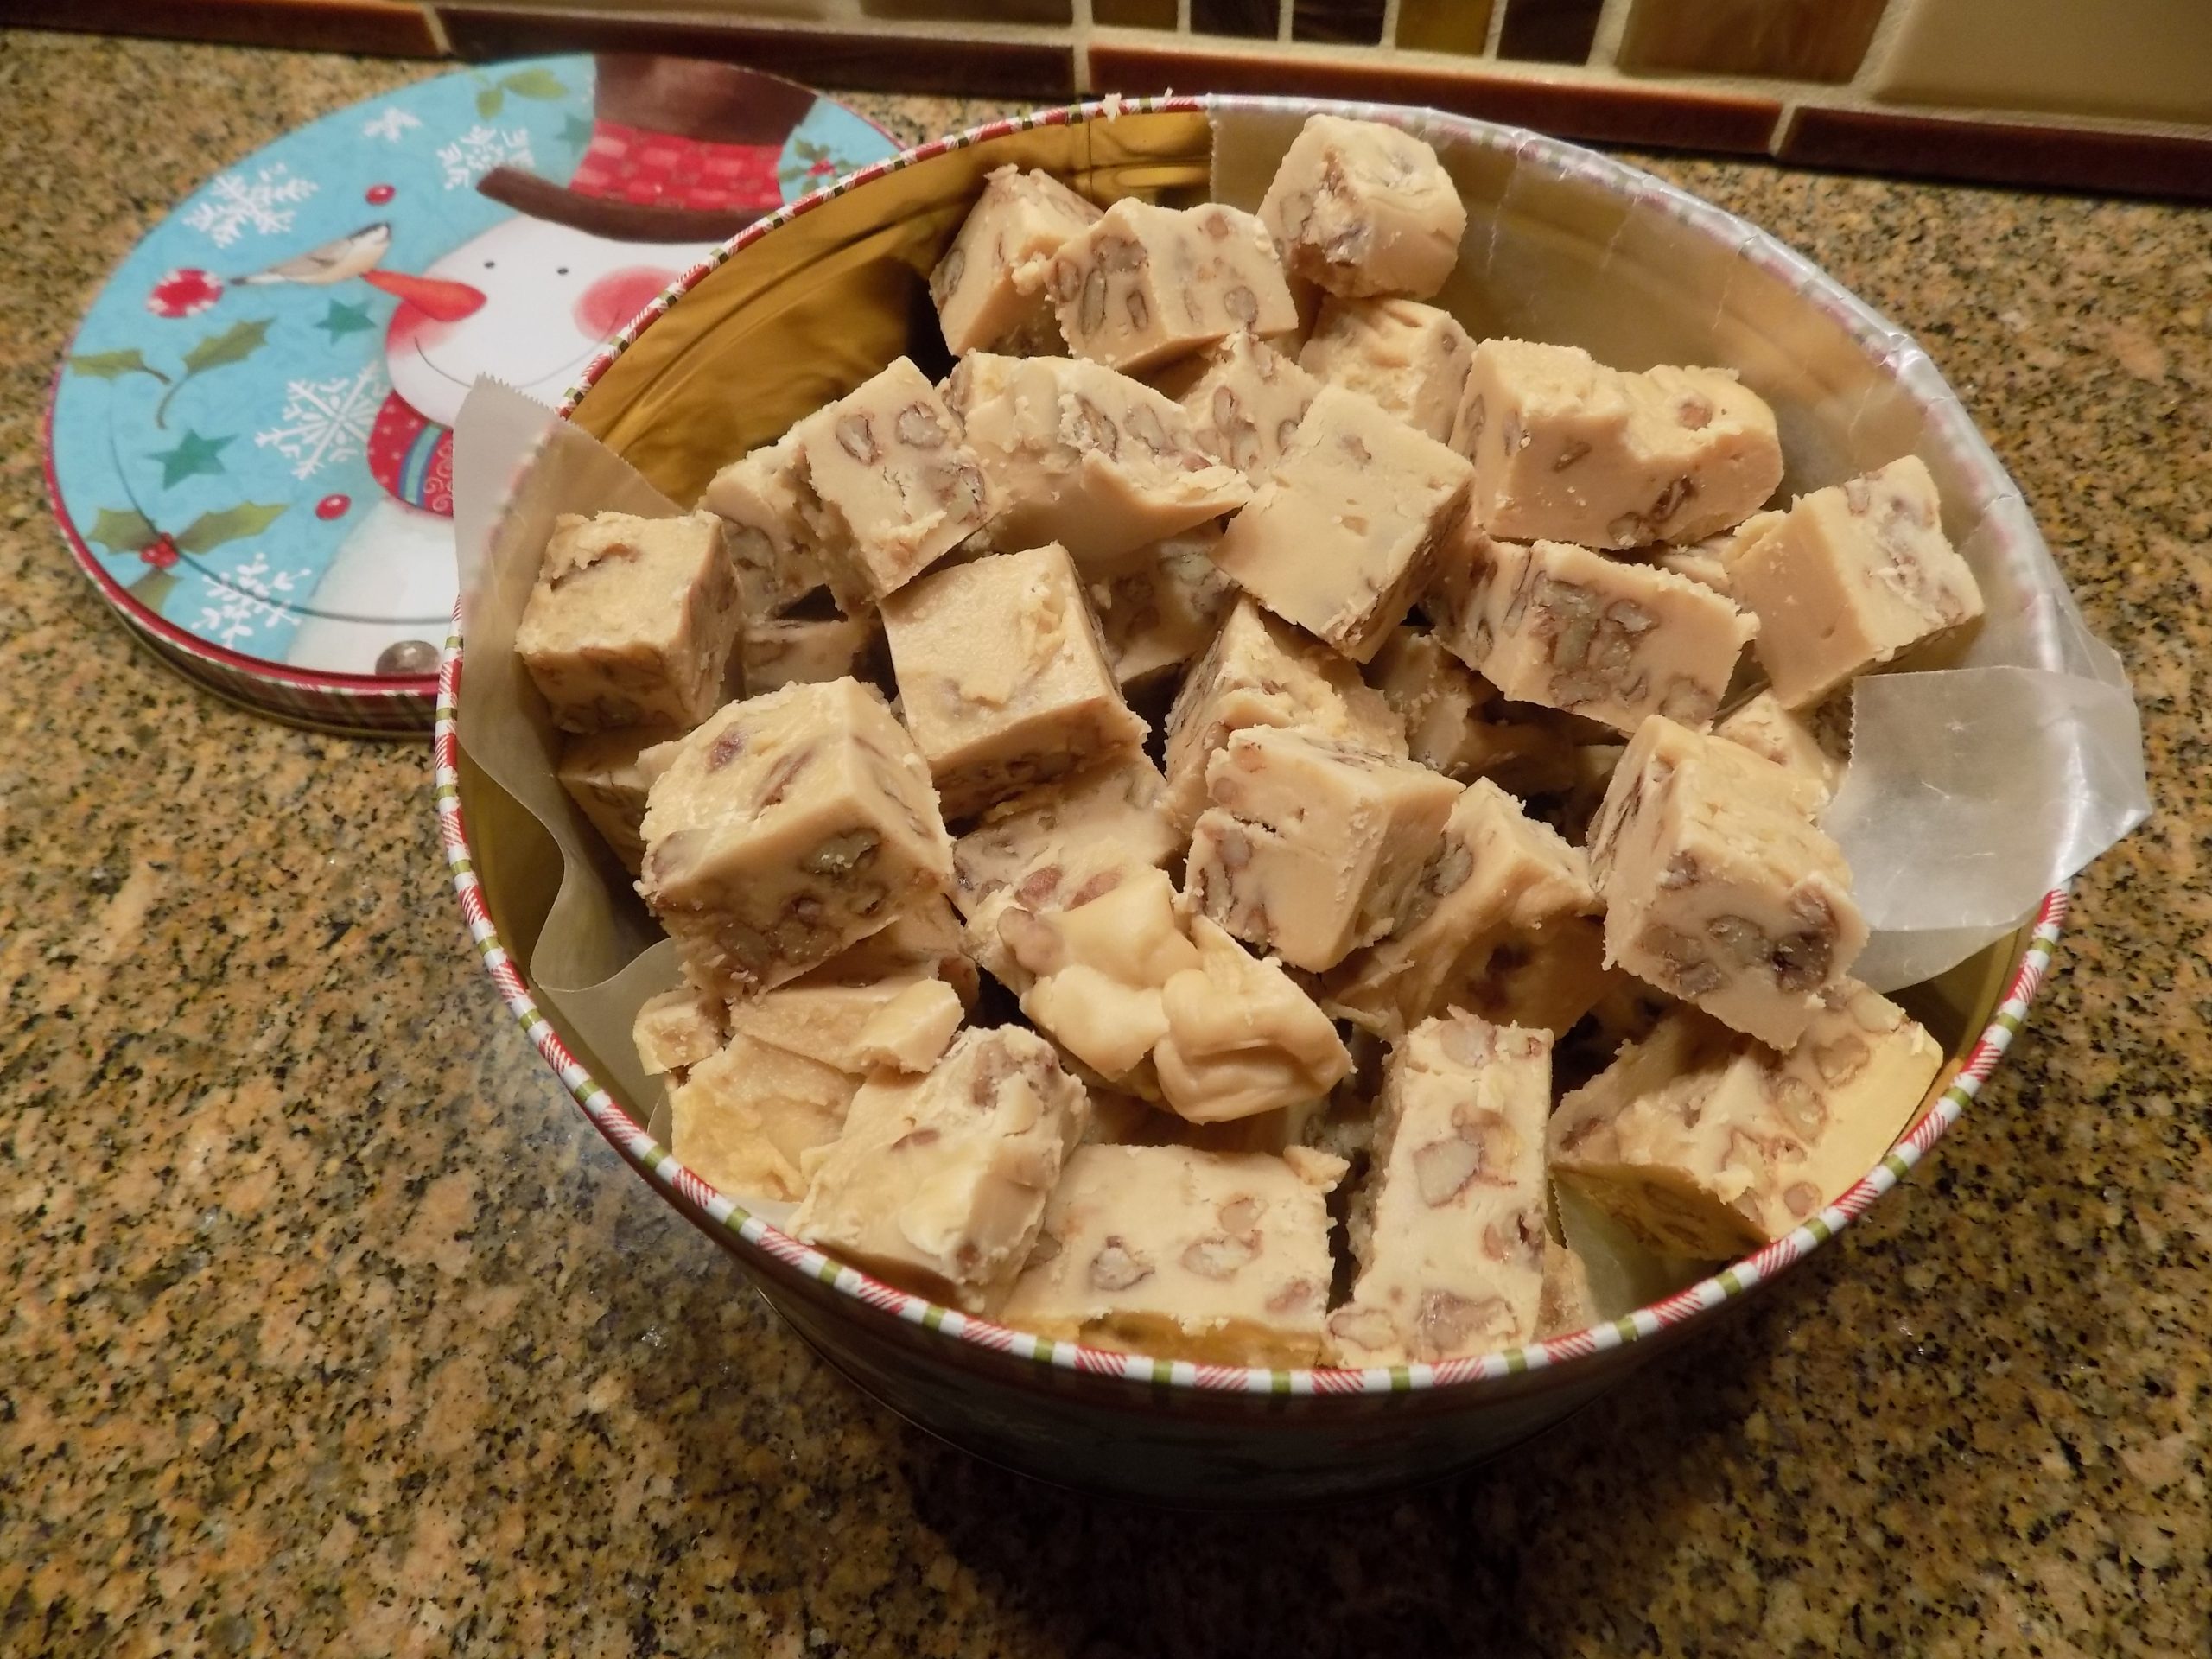
The only thing I have left to say about this candy, is that it makes a wonderful hostess gift, or a thank you offering, or a way to say Merry Christmas to loved ones. Once you make this candy however, there’s no turning back. It will haunt you every Christmas if you don’t make it. It’s kind of like being a character in the Nutcracker. You can just be lying in bed trying to go to sleep when a vision of English toffee dances through your head. Believe me, it has happened to me more than once. So, don’t let that happen to you.
As always, have fun in your kitchen. Create delicious and healthy food for yourself and your family. And this Christmas, let’s all be especially grateful for our many blessings. And thankful for those special friends and relatives that so greatly enrich our lives.
In years past, it has been all too easy for me to take my family and close friends somewhat for granted. This year, if there has been any positive outcome to all the stress and sacrifice, it’s been my realization of how much I love and cherish my dear friends and my amazing family. Their importance in my life will never again be considered a given. Peace, joy, and love to all.
1 lb. (4 sticks) unsalted butter
2 c. granulated sugar
¼ tsp. kosher salt
2 c. milk or semi-sweet chocolate chips (I use a combination)
1-1½ c. chopped toasted almonds
Line an 18 x 12-inch jelly roll pan (also called a half-sheet pan) with parchment paper.
Using your favorite wooden spoon, combine the butter, sugar, and salt in a heavy saucepan. Bring to a boil over medium low heat, stirring constantly to dissolve the sugar. Once the candy is boiling, reduce the heat a bit and slowly and evenly stir the mixture until the candy reaches 300 degrees. (I find myself adjusting the heat the whole time I am making this toffee. If it seems to be getting too hot, I turn down the heat. If it appears not to be getting any hotter, I add a few more BTUs. Kind of a constant reevaluation of existing conditions.
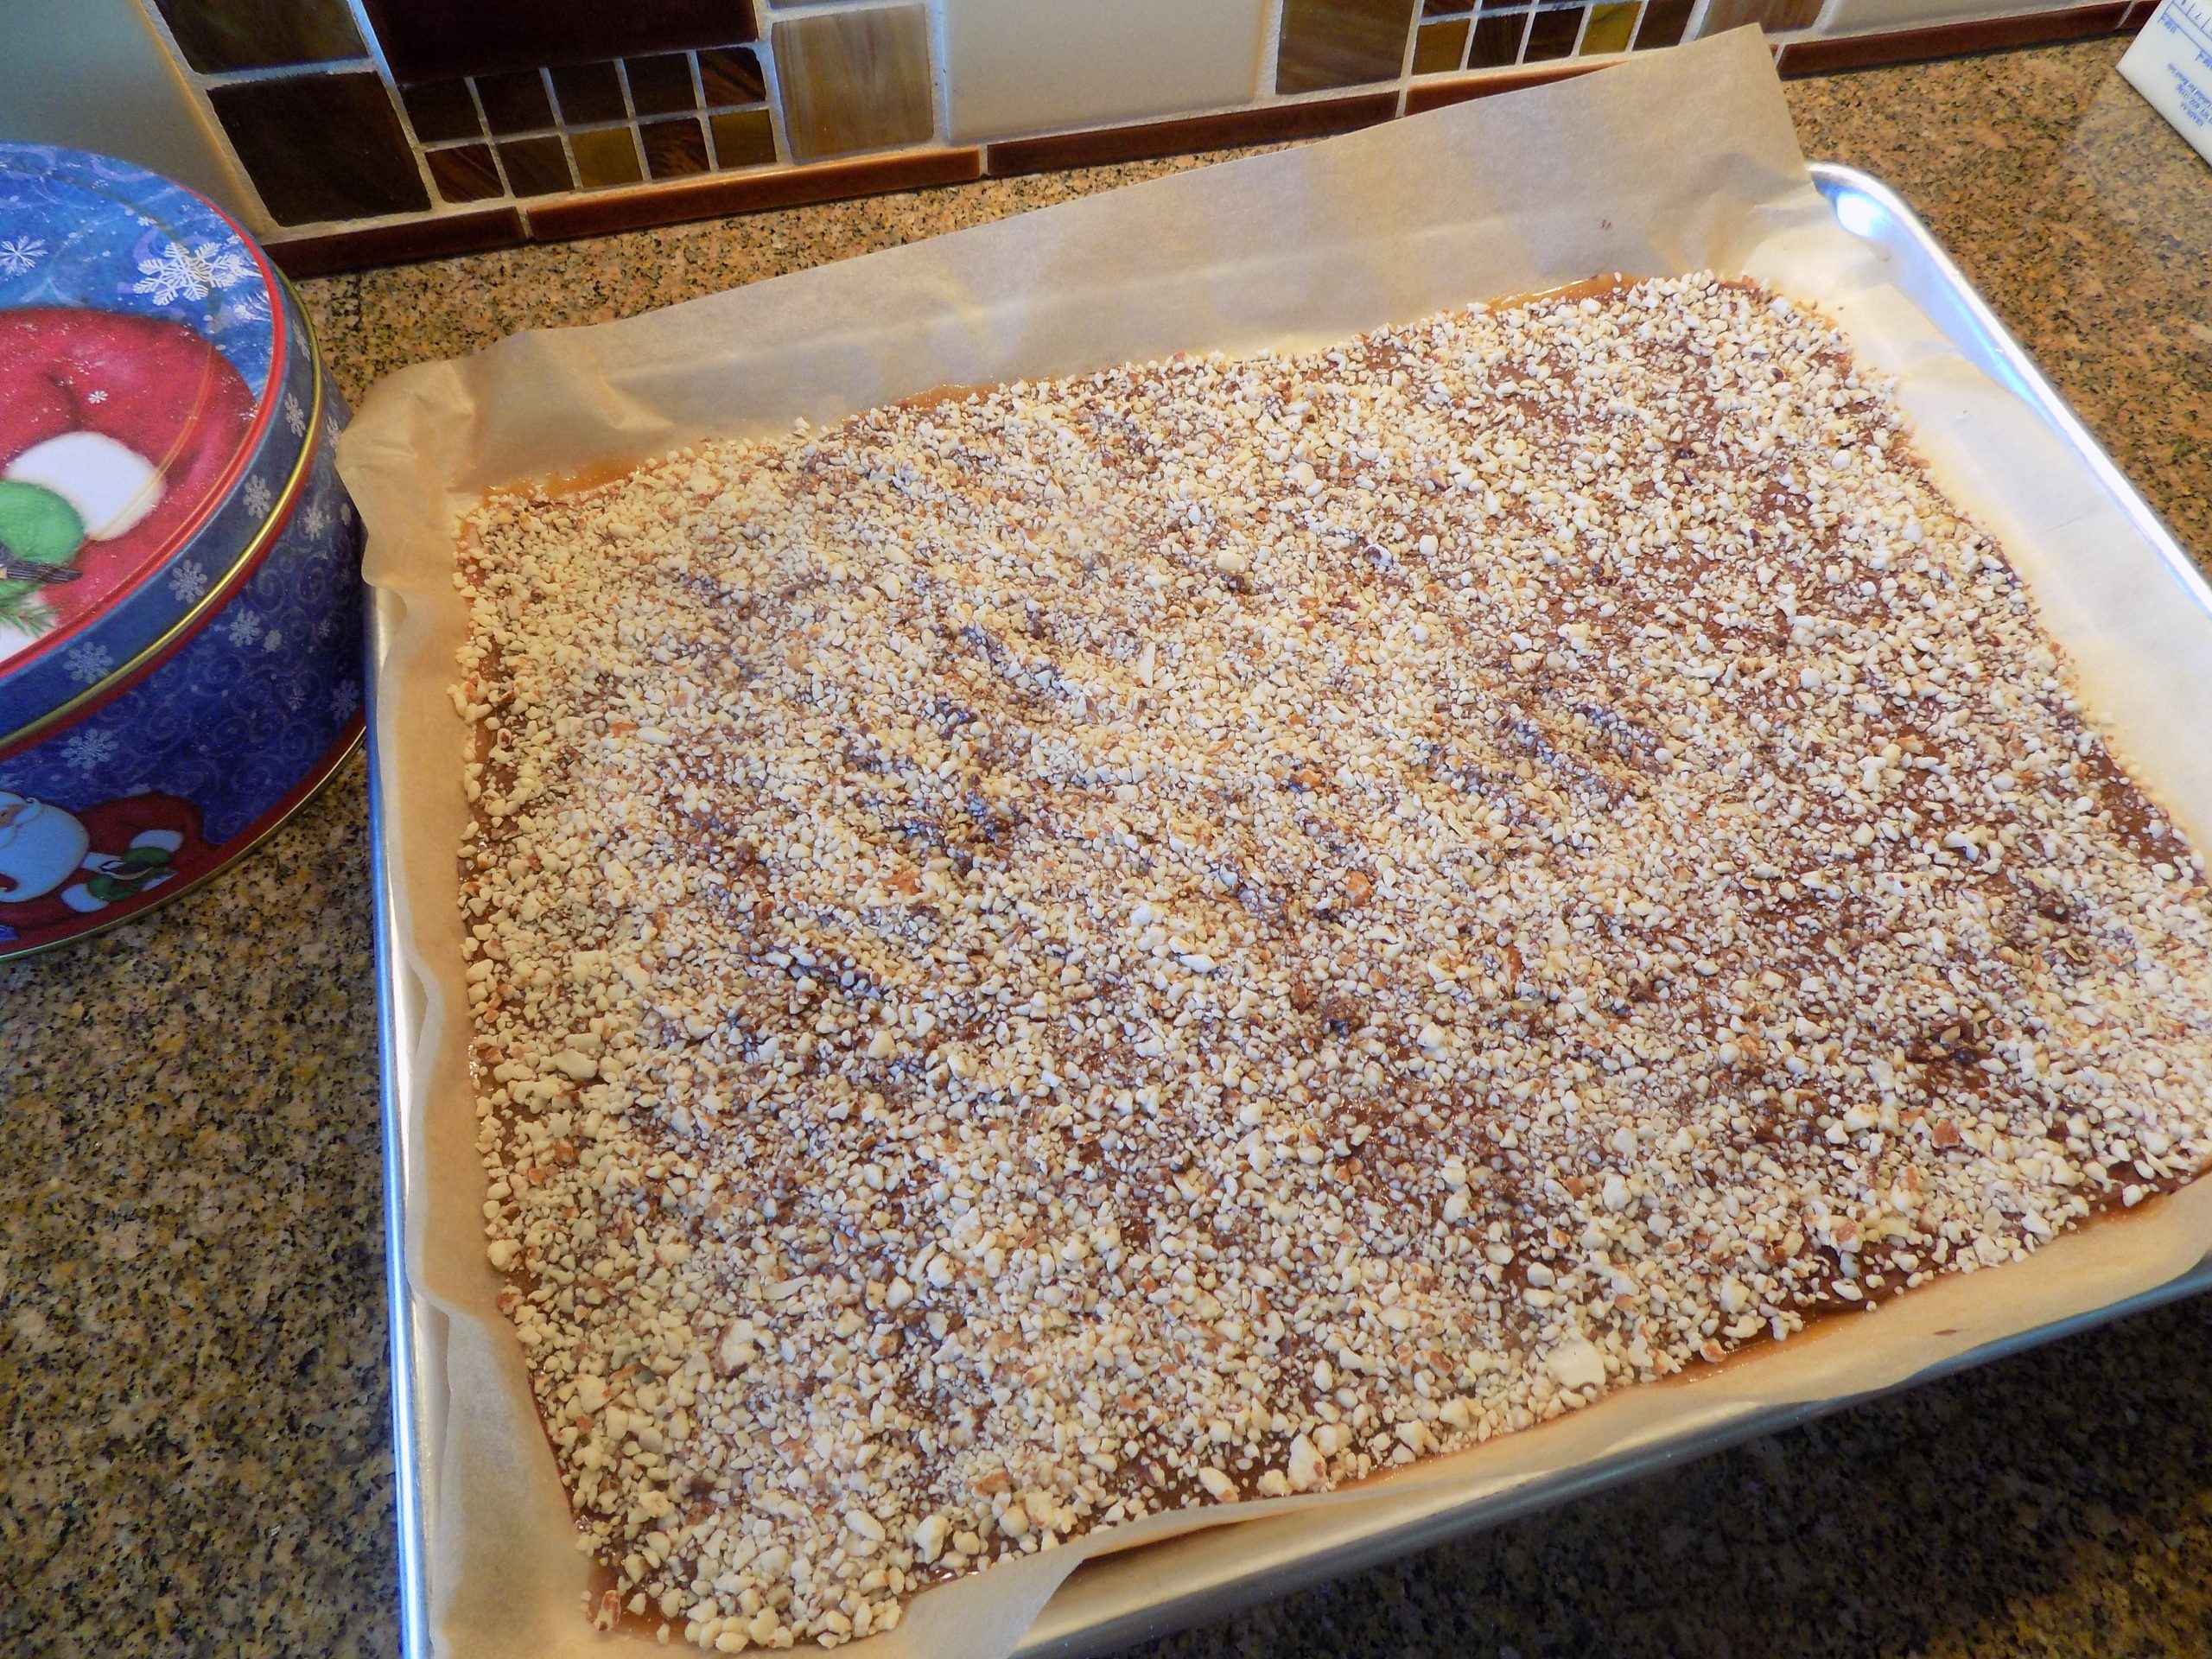
When the temperature reaches 300-degrees*, remove from heat and quickly pour the very hot mixture onto the prepared pan. Spread the hot candy out using an offset spatula. (I must admit that Mr. C. helps me with this part. He holds the pan while I scrape out the candy with a silicone spatula. Then he goes away, and I spread the toffee out as quickly as I can.)
Immediately sprinkle the chocolate chips evenly over the toffee. Let sit for a couple minutes while the chocolate melts. Then again using your offset spatula, spread the softened chocolate into an even layer over the toffee. Immediately sprinkle the chopped almonds over the chocolate. Gently and carefully press the almonds into the melted chocolate.
Let the candy cool completely (that means the chocolate too) before breaking into serving size pieces. Store in an airtight container in a cool place.
*If it’s an especially humid (rainy) day, let the candy go to about 302 degrees. That will help keep the toffee brittle.