It isn’t often that I get to make a bread that’s as much fun to fix as it is to eat. But for me, breadsticks fit that statement perfectly. But breadsticks do have their limitations. They are not a utilitarian bread product. For example, you can’t put breadsticks in a toaster and serve them for breakfast. You can’t use them to make French toast or French dip sandwiches or any kind of sandwich for that matter. So, as a bread for all occasions, they are a bit lacking.
But when a piece of bread is needed to dip, dunk, or mop – soft breadsticks are unparalleled! First of all, they are the perfect shape. And if they are soft like these breadsticks, anything you dunk them in or slather on them is going to stick. And isn’t that a beautiful thing?!
And in the case of these breadsticks, you make the dough one day and bake it off the next day or the day after. (My favorite type of dough to make.) And just so you know, this is a very self-confident dough. It enjoys being alone in a cold and dark place. In fact, it absolutely insists on some time alone to contemplate whatever it is that bread dough considers worth its time to ponder. And if you forget about it for a day or two, it could care less. It knows full well that sooner or later it will be baked into perfect soft and tasty breadsticks. (We should all be blessed with this amount of confidence!)
So, the only thing left to say, is that these breadsticks are supremely easy to build, truly delicious, and go with all kinds of different dishes. And like every other type of bread we build in our own kitchens, an inexpensive alternative to the exorbitant or should I say extortionary price we are forced to pay for artisanal bread in a bakery or market. Just sayin’!
As always, play with your food and be creative. When you decide it’s time to spend some quality time in your home with your family, make it quality time spent in the kitchen. Believe me, your grown children will not remember that their childhood home was a bit dusty, or the garage was often cluttered. But they will remember the meals your family shared around the dinner table and the times you made cookies together. Let the dusting wait.
Peace and love to all.
1 c. warm water
½ c. whole milk
½ c. sourdough starter discard
2 tsp. instant yeast
1½ tsp. granulated sugar
2 tsp. kosher salt
3 T. olive oil, plus more for greasing the mixing bowl
4 c. unbleached all-purpose flour, more or less
4 T. (½ stick) unsalted butter, melted
½ tsp. kosher salt
¼ rounded tsp. granulated garlic
¼ rounded tsp. Italian seasoning
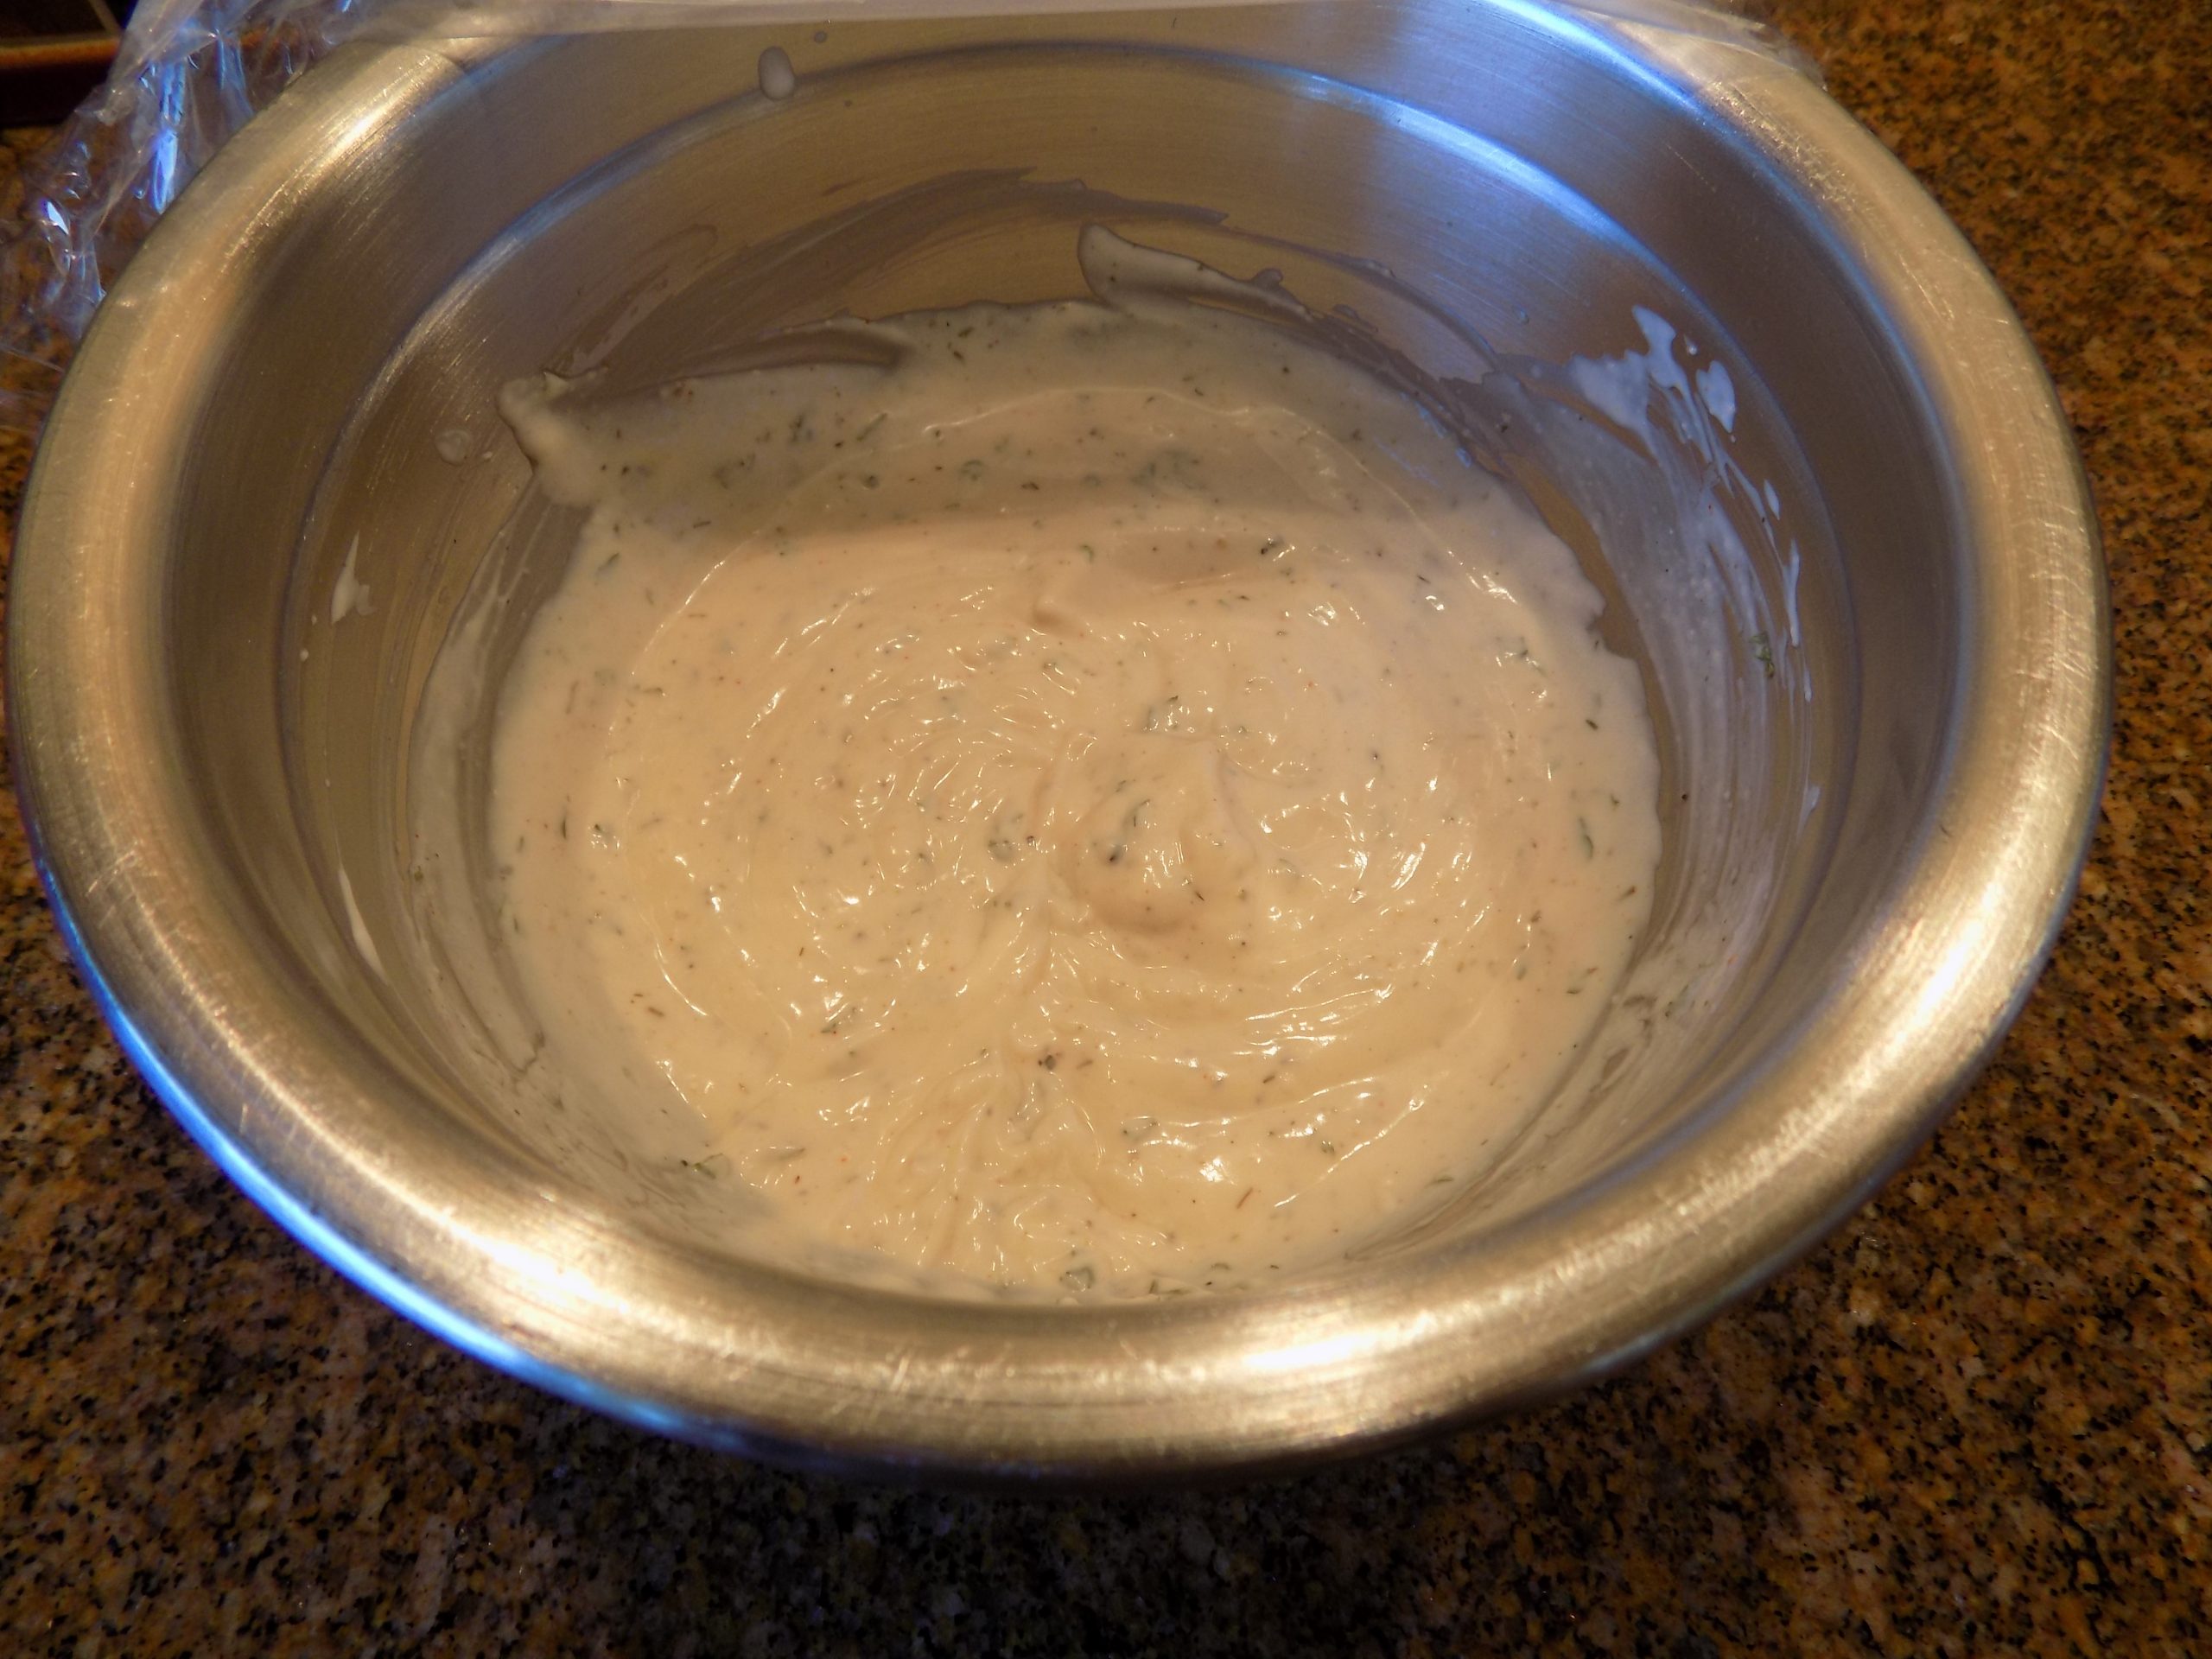
Combine the warm water, milk, sourdough starter discard, instant yeast, sugar, salt, and 3 tablespoons olive oil in the bowl of your stand mixer. Using the bread hook, add as much flour as necessary to make a soft dough. When the dough has been kneaded for several minutes, and there is still a bit of dough clinging to the bottom of the bowl, the dough is ready for the next step.
Pour a bit of olive oil around the edge of the mixing bowl. Using your fingers and a stiff rubber spatula, form the dough into a nicely greased ball. Cover with plastic wrap and place in your refrigerator overnight or up to three days. When ready to use, remove the dough from fridge and let sit on your counter for an hour.
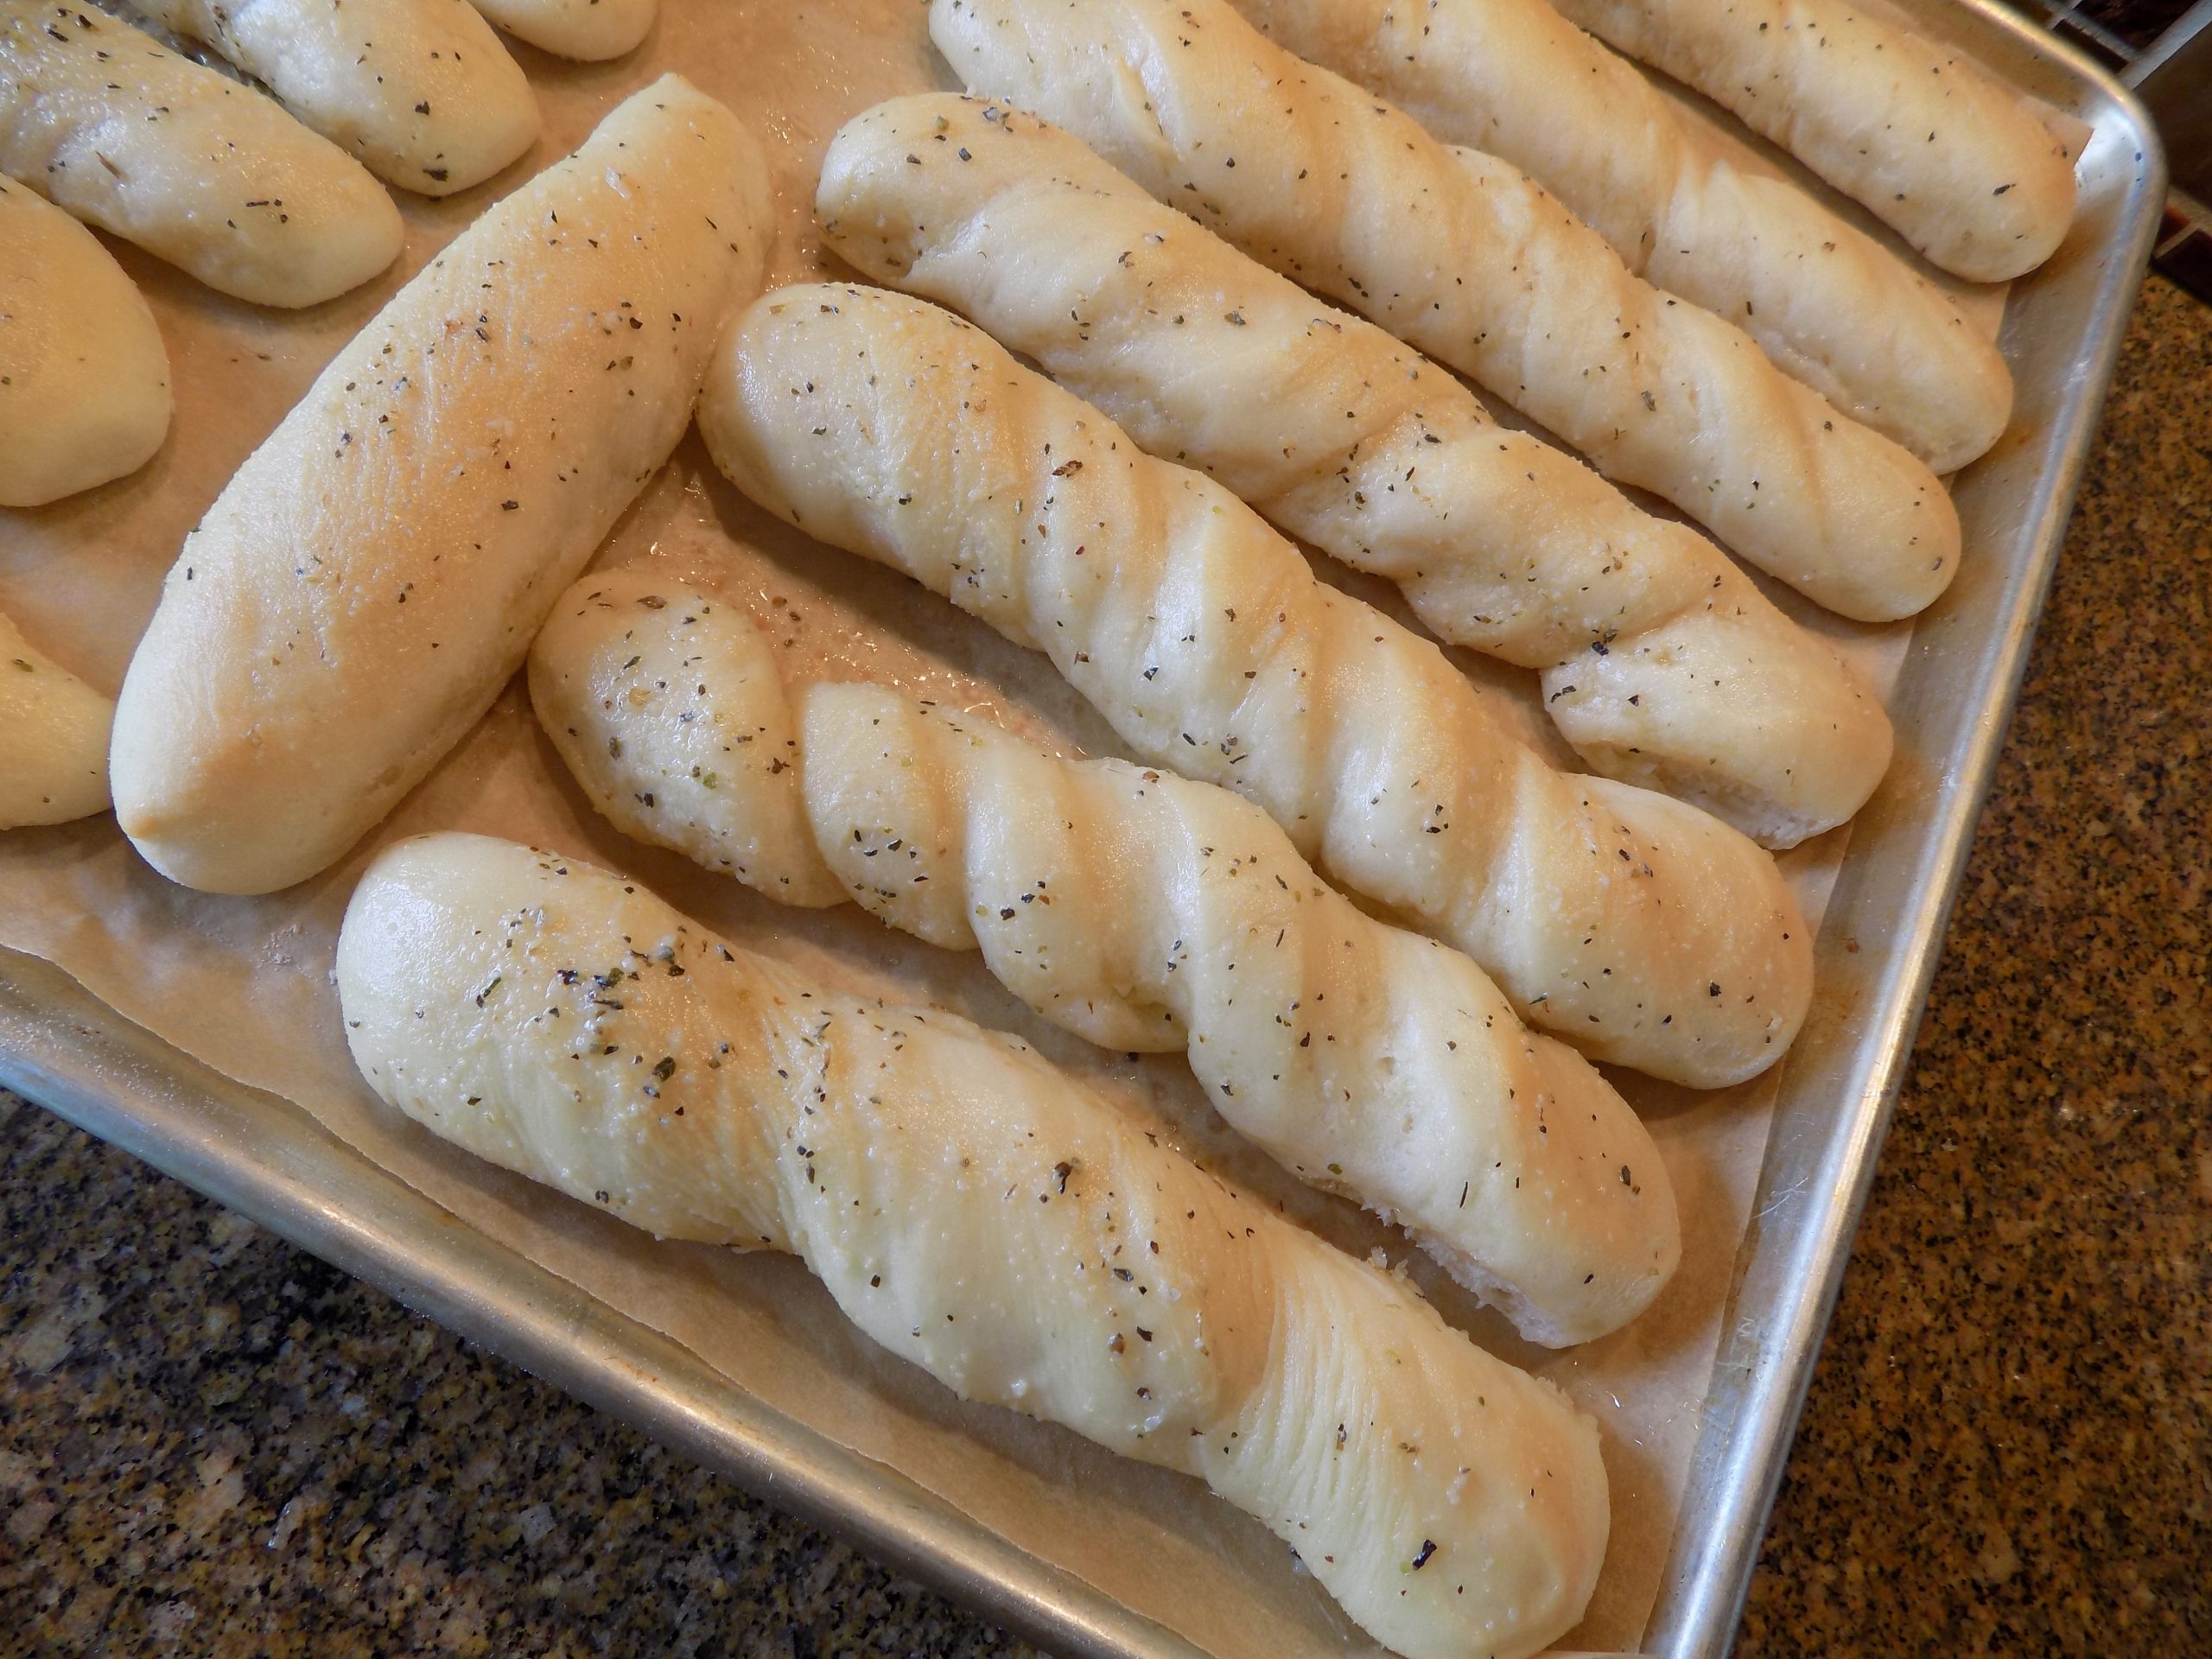
On a nicely floured surface, shape the dough into a rectangle about 16×7-inches. (I use a rolling pin but patting out the dough with your fingers works too.) Cut the dough into 16 1-inch strips with a pizza cutter. Twist each piece gently and place on a parchment paper lined baking sheet. (They can be fairly close together.)
Cover with a tea towel or piece of plastic wrap sprayed with non- stick spray. Allow to rise until doubled (approximately an hour).
Bake in preheated 350-degree oven for 22-25 minutes or until a very light golden brown. The internal temperature should measure at least 200-degrees.
While the breadsticks are baking, combine the melted butter, kosher salt, granulated garlic, and Italian seasoning. Remove breadsticks from oven and immediately brush with butter mixture.
Serve warm or at room temperature. Great dunked in olive oil, soup, marinara sauce, or used to clean one’s plate or bowl. Or, if you are feeling really unorthodox, you can serve the breadsticks in place of dinner rolls. But, people will talk!
Store any leftovers in an airtight container at room temperature.