Well, once again laziness and frugality paid off here at Chez Carr.
I had a couple of left-over Italian dinner sausages, half a jar of Cento brand roasted red and yellow peppers, and a couple of cups of shredded mozzarella cheese in the fridge that either needed to be used or added to the yard waste barrel. (And no, they were neither engulfed in blue fur or too far gone to use safely. Just great ingredients that really should be used before they went bad.) So, what immediately sprang to mind was a pasta dish. (Unfortunately, pasta is never far from what’s on my mind, but that’s a discussion for another day.)
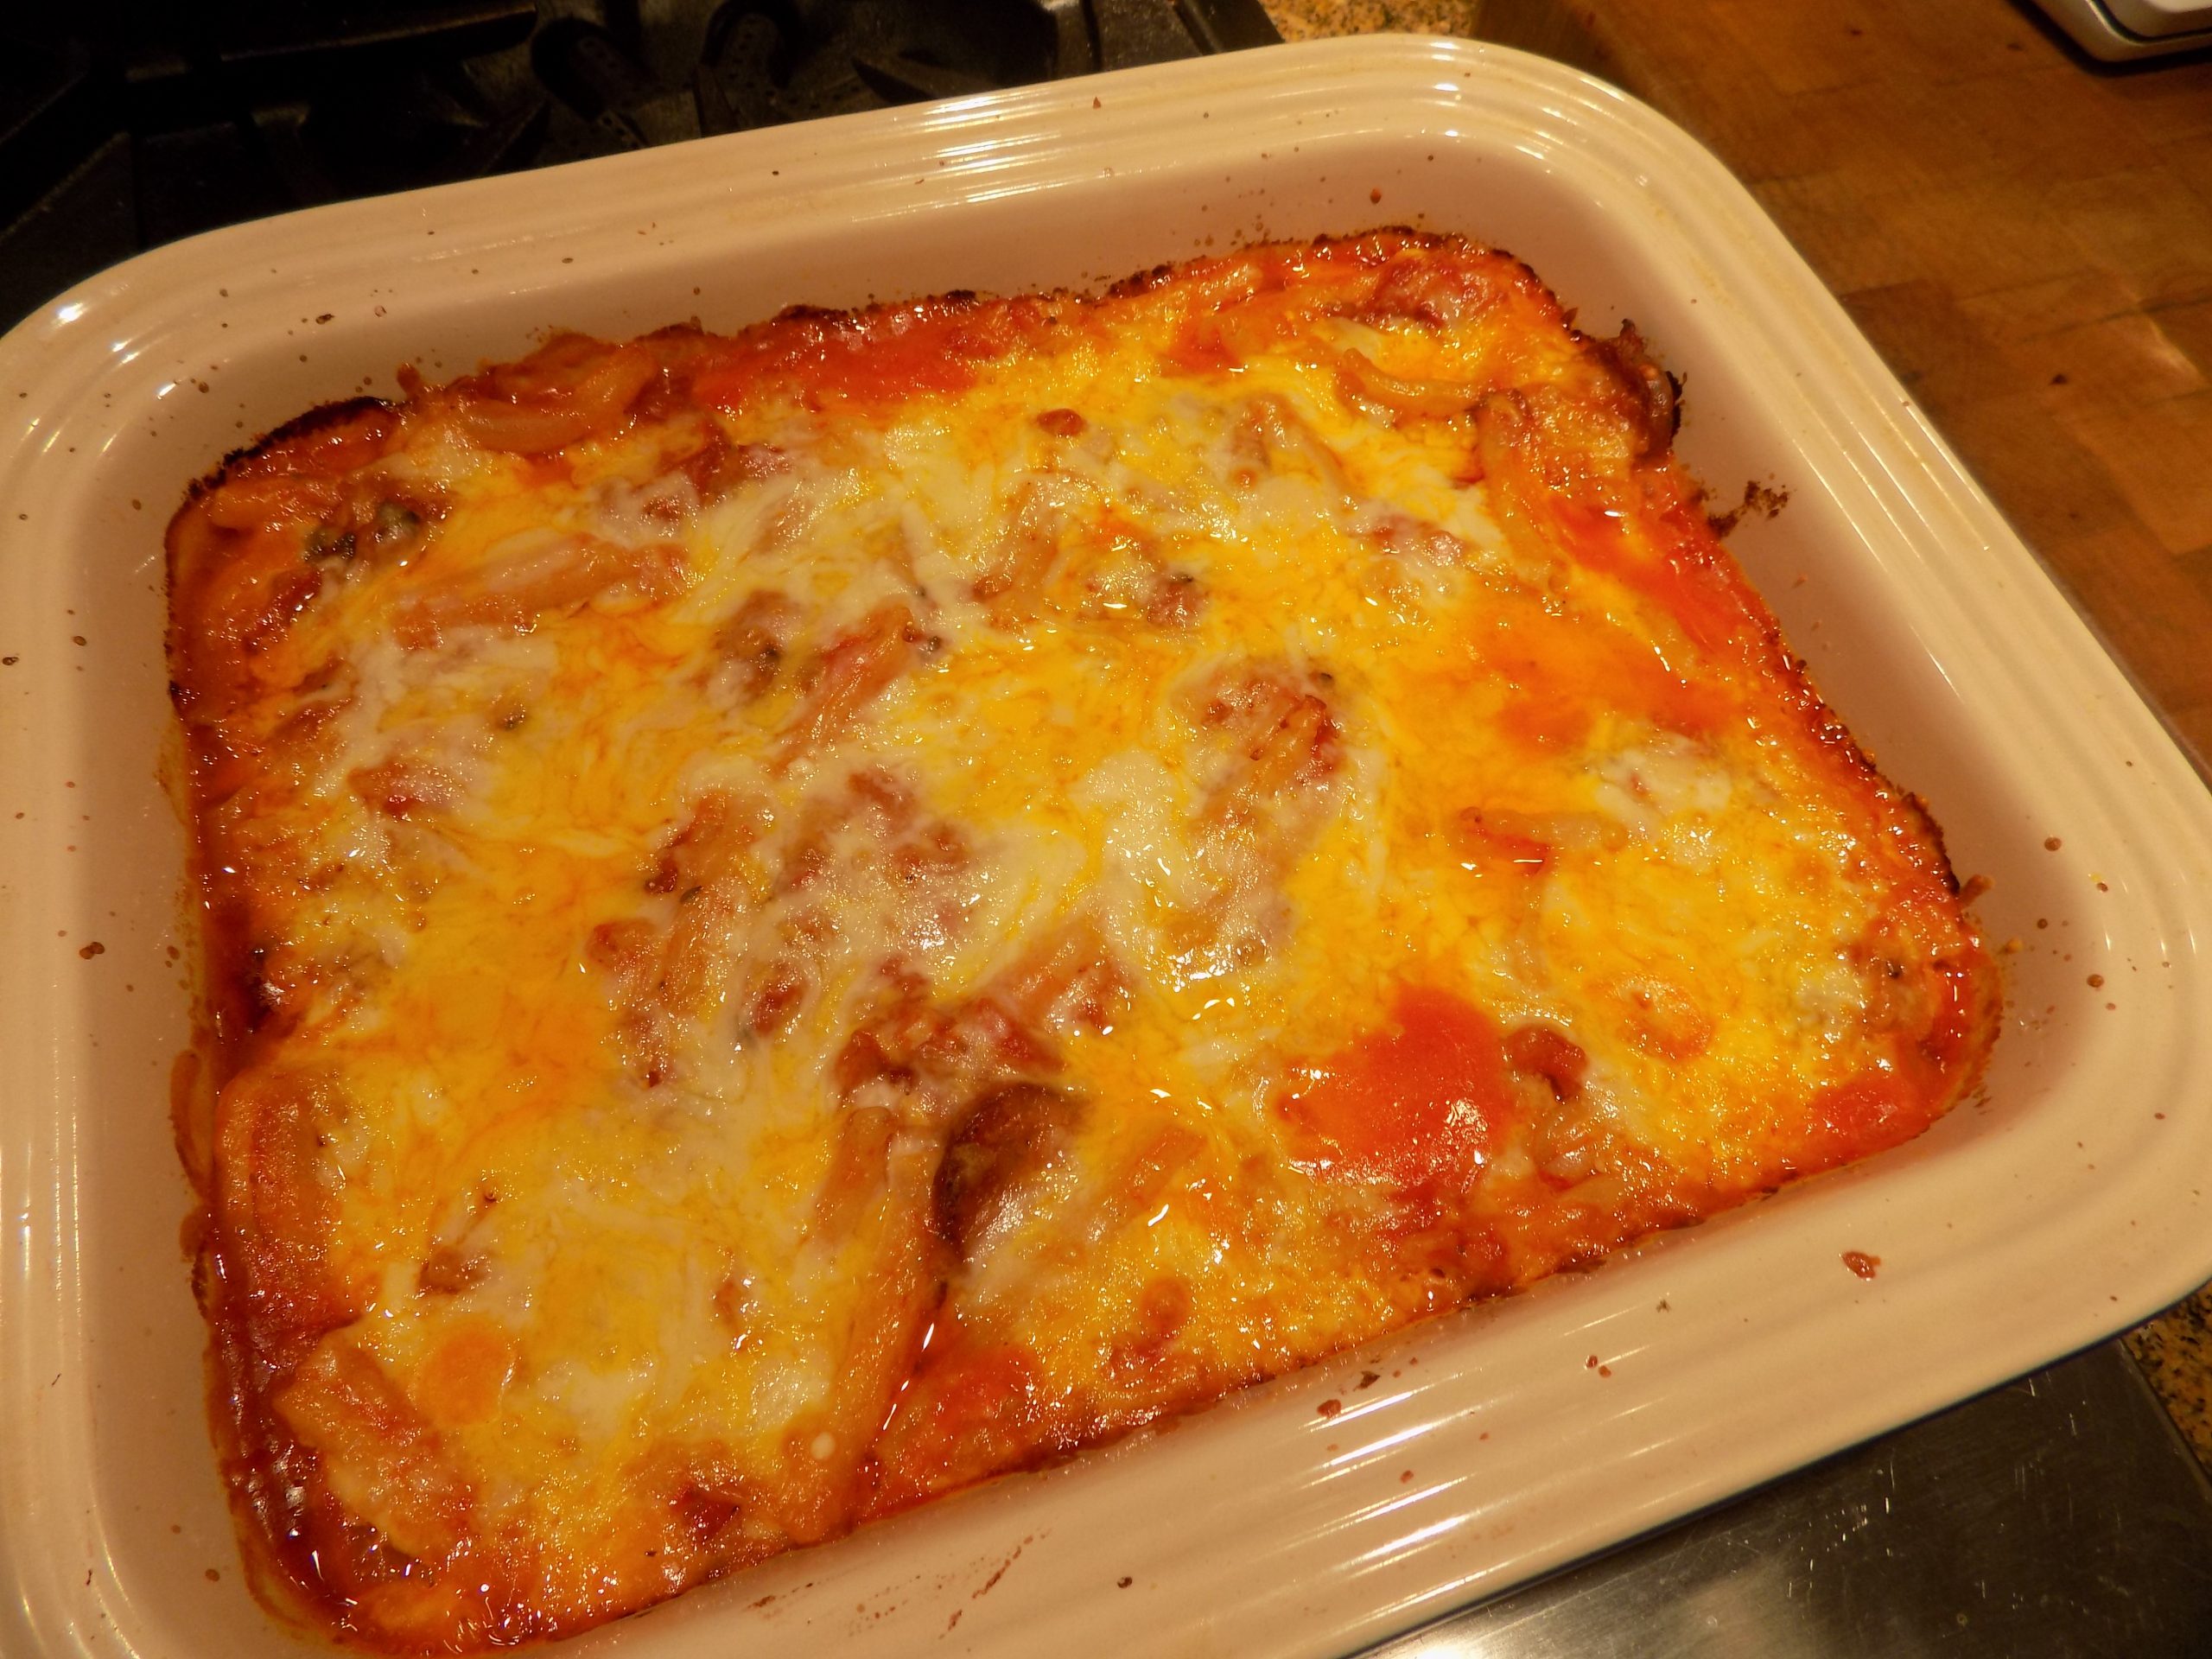
So, I decided a quick and easy “lasagna like” casserole for a lazy Saturday evening meal would be perfect.
Starting with my old standby marinara recipe, I deleted a couple of ingredients, added a couple of others, and came up with what you see written below. And OMG, for the brief time I spent on this dish, it tasted like I had spent hours slaving over its preparation. Plus, I got to use part of a package of strozzapreti pasta in the process. Which BTW, we discovered we really liked. (I had been a bit reluctant to try it because A) it is hard to find in our part of the world, B) I thought it might be difficult to eat, and C) because I’d purchased it two or three years ago and it might no longer be good.) Well, not only was it still good; it was absolutely delicious. And my hesitation about the shape making it hard to eat; completely unfounded. Of course, I did break the roughly 3-inch pieces in thirds, which significantly reduced any chance of choking. (Read about the history of strozzapreti below.)
So, if you too love a pasta casserole, give this recipe a try. And don’t be afraid of using fennel seed. After all, it’s what makes Italian sausage so delightfully delicious. Stay safe everyone. And peace and love to all.
3 T. extra virgin olive oil, divided
½-1 lb. Italian dinner sausage, cut into thin slices (or bulk Italian sausage)
½ med. onion, chopped
4 garlic cloves, finely minced
1 (28-oz.) can chopped or diced tomatoes (Italian tomatoes preferably)
1 c. chopped roasted red/yellow peppers (Cento brand is amazing)
1 bay leaf
pinch crushed red pepper flakes
1½ tsp. dried oregano (I use Mexican oregano)
1½ tsp. ground fennel seed
½ tsp. kosher salt
freshly ground black pepper
6 oz. strozzapreti*, gemelli, or fusilli pasta – cooked al dente
2 generous c. shredded mozzarella cheese, divided
In a large fry pan, heat 1 tablespoon of the olive oil. Add the sliced Italian sausage and cook until the sausage is nicely browned on both sides. Remove from heat and set aside.
In a medium sized heavy covered pan, heat the remaining 2 tablespoons of olive oil. Add the onion and cook just until softened. Add the garlic and cook for one minute.
Add the chopped or diced tomatoes, roasted red peppers, bay leaf, crushed red pepper flakes, oregano, ground fennel seed, salt, and black pepper. Bring to a boil, reduce heat, cover, and simmer for about 30 minutes.
Meanwhile lightly butter a 9×9-inch baking dish. Set aside.
After the sauce has burbled for 30 minutes, stir in the browned sausage and al dente pasta. Scoop half of the mixture into the prepared baking dish. Then sprinkle with half of the shredded mozzarella, them layer on the remaining sauce. Sprinkle on the remaining shredded mozzarella cheese.
Bake uncovered in a pre-heated 350-degree oven for 30 minutes. Remove from oven and let sit for 5-7 minutes before serving.
*To quote Chef Stef “Strozzapreti is the taller cousin of cavatelli and the gangsta of the pasta family. Strozzapreti‘s name literally means “Priest Stranglers”. Yes, in the Middle Ages this pasta was designed to choke priests to death right in front of you as you were having dinner. The Heimlich maneuver hadn’t been invented yet. But a hatred of paying taxes to the church had been. Furthermore, medieval Italy had a love of curses. Apparently a sfoglina (female pasta maker) would mutter a curse damning the priest with each cut of pasta. Think of strozzapreti as the semolina version of John Wick**!”
**Apparently, John Wick is a fictional character and the titular protagonist of the neo-noir action thriller film series “John Wick,” portrayed by Keanu Reeves. John is a legendary hitman who had retired until a gang invades his house, steals his car, and kills the puppy that his late wife Helen had given him.