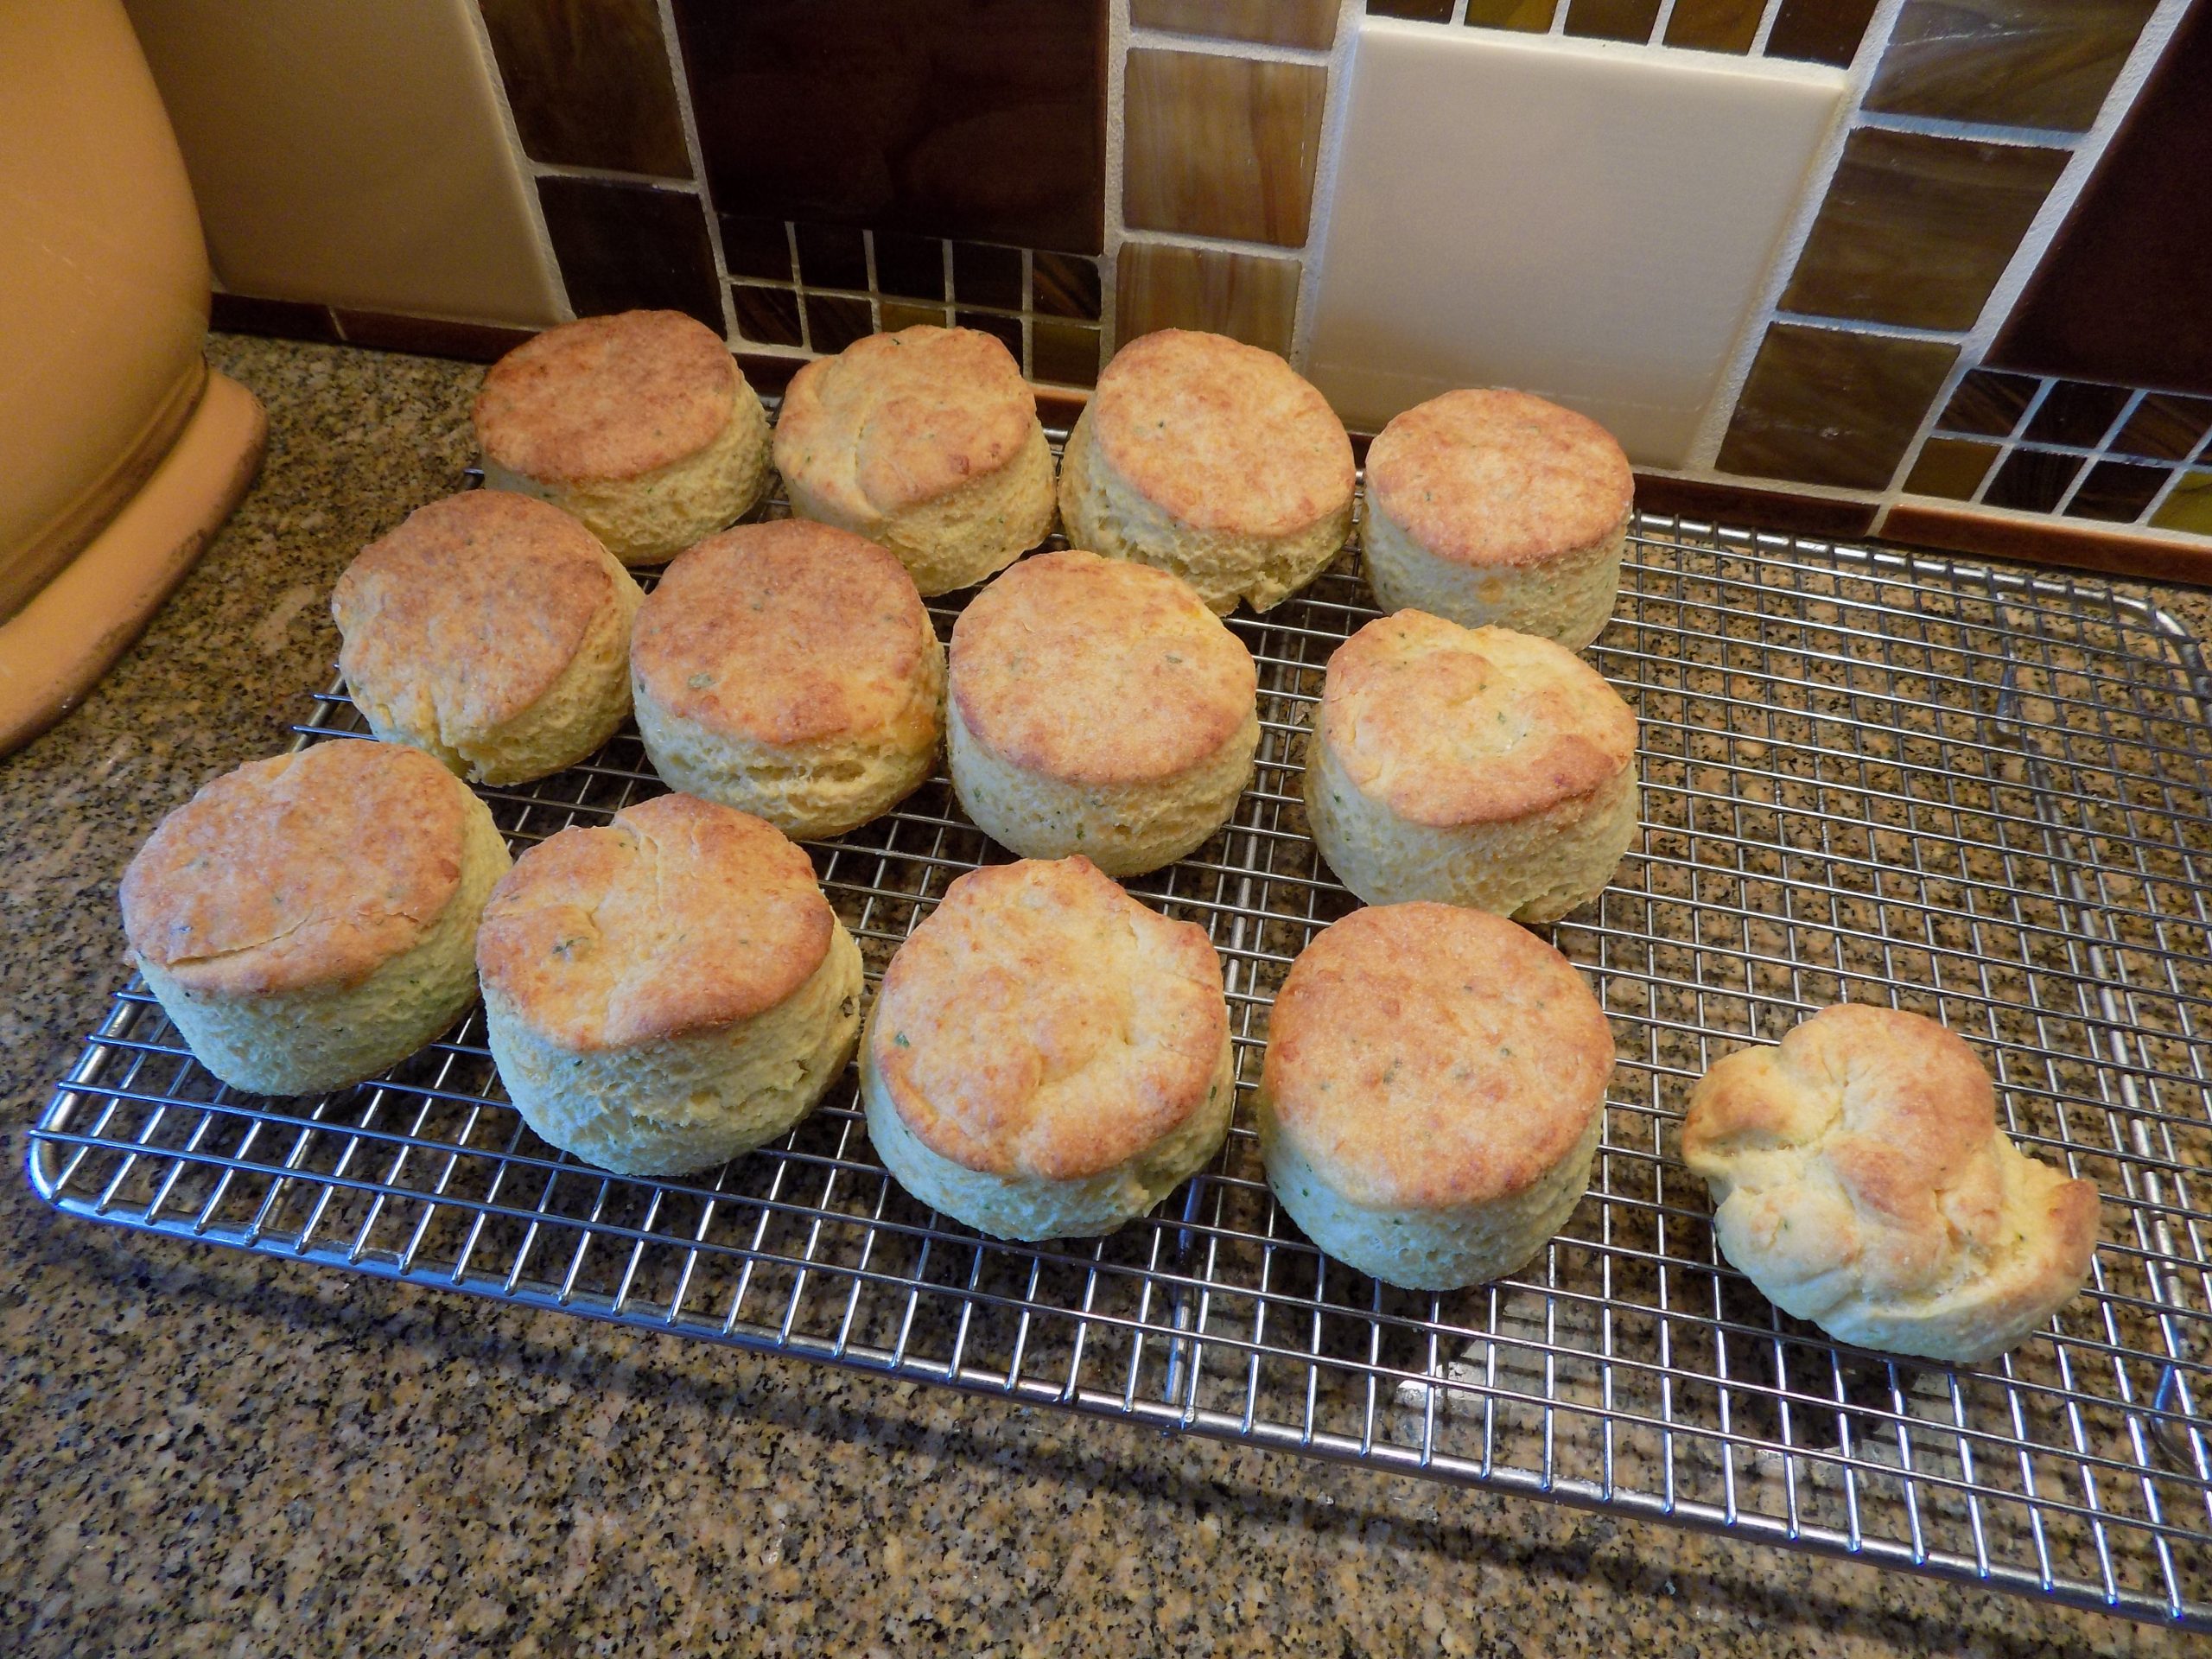
Sometimes all I want is a really good biscuit. Biscuits are so easy to build, and are such a wonderful accompaniment to soups, stews, chili, and chowders. They simply make the meal. But my personal favorite is when I get to have a biscuit with breakfast. And I must say, these biscuits are absolutely perfect along with a bit of breakfast meat and an easy over egg. No jam, jelly, honey, etc. required. Just a bit of unsalted butter melted on each half. Fabulous.
But of course, these biscuits are wonderful anytime a bit of bread would make a meal complete. And I have to admit, for me, bread makes any meal better. I don’t allow myself bread with every meal because, well, it wouldn’t be good for health reasons. But that doesn’t mean I don’t miss it!
Even when we go out to dinner, I always hope that a basket of bread will be the first offering to be placed on our table. Well, that is, after my martini, of course! But when no bread appears, I always feel a bit cheated. Over the years I have learned to hold back any tears that might come unbidden from my disappointment. But if I were the one who paid the check, the tip would, I’m sure, always be a little less if no bread was delivered. (And yes, I know, it’s not the waiter’s fault that no bread is included with the meal. But to my thinking, these waiters should have thought of that before they chose to work in an establishment that doesn’t know or understand the needs of their clientele!) Luckily for these waiters, I rarely pay the check. And Mr. C. is far too kind to punish anyone for another’s transgressions!)
I guess what I am trying to say, is that these biscuits are really, really yummy. I found the recipe on the bostongirlbakes.com site. And believe it or not, I didn’t change a thing. Just as written on Heather’s blog. So, thank you Heather for this amazing recipe.
So, to all of you who are true bread lovers, please give this recipe a try. The biscuits are easy to prepare, contain no fancy ingredients, and possess a delightful flavor and texture. And just the right size to alleviate guilt, but not feel stinted either.
As always, be happy. Those of us with a roof over our heads, enough food to feed our family, and friends who care about us even if at times our inner 2-year-old screams to be set free, are truly lucky. And of course, you do realize that I would never take my aggression out on a waiter. However, there are times when it’s a good thing the cook doesn’t come out of the kitchen to ask patrons how we enjoyed our meal? There are just too many times when that person would get more than he or she bargained for if I were asked that question!
Peace and love to all.
2 c. unbleached all-purpose flour
1 c. yellow cornmeal (fine grind cornmeal is best)
5 tsp. baking powder
½ tsp. baking soda
½ tsp. kosher salt
½ c. (1 stick) cold unsalted butter, cut into cubes
1 c. cold buttermilk
1 c. grated sharp cheddar cheese
3-4 T. chopped fresh chives or 2 T. dried chives
melted butter
Line a baking sheet with parchment paper. Set aside.
Place the flour, cornmeal, baking powder, baking soda, and salt together in your food processor. Pulse a couple of times to mix the ingredients. Add the butter and pulse until the mixture looks granular.
Add the cheese and chives. Pulse until the ingredients are evenly combined.
Pour in cold buttermilk and pulse a few times until a shaggy dough forms. The dough will be sticky at this point.
Scrape the dough onto a lightly floured surface. Bring the dough together gently. Knead the dough by pressing the dough down into about a ½-inch thickness, then fold in thirds (fold the right side over, then left side over the dough). Repeat 3 times to create flaky layers.
Pat the dough into a 1 inch-thick circle. Cut the biscuits into rounds using a 2½-inch biscuit cutter. (Remember, when cutting biscuits, press straight down on the biscuit cutter. Do not twist as you press down.)
Press the scraps together and cut out remaining biscuits. Place on prepared pan about 1½-inches apart.
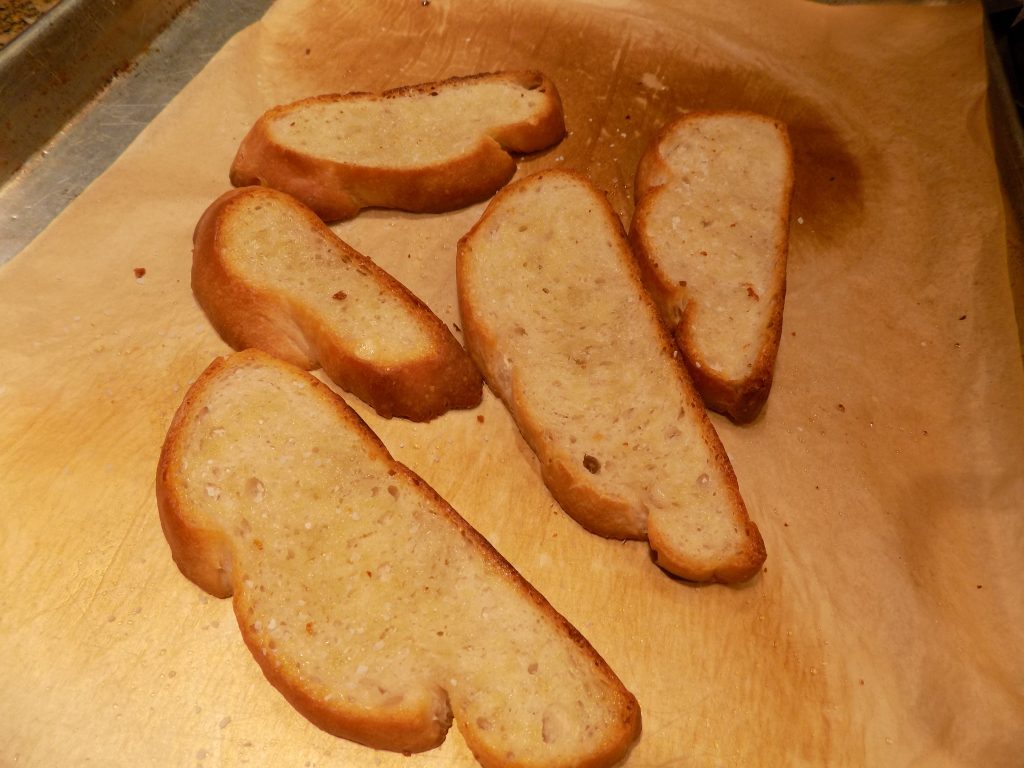
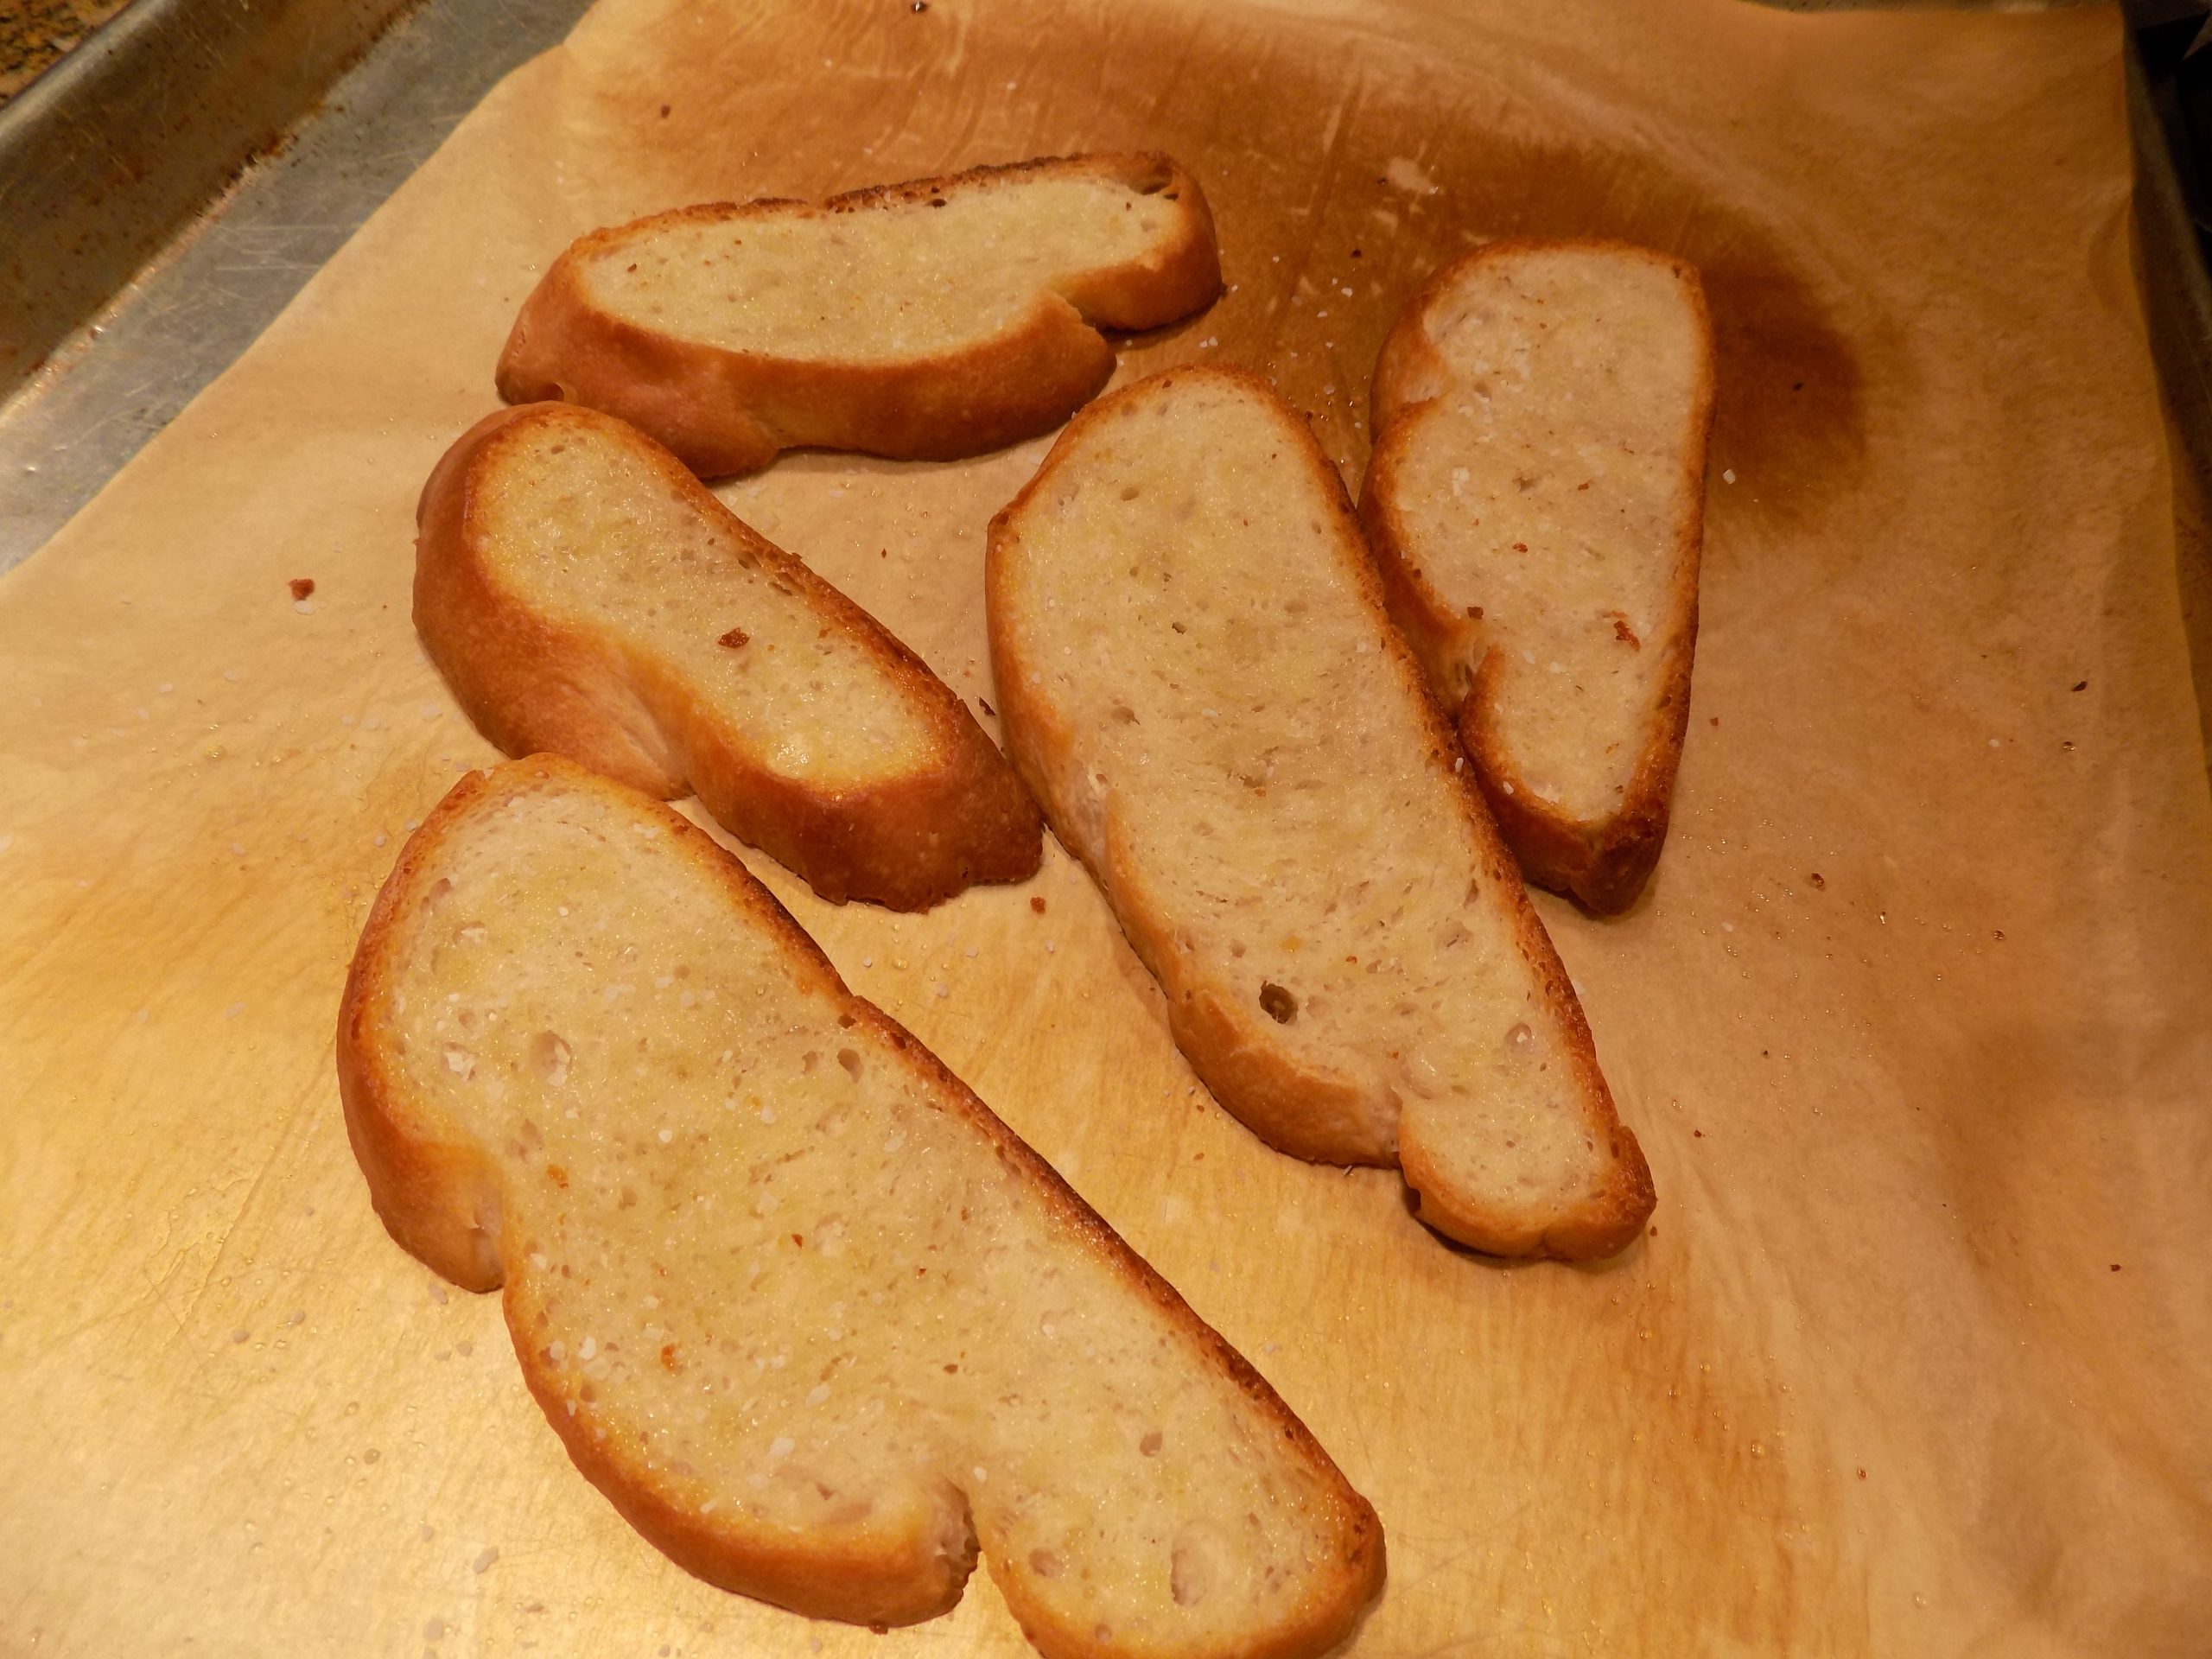
Bake in a pre-heated 450-degree oven for about 15 minutes on the middle rack of your oven. When done, the internal temperature should be between 205 and 210-degrees and the biscuits should be a nice golden brown.
Remove from oven and allow to cool on pan for 5 minutes before removing to a cooling rack to continue to cool. Brush tops with melted butter.
Store the biscuits in an airtight container in the refrigerator. These biscuits are best when re-heated before serving.