Most of the time when we make a Costco run, we come home with either fresh seafood or a rotisserie chicken. So, on our last Costco procurement adventure, we decided we were more in the mood for chicken than fish. (Easier for me too.) And like others, I sometimes wondered if a Costco rotisserie chicken was a healthy choice. But apparently Dr. Oz (I have never watched his show, but I do know who he is) told viewers recently that “Costco birds are some of the healthiest processed foods out there—and removing the skins makes them even healthier.”
So, who am I to argue with a doctor who is renowned for showing disdain for science and evidence-based medicine. Because I can be just as stubborn as the next gal when it comes to believing what I want to hear. Anyway, I figure eating a Costco chicken every 3 months or so is probably not doing our bodies too much harm. Even if Dr. Oz says it’s OK to eat them!
After enjoying the chicken that same evening, I was left with most of a Costco chicken staring at me every time I opened the refrigerator door. So, I decided to use the leftover meat to make chicken pot pie. And keeping to my new-found determination to use whole wheat flour as much as possible, I found this crust recipe on the livelytable.com site. And this recipe makes for one fabulous pie crust. Very tasty, crisp, and flakey. Just like good pie crust should taste. And perfect for pot pie.
However, I wouldn’t go so far as to recommend it for regular pies like lemon meringue or even a berry pie. Too much wheat flavor for any pie that requires a delicately flavored crust. But for pot pies or quiches, this recipe is perfect. And so easy to make. Food processors are wonderful kitchen tools. Not perfect for everything that requires mixing, but perfect for preparing this pie crust. Now, about the filling.
This filling is quite plain. Nothing fancy about it, easy to prepare, and the type of food your entire family will enjoy.
So, enough said about this dish. It’s Sunday and the last 3 days have been hectic to the max and I am beat. So, it’s going to be a very lazy day for me. Book in hands, reading glasses firmly affixed to my face, and ice water on a small table right next to my favorite wing back chair. In other words, a perfect opportunity for Mr. Sandman to come a visiting.
I used to feel that sleeping was such a waste of time. Even at night. (I was much younger when I felt this way.) Now, I think a good night’s sleep is heaven on earth. And an occasional nap my simple reward for living a full and rich life.
May you too live a full and rich life.
And as always, peace and love to all.
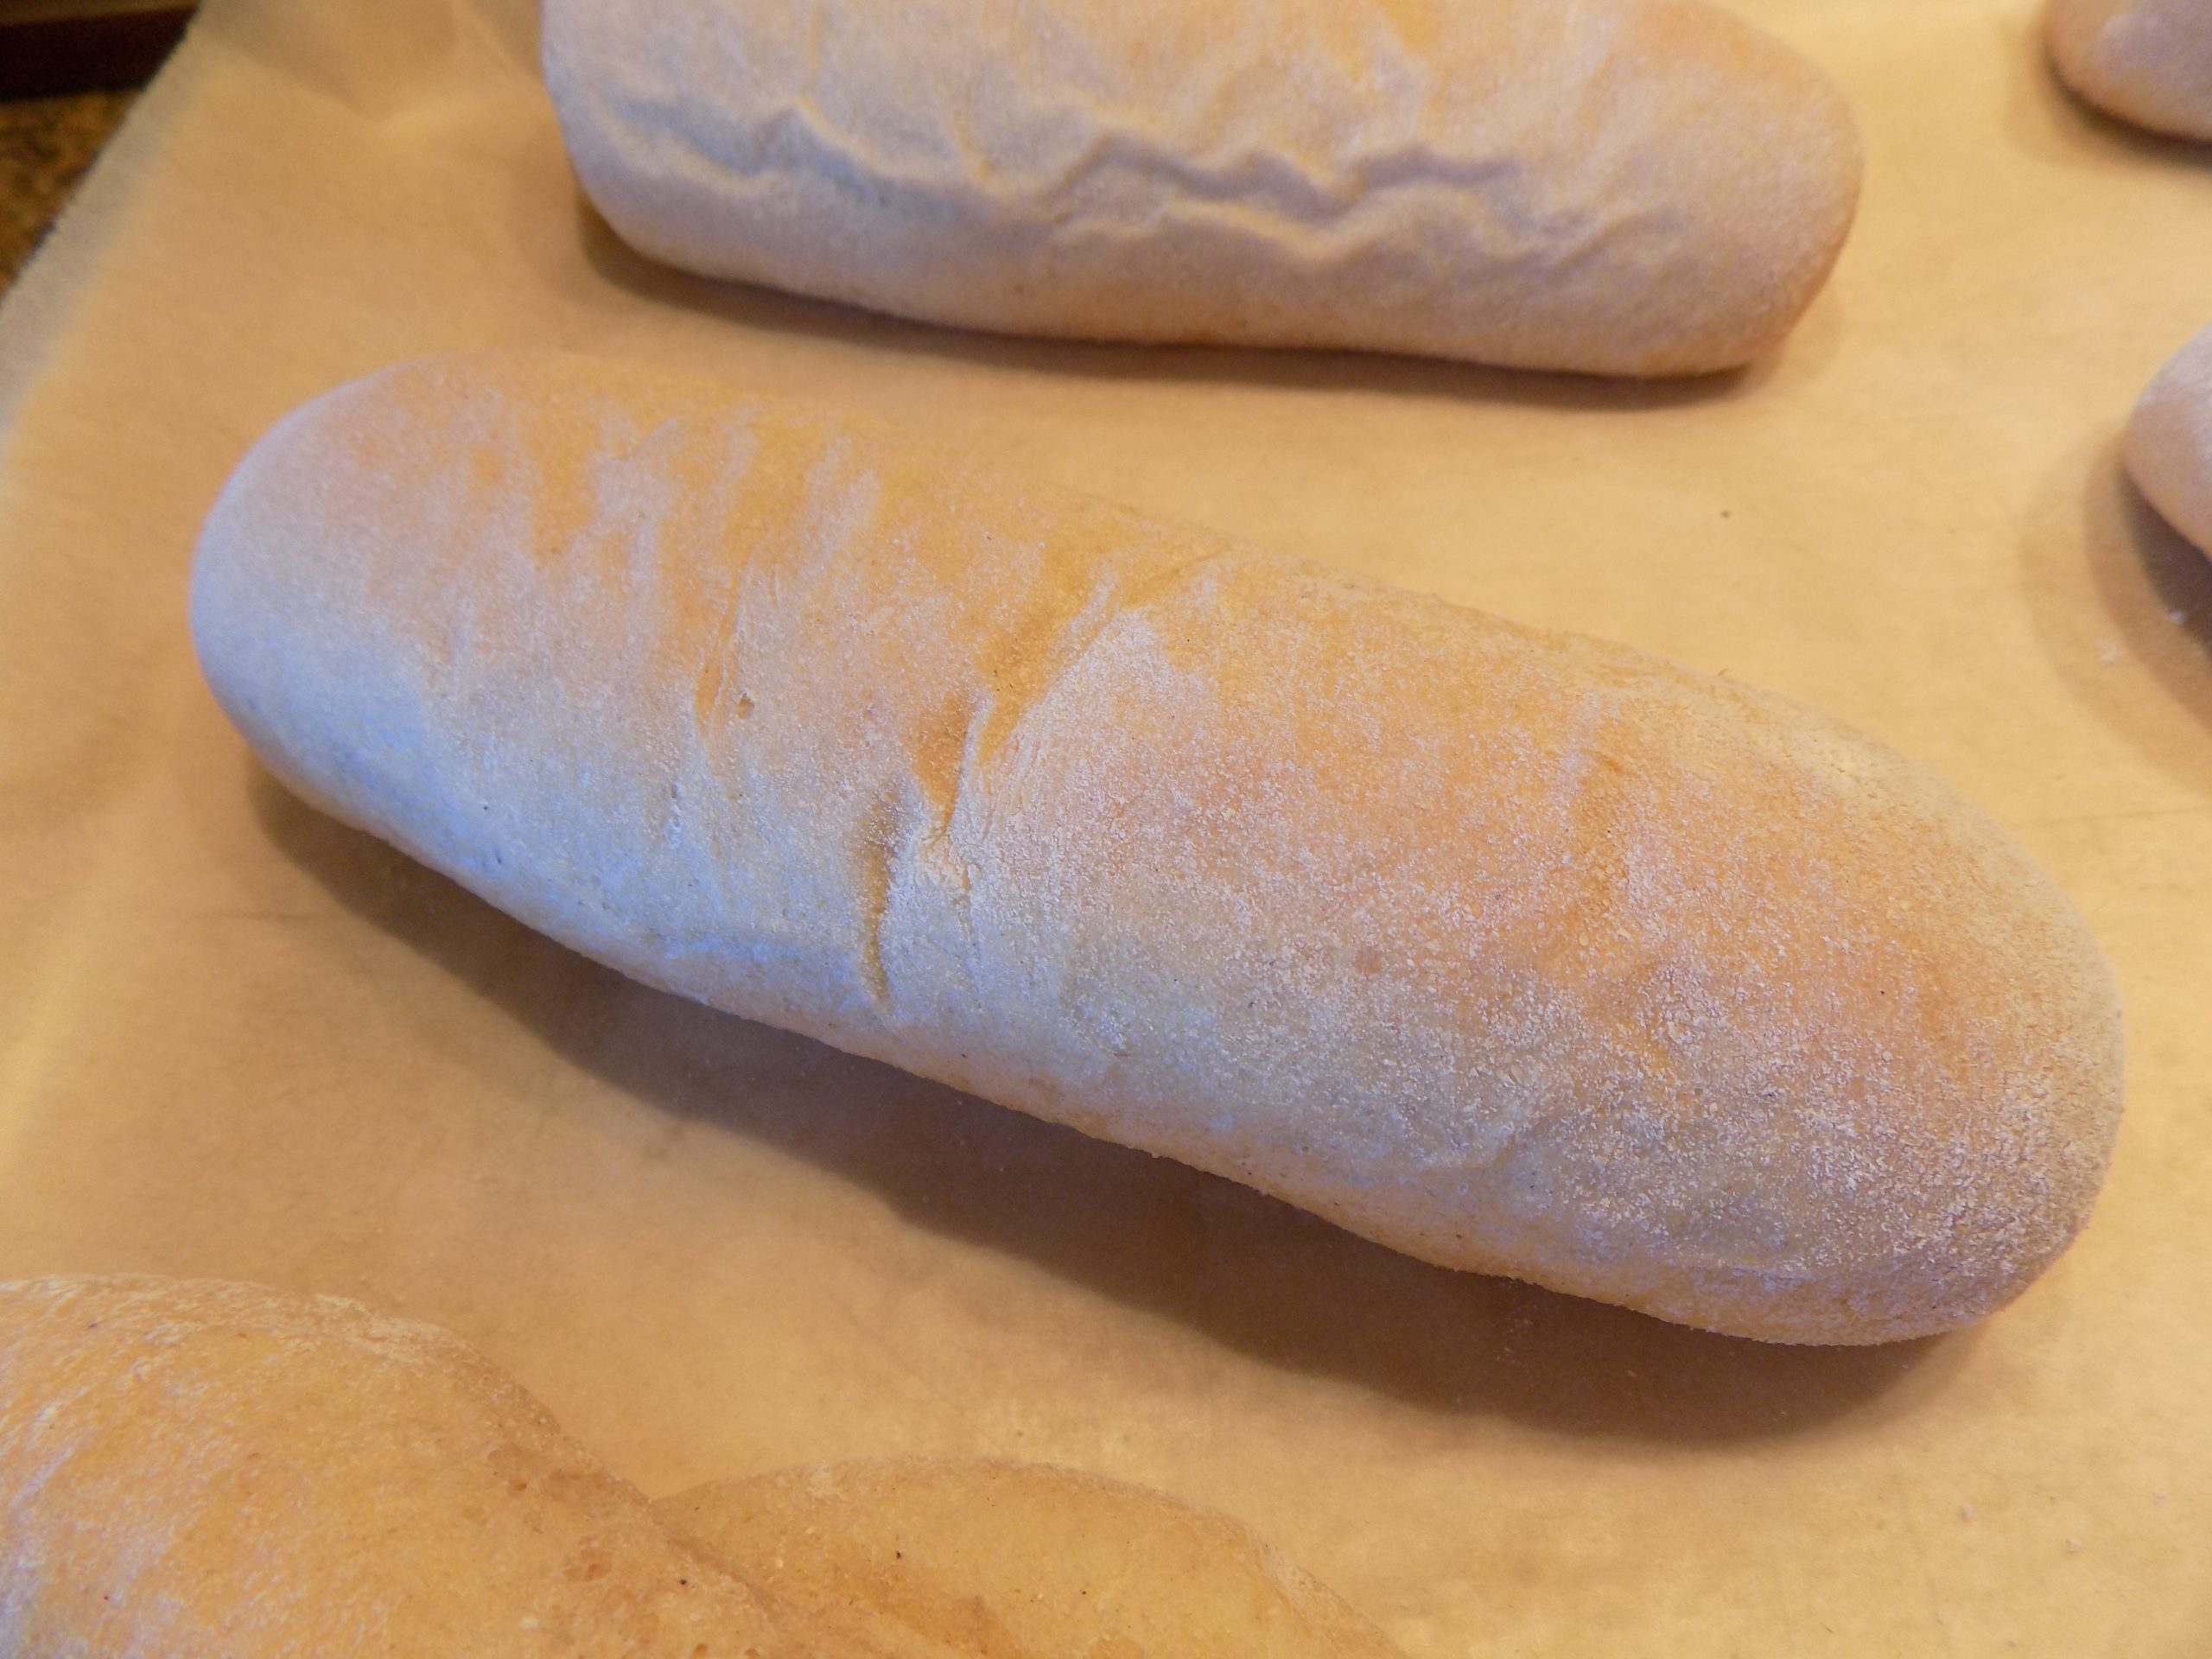
Pot Pie Crust
2 c. whole wheat pastry flour (I like Bob’s Red Mill)
1 tsp. fine sea salt
¾ c. (1½ sticks) cold unsalted butter, cubed
up to ½ cup ice cold water
In the bowl of a food processor, pulse flour and salt together. And cubed butter. Pulse until pea-sized pieces form.
Add 5 tablespoons of water to the food processor. Pulse and continue to add water until a dough ball is just formed. (I ended up using 7 tablespoons of water.)
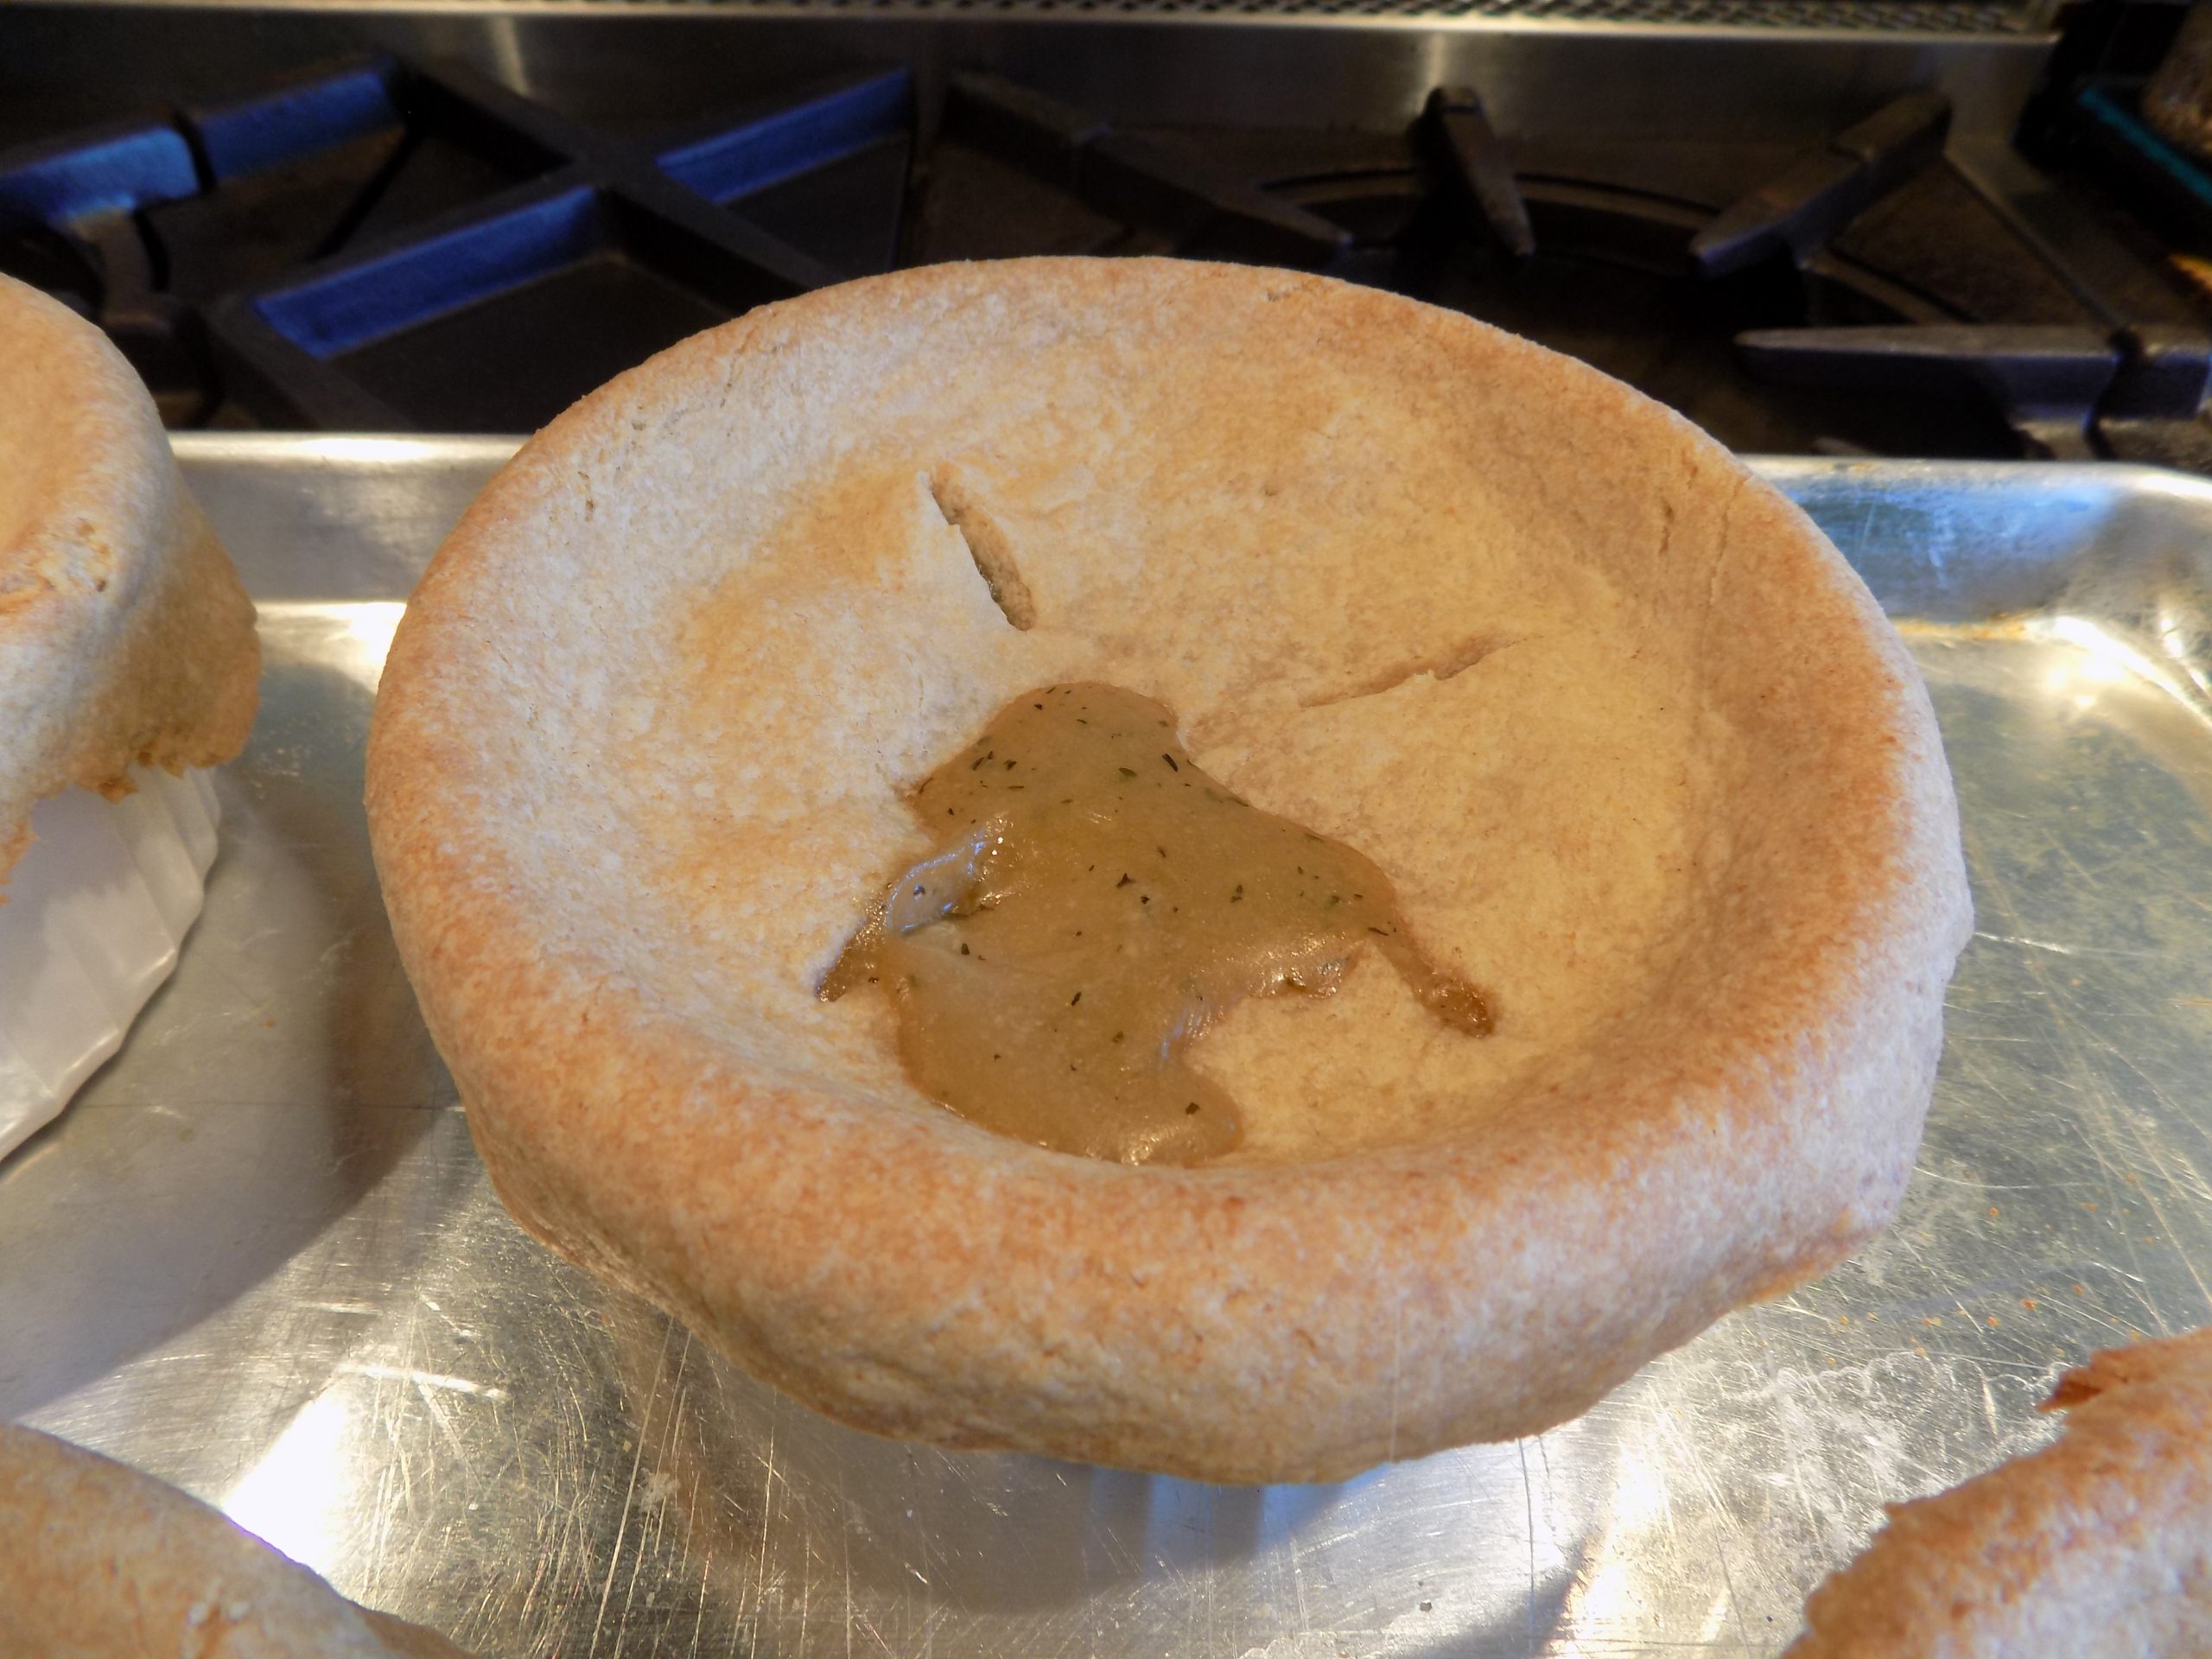
For individual pot pies:
Fill 4 (5-inch wide and 2½-inch deep) Corning Ware French White casserole bowls with the chicken mixture. Or use whatever oven proof containers you have. Turn the dough out onto a lightly floured surface. Cut the ball of dough in fourths. Roll out each piece of dough into about a 7-inch circle. (Or circles about 2-inches wider than the top of the baking dishes you will be using.) This will allow about an inch of dough to hang over the sides. Place the pie crusts on top of the filled dishes and cut at least 4 slits in the pastry. Make sure the slits go completely through the pastry allowing steam to escape.
Place the pot pies on a baking sheet just in case there is any leakage. Believe me if you don’t set the pies on a baking sheet, you might just have filling spilling onto the bottom of your oven. Not something you want! Your crust may also fall off a bit because of all the butter. Not to worry. The fallen bits will still bake beautifully and taste divine.
Place the baking sheet and pot pies in a pre-heated 375-degree oven for 45 minutes or until the crust is nicely browned.
Remove from oven and cool at least 12 minutes before serving.
For 1 (9-inch) deep dish pot pie:
Fill a deep-dish pie plate with the chicken mixture. Turn the dough out onto a lightly floured surface. Make 1 large ball. Cut the ball in thirds. Roll 2 thirds of the dough to a thickness of just less than a quarter inch. Top the filled pie plate and crimp the edges as desired.
Place your pie pan on a rimmed baking sheet. Cut at least 6 slits in the pastry. Make sure the slits go completely through the pastry or the steam will exit out the sides and make a mess on your baking sheet.
Place the baking sheet and pie pan in a pre-heated 375-degree oven for 45-50 minutes or until the crust is nicely browned.
Remove from oven and cool at least 12 minutes before serving. The longer the cooked pot pie sets, the thicker the filling will become.
If you aren’t going to use the remaining pie dough within a couple of days, throw it in your freezer.
Hint: the remaining crust makes for a great rustic fruit tart. Granted it will make a very small tart, but perfect for 2 people. See my recipe for Rustic Peach Tart as an example.
Chicken Filling
¼ c. (½ stick) unsalted butter
½ lg. onion, diced
1 med. carrot, diced
1½ c. diced button mushrooms
1 lg. celery stalk, diced
2 lg. garlic cloves, minced
⅓ c. dry white wine
2 c. water, divided
1 T. chicken base (I use Better Than Bouillon Chicken base)
½ c. whole milk
1 tsp. dried thyme
½ tsp. seasoned salt
freshly ground black pepper
¼ c. arrowroot starch*
1 c. uncooked frozen petite peas
3-4 c. diced cooked chicken (I used rotisserie chicken from Costco because who can beat the price? Plus, it’s a good way to use up some of the chicken. Or more often than not, I use rotisserie chicken from Costco because I’m just plain lazy!)
Melt the butter in a medium pot over medium-low heat. Add the onion, carrot, mushrooms, and celery; sauté on low heat until the veggies are softened and slightly browned. Approximately 15 minutes. Add the garlic and cook for 1 minute.
Add the wine and cook until all the liquid is gone.
Add 1½ cups of the water, chicken base, milk, thyme, seasoned salt, and black pepper. Simmer, stirring frequently, for 10 minutes.
Meanwhile whisk the remaining ½ cup water and arrowroot starch together. Add the arrowroot slurry to the pot and stir constantly just until the mixture thickens, about 1 minute. Remove from heat and stir in the peas and diced cooked chicken.
*Arrowroot starch
According to The Spruce Eats, “Arrowroot is a white, flavorless powder most often used to thicken sauces, soups, and other foods like fruit pie fillings. It is comprised of starches extracted from various tropical tubers, including Maranta arundinacea, the arrowroot plant. Arrowroot powder is similar in use to cornstarch and has twice the thickening power of wheat flour. It is neutral in flavor and adds a glossy finish to foods. Arrowroot is gluten-free, vegan, paleo-friendly, and also has a very long shelf life.”
According to Webmd.com, “Arrowroot’s low glycemic index and high concentration of potassium have been shown to help people with diabetes.”