DO NOT TRY THIS AT HOME! Just kidding. But in all seriousness, this incredibly delicious dessert is a pain in the patootie to make. It all started with me asking Mr. C. what he would like for his birthday cake, pie, whatever? He immediately responded that something with either chocolate mousse or ganache would be terrific. OK then, why not both mousse and ganache? Why not indeed! Well, I’ll tell you why not! Because what I found was this wonderful cake recipe on the sugarandsparrow.com site. And because I’m not as talented as Whitney, this cake’s creator, I was totally out of my element. But I persevered and with the help of my guardian angel and the use of words not fit to repeat in polite company, I was able to pull it off. But only by the skin of my teeth!
So, although at some point in the future I will undoubtedly make this cake again, probably for Mr. C., I will not be as intimidated as I was the first time around.
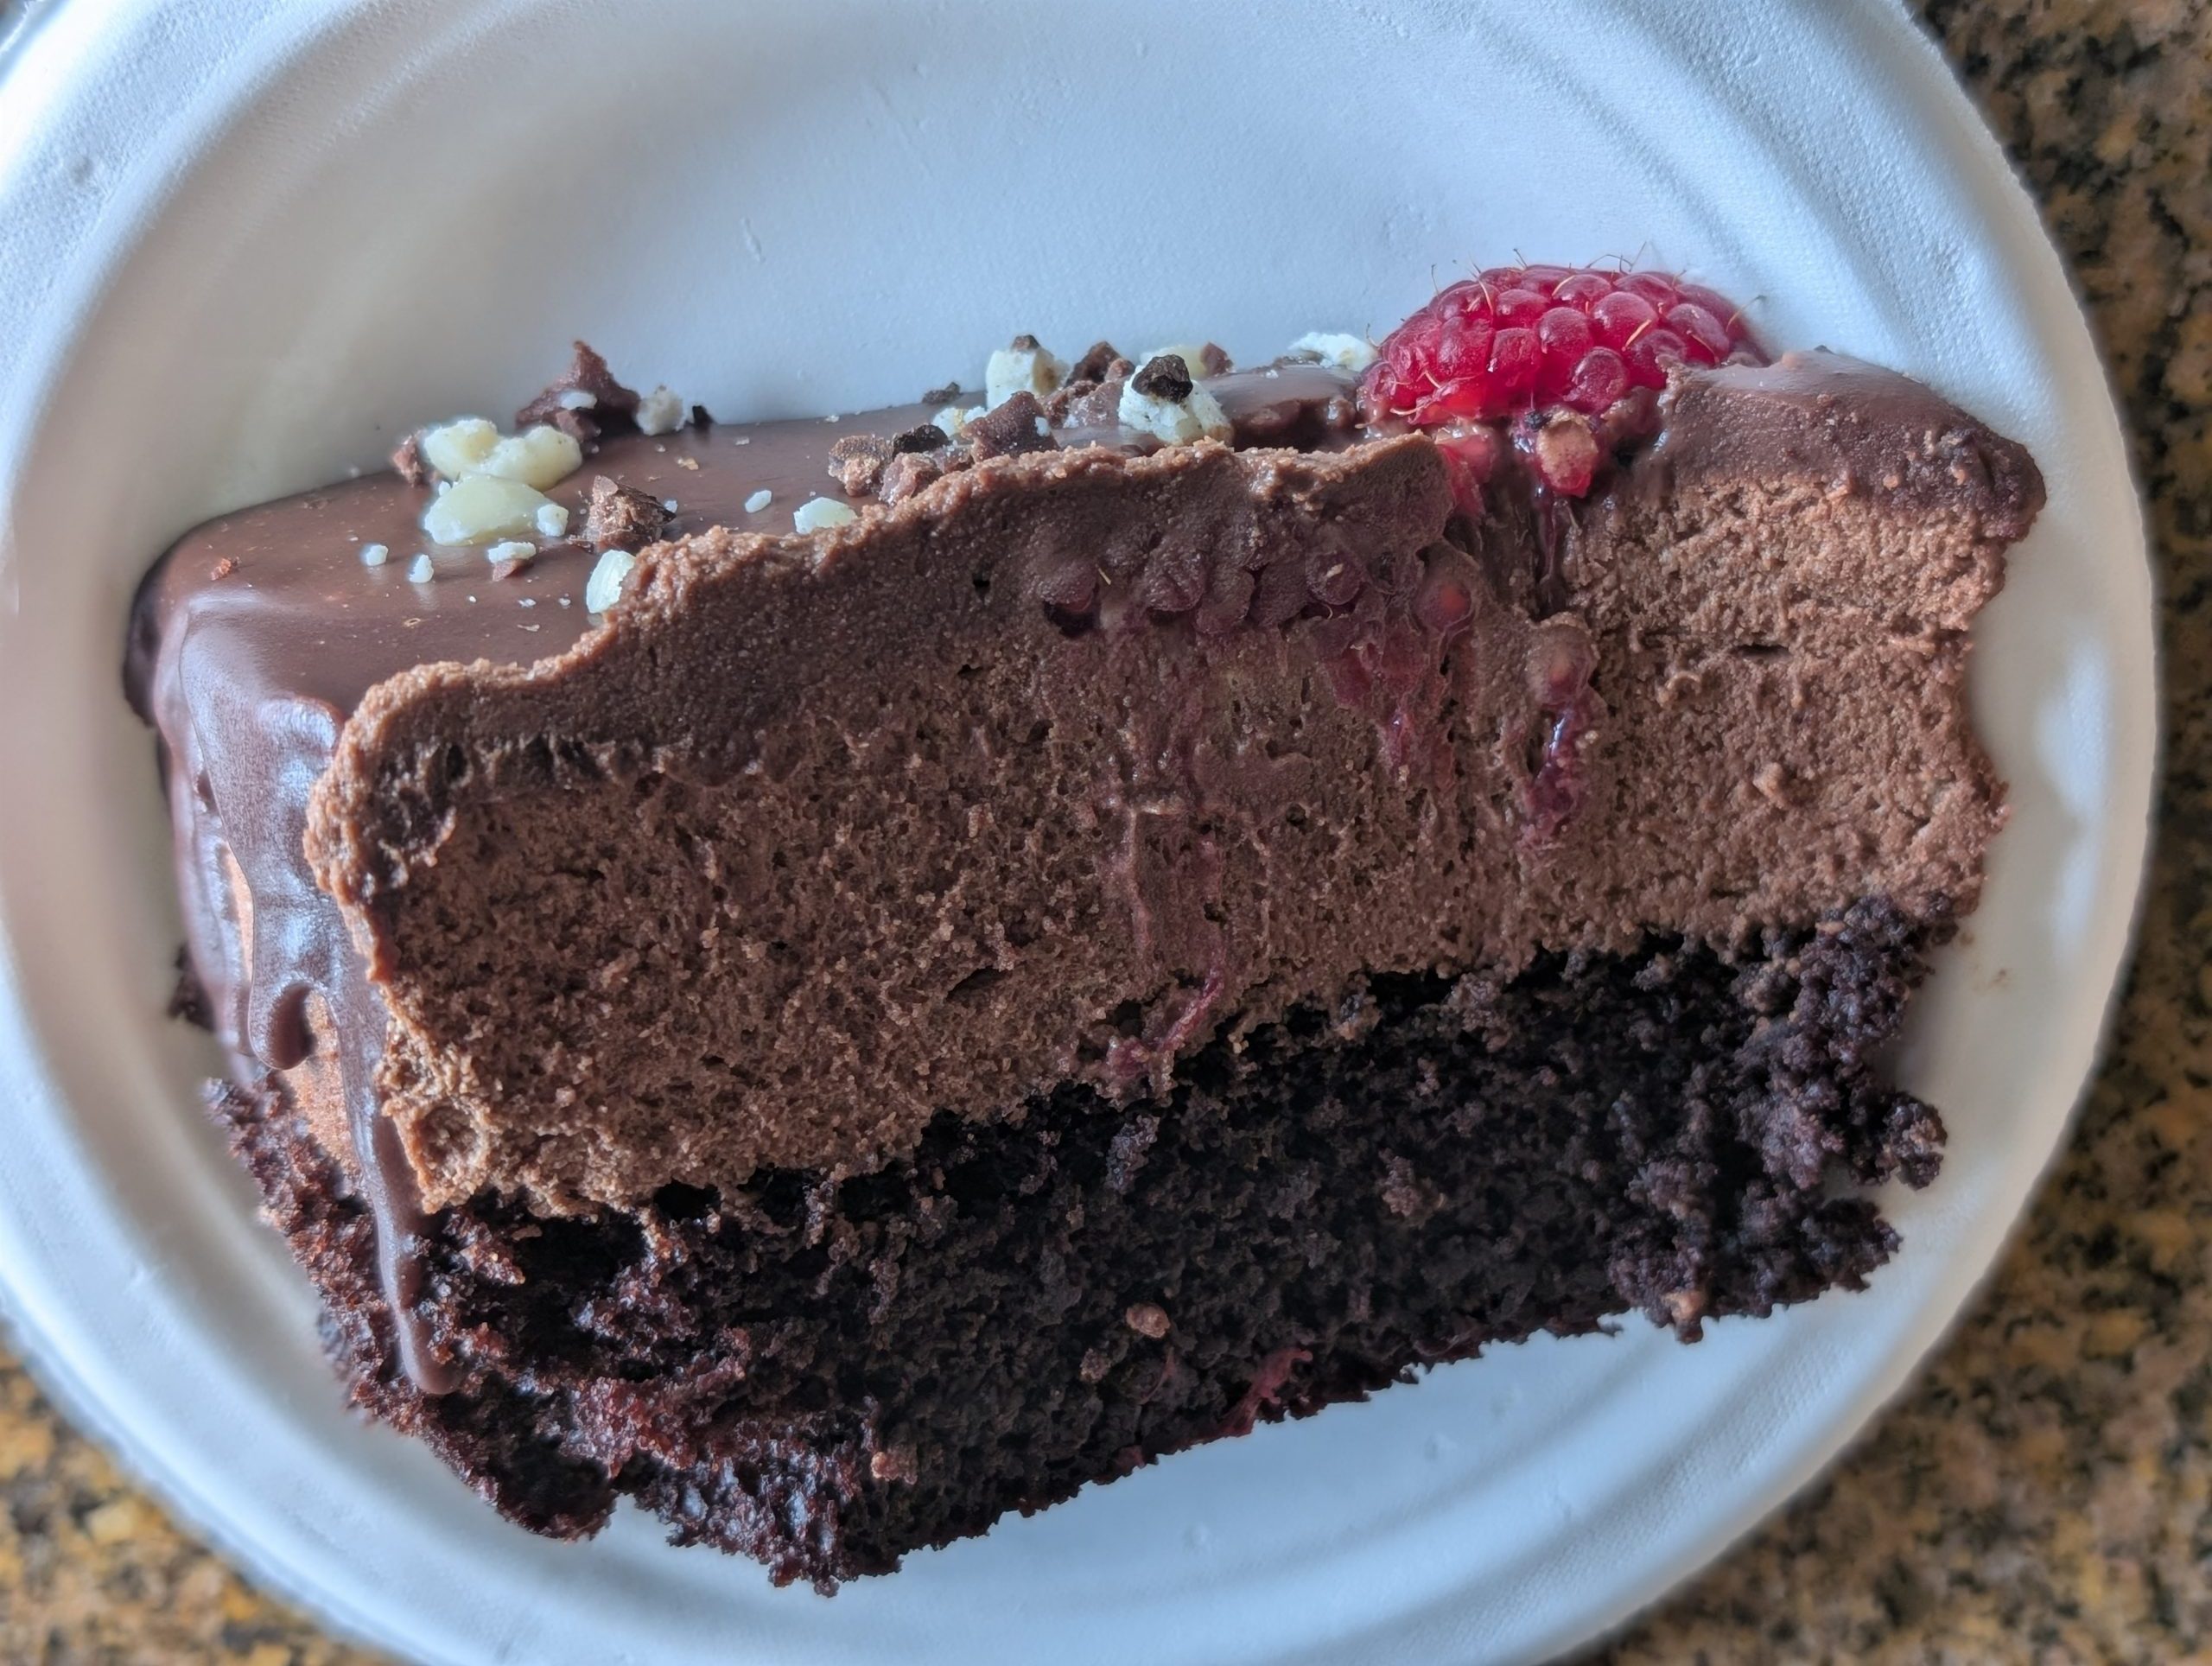
So, if you too are of the adventuresome ilk, I suggest you make this cake. It is truly one of the best desserts I have ever had the pleasure of eating. And because it is extremely rich (yah think!), it is perfect for a large group. And a wonderful way to show someone how much you love them!
Well, that’s it for today. We spent the last 5 days with good friends at a local RV campground for a “beginning of season RV shake down”. I haven’t laughed so hard in months. We had just the best time. And it made me realize even more than usual the importance of having close friends and spending quality time with them. Especially now when our country is in such a precarious position. I still can’t believe what is happening to our democracy. How just a few greedy people have placed so many in jeopardy. So, surrounding myself with people who display empathy, kindness, respect for others, and a kindship based on love rather than hate, keeps me from falling into a state of despair.
May you too have people who uplift and ground you. These are rough times. We need each other.
And as always, peace and love to all.
For the Chocolate Cake:
1 c. unbleached all-purpose flour, fluffed
¾ c. granulated sugar
⅓ c. good unsweetened cocoa powder
1 tsp. baking soda
½ tsp. baking powder
¼ tsp. kosher salt
¼ tsp. espresso powder
¼ c. vegetable oil
1 lg. egg, room temp.
1 tsp. pure vanilla extract
½ c. full-fat buttermilk, room temp.
½ c. hot water
Prepare a 9-inch springform pan by spraying the sides (the collar) with cooking spray and fitting the bottom with a parchment paper circle. Line the bottom of the pan with aluminum foil to ensure there is no leakage of cake batter.
Whisk the flour, granulated sugar, cocoa powder, baking soda, baking powder, salt, and espresso powder together in a large mixing bowl. Add the vegetable oil, egg, vanilla, and buttermilk and whisk until combined. Add the hot water in a slow stream, then whisk until smooth. The batter will be very thin.
Pour into your prepared springform pan.
Bake in a pre-heated 350-degree oven for 30-33 minutes or until a toothpick inserted into the middle comes out clean.
Remove from oven and cool completely before proceeding.
For the Chocolate Mousse:
2 c. semi-sweet chocolate chips
2⅓ c. heavy whipping cream, divided
2 T. powdered sugar
2 tsp. pure vanilla extract
1 tsp. espresso powder
Place the semi-sweet chocolate chips into a large glass or metal bowl and set aside.
Place 1 cup of heavy whipping cream into a small saucepan set over medium-low heat. Whisk frequently until the cream begins to simmer around the edges, then pour it over the chocolate chips and whisk until it becomes a smooth ganache.
Set aside until the ganache cools to room temperature, for about 25 minutes. Wait until it is room temperature to move on to the next step.
In the bowl of your stand mixer fitted with the whisk attachment, add the remaining 1⅓ c. of heavy whipping cream, powdered sugar, vanilla, and espresso powder. Mix at low speed until the ingredients are combined, then turn the mixer to high and beat until stiff peaks form, about 4 minutes.
Add the whipped cream mixture to the cooled ganache and fold gently with a rubber spatula until there are no streaks.
For the first assembly:
Remove the collar from the springform pan. Using a serrated knife, level the top of the cake to create an even layer. Gently peel off the parchment paper on the bottom of the cake layer. Then clip the collar back on. The next step is very important.
Take a piece of parchment paper and cut it into the height and circumference of your springform pan. In fact, what you are making is a liner for your pan that will keep the cake and mousse from touching the side of the pan. And using scotch tape is just fine to hold the liner together. Who will know? This liner will help keep the mousse in place as it sets. Place the cake back in the pan. Add the chocolate mousse on top of the cake layer and smooth it down with an offset spatula until it reaches the edges of the liner and has an even surface. Refrigerate for 6 hours, or overnight.
For the Chocolate Ganache and garnish:
½ c. semi-sweet chocolate chips
½ c. heavy whipping cream
½ c. fresh raspberries
¼ c. roughly chopped chocolate covered espresso beans
When the chocolate mousse cake is set, place the semi-sweet chocolate chips into a medium glass or metal bowl and set aside.
Pour the heavy whipping cream into a small saucepan set over medium heat. Bring it to a simmer, whisking frequently, then pour it over the bowl of chocolate and whisk until uniform and smooth. Allow the chocolate ganache to cool to room temperature, for about 20 minutes.
During those 20 minutes, unclip the springform pan collar and remove it. Then, unwrap the parchment paper liner from the sides of the mousse cake. Move the mousse topped cake to a cake plate.
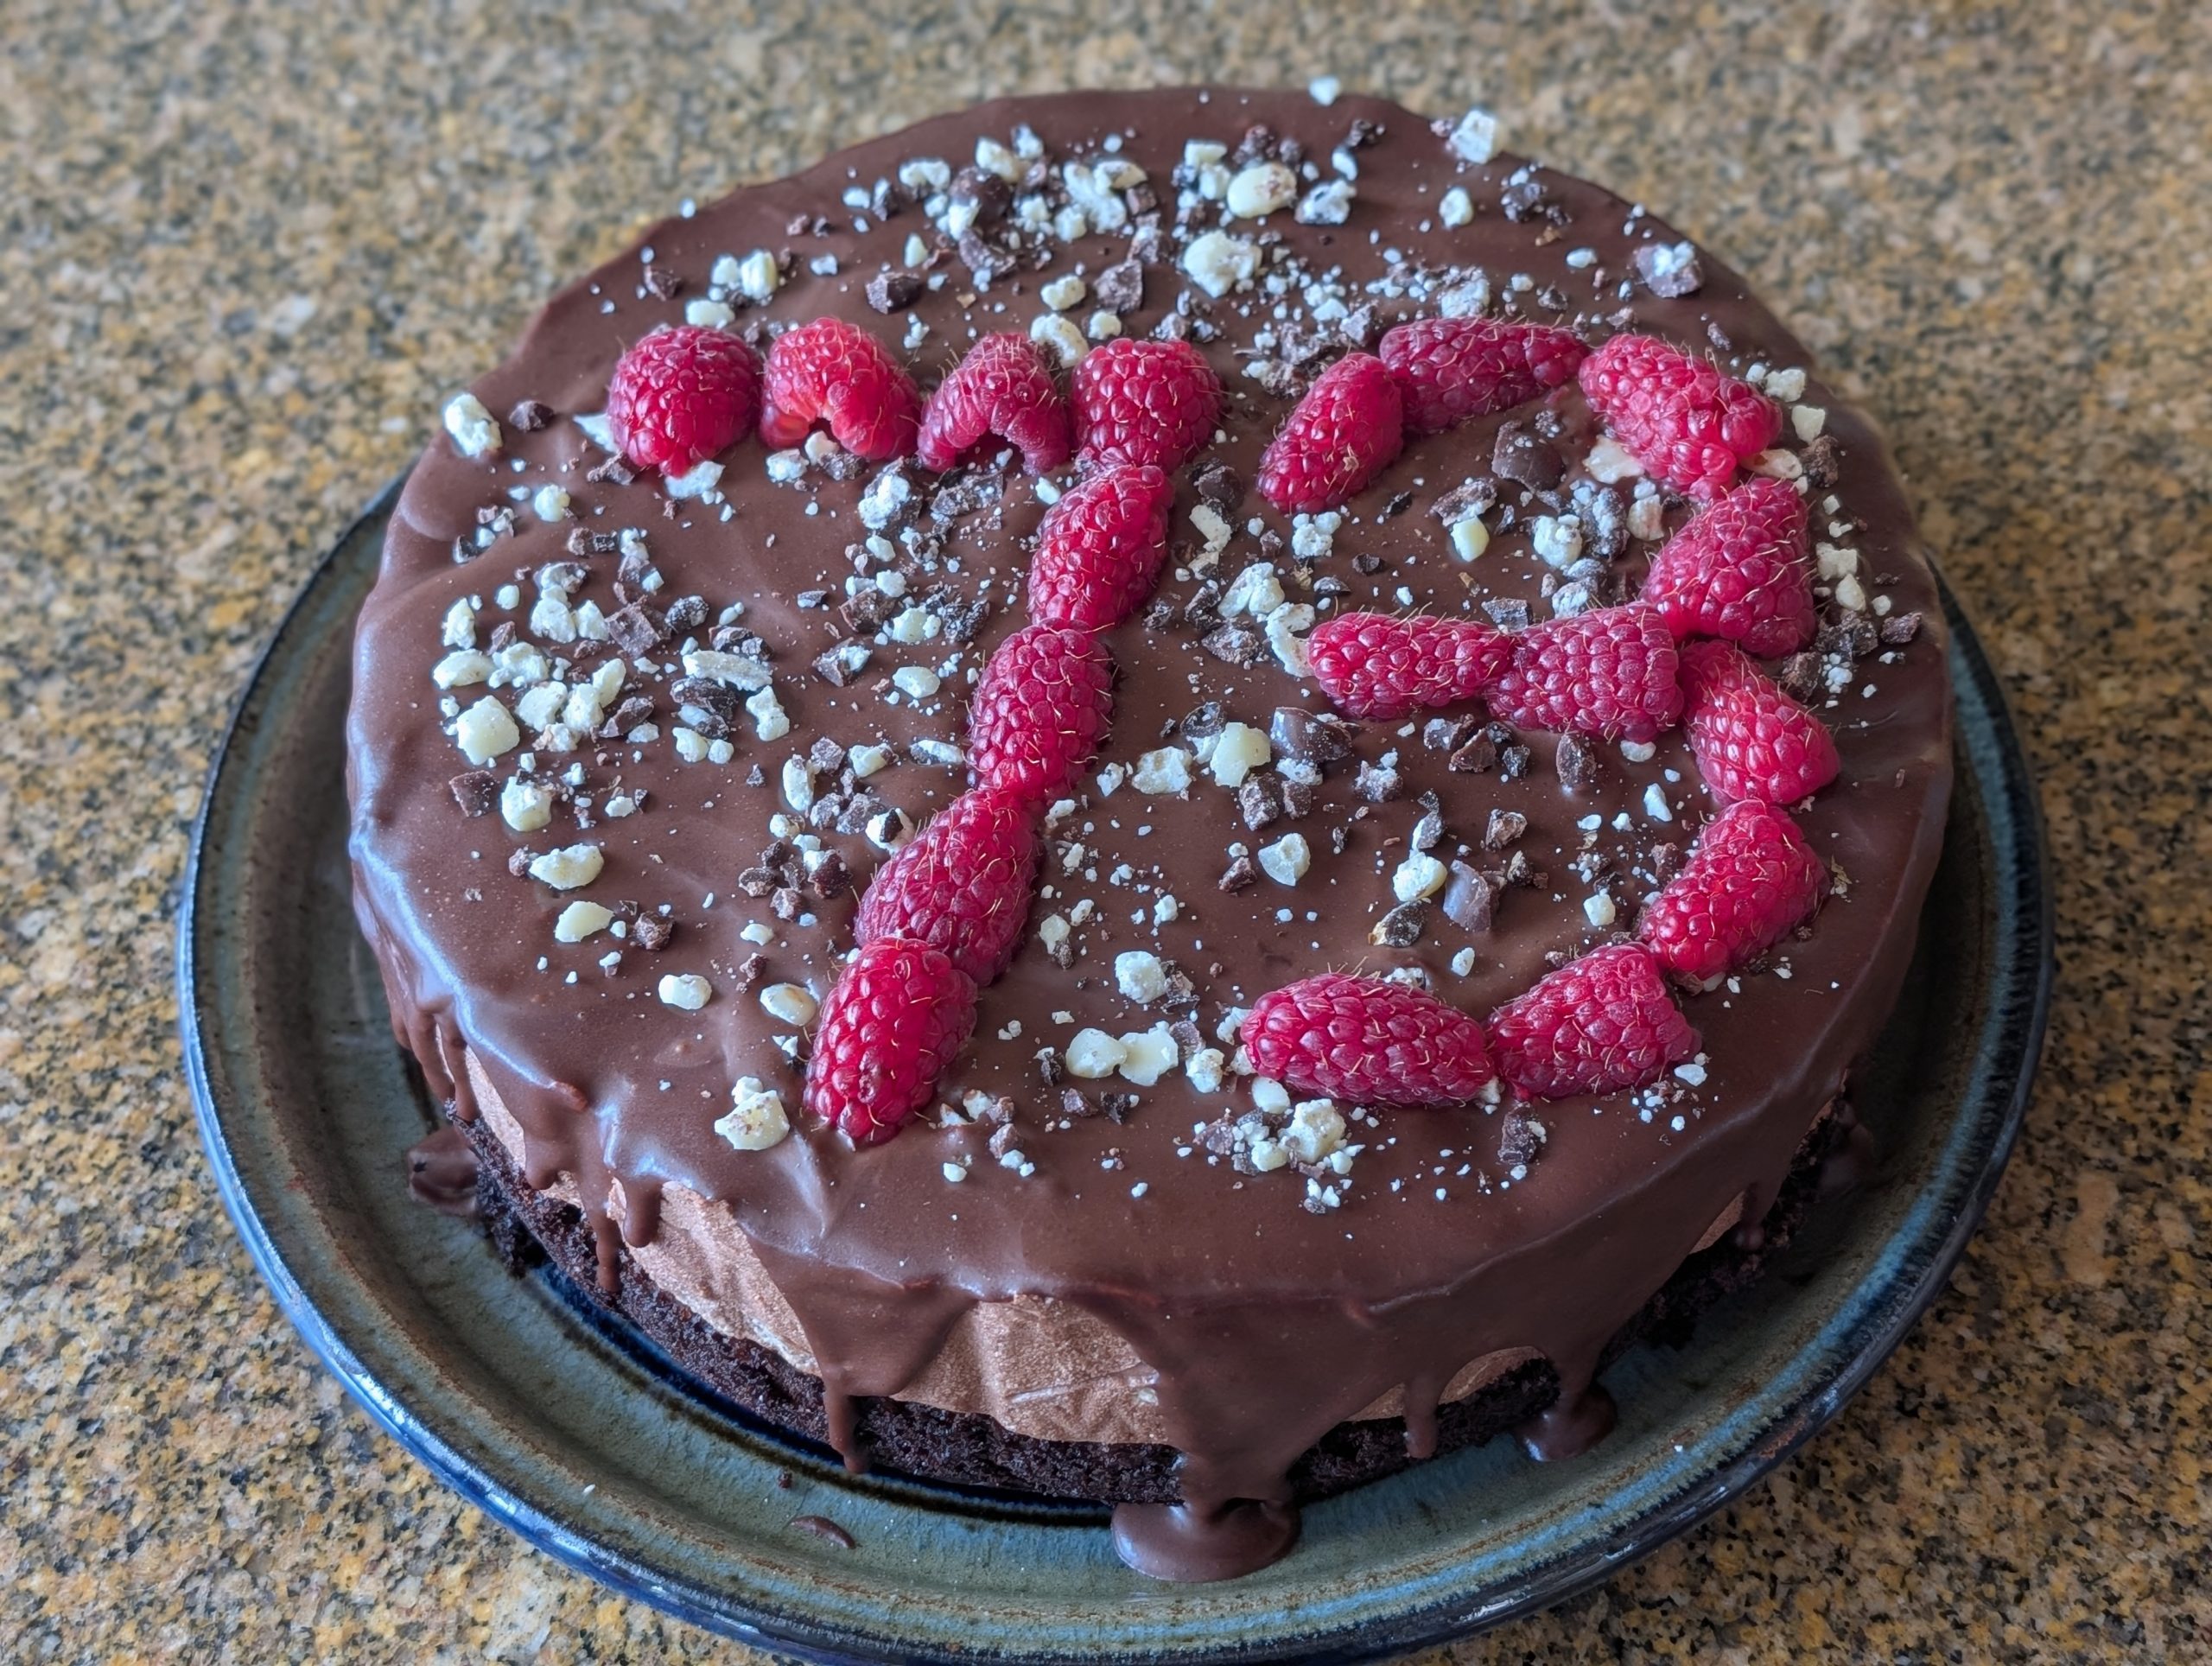
Pour the cooled chocolate ganache over the top of the cold chocolate mousse cake and spread it with an offset spatula until it runs over the edges.
Garnish with fresh raspberries and chopped chocolate covered espresso beans. Serve immediately or refrigerate until ready to serve.