I am always trying to come up with new and exciting side dishes. And especially side dishes that can be prepared ahead of time. So in trying to come up with a non-potato or rice dish to serve our hungry and discerning home concert guests this next Sunday, I thought about a savory bread pudding. And although I have two other delicious recipes for savory bread pudding on this site, Savory German Bread Pudding with Mushrooms and Wild Mushroom Bread Pudding, I wanted a strata that included kale and Gruyère cheese.
So never being one to leave well enough alone, I made some changes to a recipe I found on the New York Times web site. (I don’t know why I can’t just leave a recipe as is. But for whatever reason, most of the time I find it impossible to not tinker with a new recipe!) And in this case, I think the changes worked well.
The kale gives the strata a nice boost of color and vitamins, and the combination of cheeses lifts the overall flavor from mediocre to marvelous.
So if you too are bored with potato or rice side dishes, give this recipe a try. It’s easy to prepare, beautiful to look at, and delectable. It would also make a wonderful change from regular dressing at Thanksgiving or Christmas time. The pudding is flavorful enough to stand on its own, but if someone simply had to pour turkey gravy over it (that would be me!), the pudding would not be hurt in the least! (As if good turkey gravy ever hurt anything in the first place!)
- 2 T. extra virgin olive oil
- ¾ c. diced onion
- 4 c. kale (stemmed, washed, cut into bite sized pieces, and dried in a salad spinner)
- ½ lb. button or crimini mushrooms, sliced
- 2 garlic cloves, finely minced
- 2 tsp. fresh thyme leaves, coarsely chopped
- ½ tsp. kosher salt
- freshly ground black pepper
- ½ lb. rustic bread, cut into cubes (I like to use rustic sour dough bread)
- scant 2 c. grated Gruyère cheese
- scant 1 c. grated Parmesan cheese
- 4 lg. eggs
- 2 c. whole milk, or more as needed
- 2 tsp. Dijon mustard
- ½ tsp. ground nutmeg
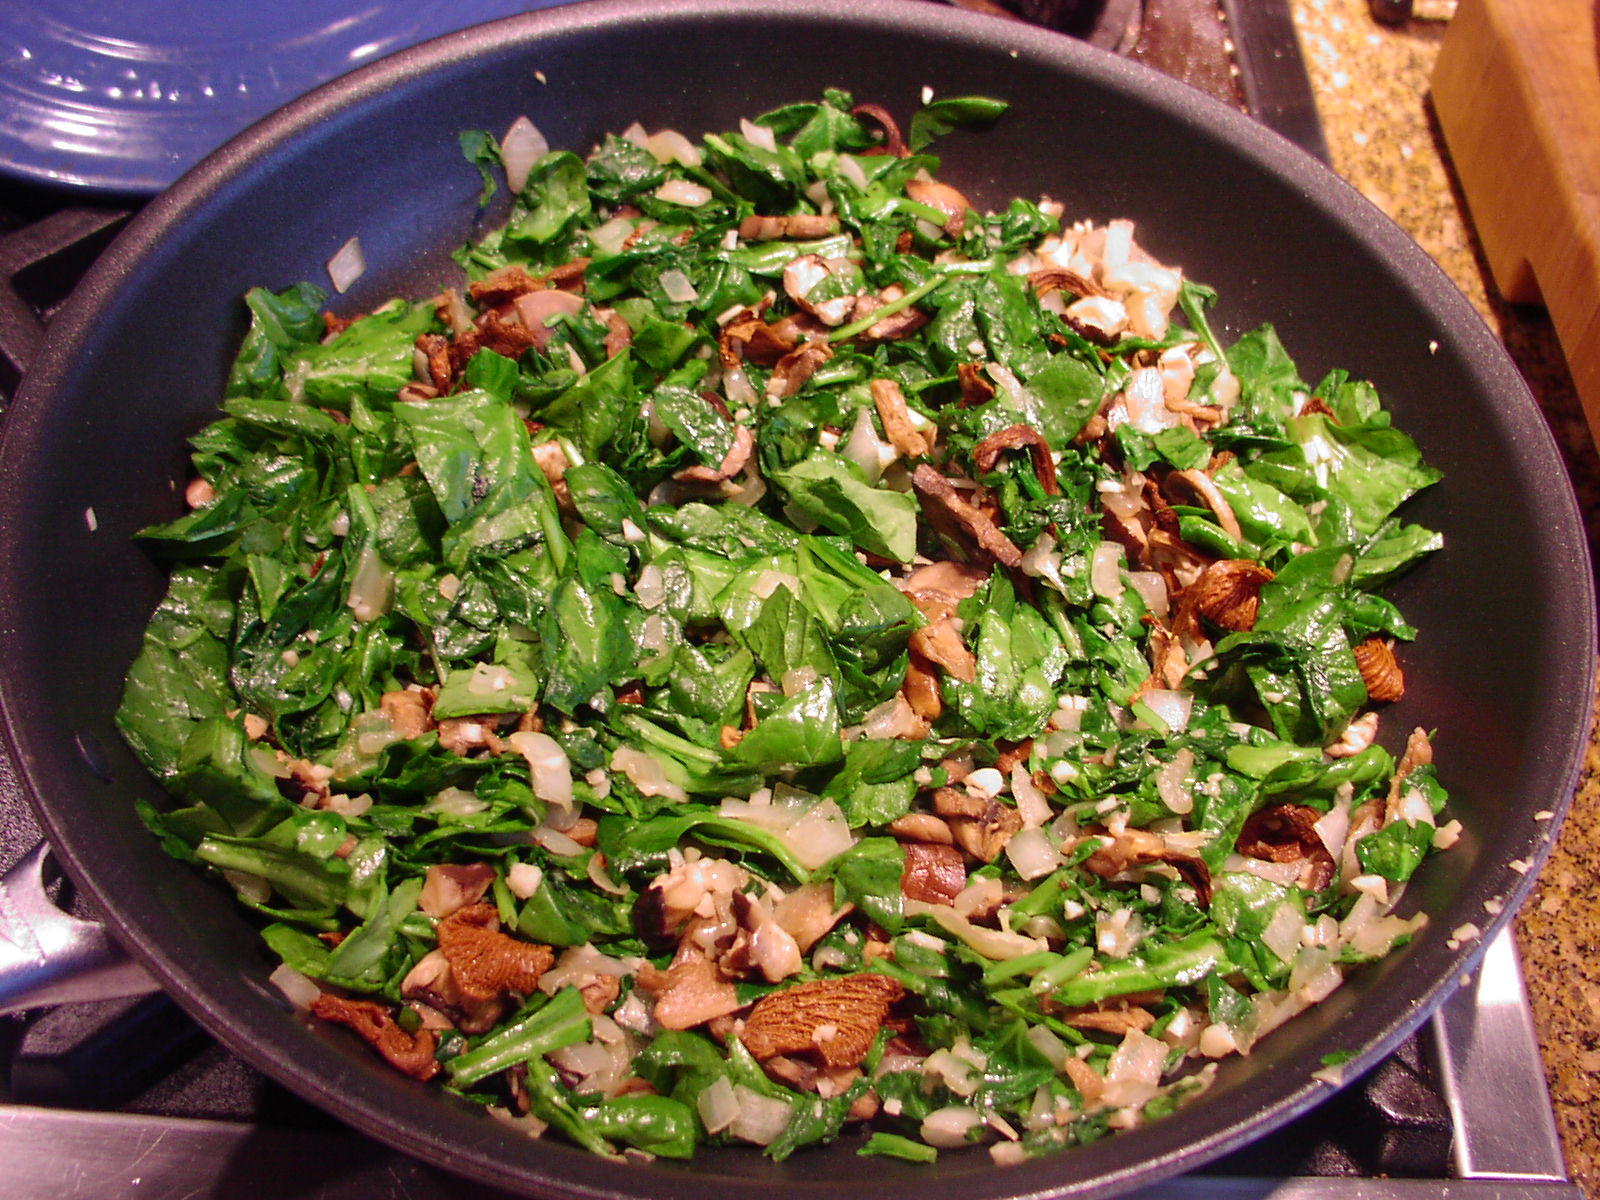
Heat the olive oil over medium-high heat in a large frying pan. Add the onion and kale; cook until the onion becomes translucent, about 3 minutes. Add the mushrooms and cook for about 2 minutes. Add the garlic, thyme, salt, and pepper and cook for 1 minute. Remove from the heat, and set aside to cool.
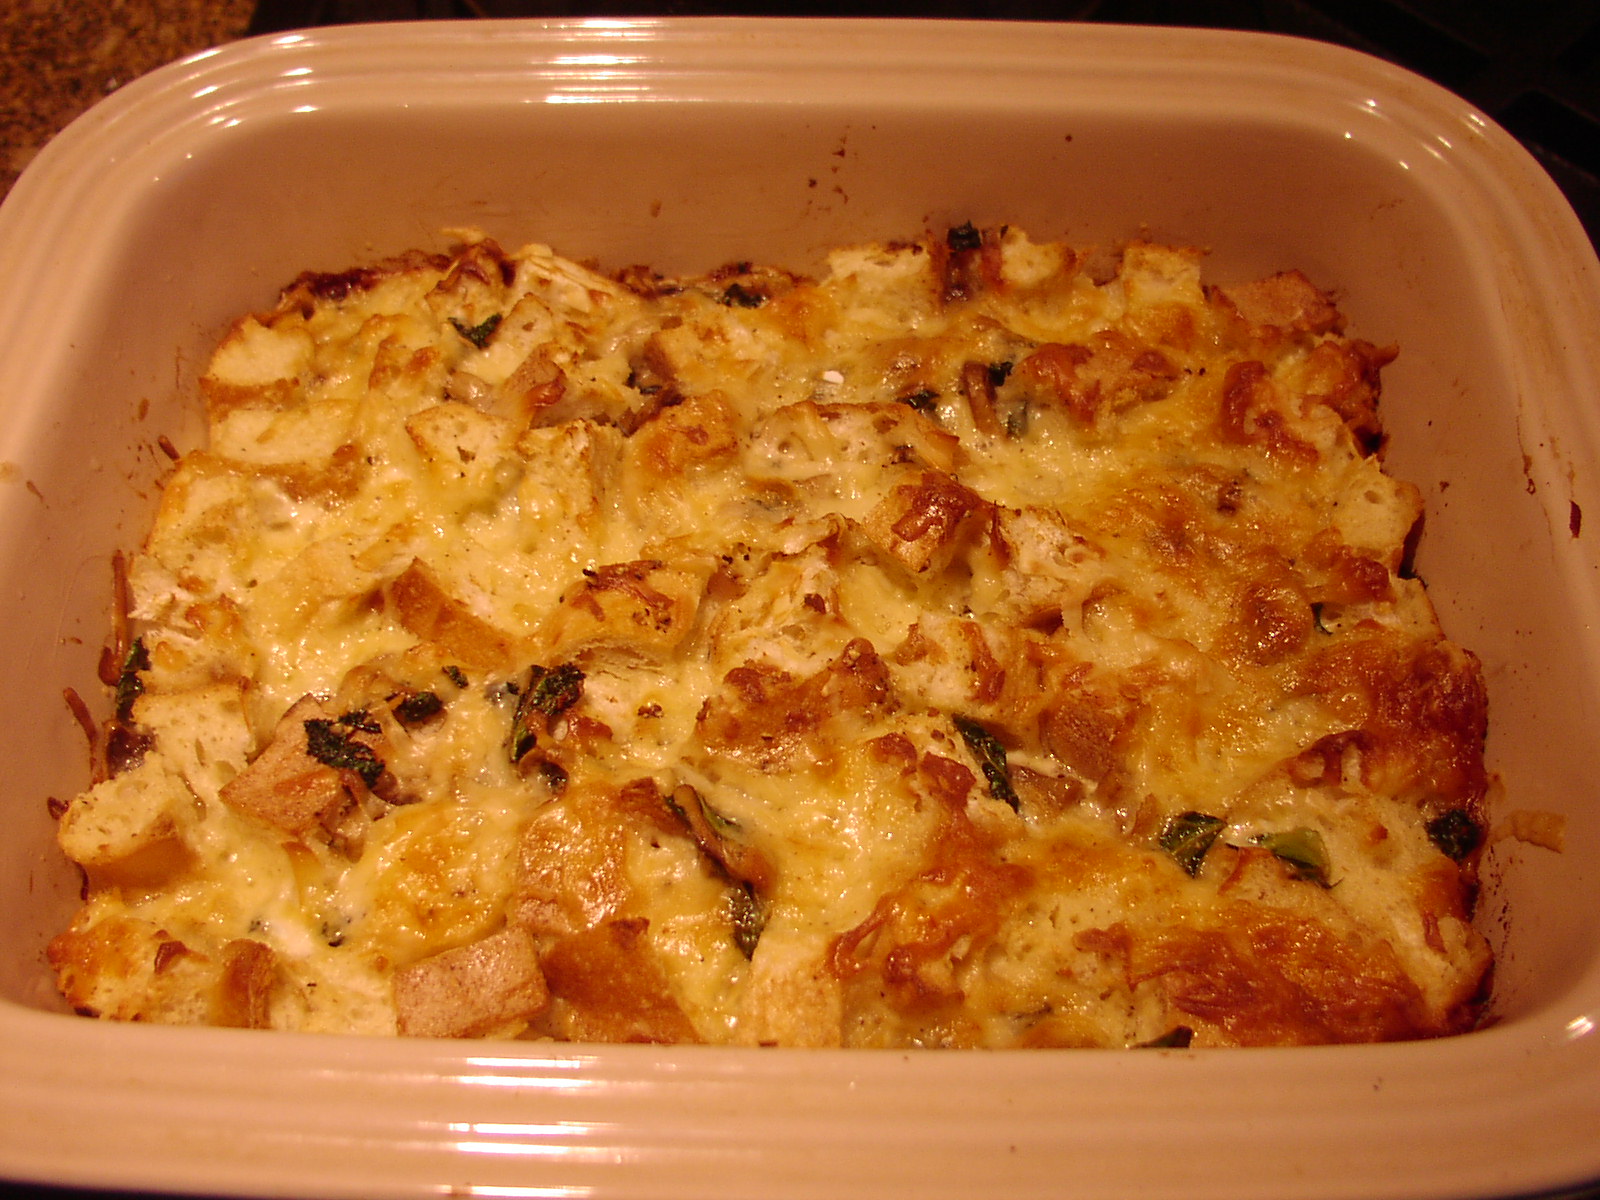
In a large bowl, combine the bread cubes, the mushroom and kale mixture, and the Gruyère and Parmesan cheeses. Pour into a buttered large casserole dish or baking pan.*
Whisk the eggs, milk, mustard, nutmeg, a pinch of kosher salt, and some fresh ground pepper together. Pour over the bread mixture. Press down just a bit so bread cubes are mostly covered by the liquid. (If the bread cubes stick up above the liquid, add just a bit more milk.) Let sit for at least an hour before baking uncovered in a pre-heated 350 degree oven for 40 to 50 minutes, or until puffed and very lightly browned. Remove from oven and serve warm.