As you might have guessed by now, I am getting lazier and lazier in all aspects of my life. Even cooking. Or to be exact, mostly in the day in day out, what should I cook for dinner, realm of cooking. Which for those of you who know me, or are yourself in your late 70s, is not a condition I am experiencing any different than most other cooks my age. As a group, we are all slowing down. And most of us have been preparing dinners now for 5 decades. That’s a blooming lot of dinners to not only cook but think up! So, both the appeal of cooking 7 dinners a week and the reality of the work involved has diminished at least my eagerness to continue performing miracles in the kitchen. So, for me, it’s mainly the energy involved that has dampened my zest for providing unique and tantalizing dishes every stinkin’ night! Which is hard for me to accept since I have always been kind of an energizer bunny! But Mother Nature has put the kibosh on what was once my norm. Because boy howdy, things have changed dramatically in this old gal’s body! And one of the major changes is how I feel about cooking dinner EVERY BLOODY NIGHT!
Luckily Mr. C. understands where I am coming from because as strange as it may seem, he is slowing down too. Funny how that works. And of course, with all his gigs that are often held in restaurants, I get a break from cooking dinners every night. So, that helps. Plus, there are the days when I simply announce that I am not cooking dinner. And bless his heart, he has never questioned my decision or tried to change my mind.
Now don’t get me wrong. I still love to cook. And I especially like to prepare food for gatherings at our home. And I love to hear Mr. C. verbalize his pleasure over food items that I have set before him. So, of course I continue to enjoy that aspect of dinner preparation. I just don’t want to spend as much time in the kitchen as I did when I was younger. But I still insist that the food be as healthy and tasty as possible. Thus, the recipe you find below.
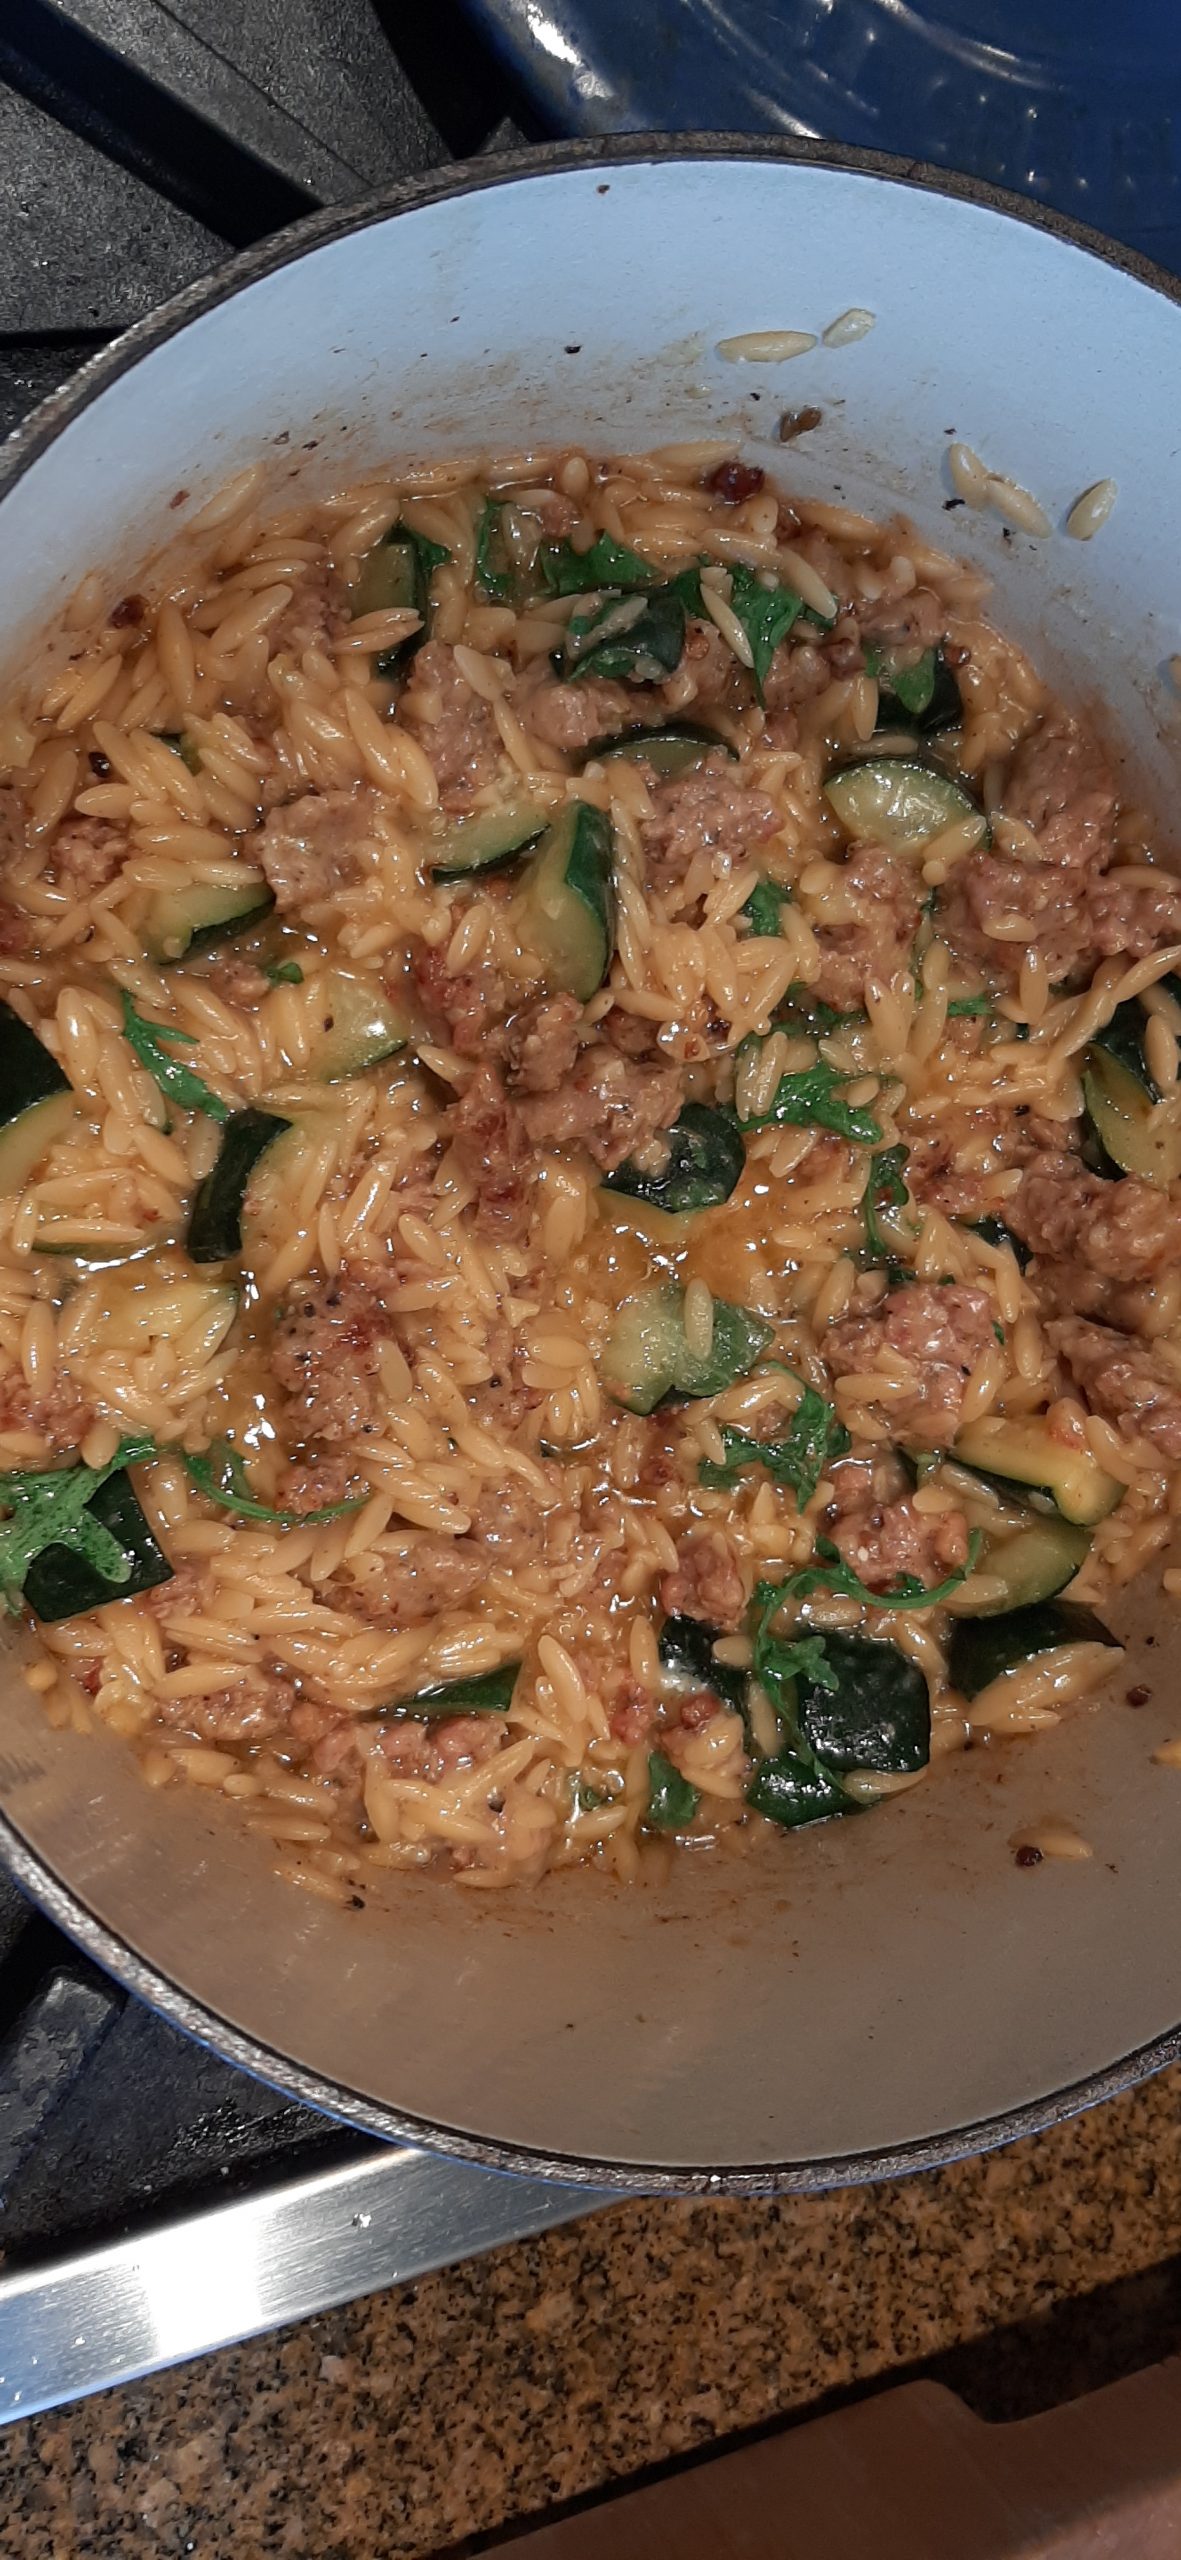
I found this recipe on the tippsinthekitchen.com site. I had some bulk Italian sausage in the freezer and a couple of zucchinis that were trying to self-destruct, so to the internet I proceeded. Not only was this pasta dish extremely quick and easy to prepare, but it was also delicious. I made a couple of slight changes, but then, that’s just what I do!
So, I hope you too enjoy this lovely main dish. I served it with a crisp green salad, and dinner was delightful.
And as a gentle reminder, let’s all remember to cut ourselves some slack. Our bodies all change as we get older. So, we need to be reminded that not only are we changing, but so are others around us. And as our bodies morph into their new reality, let’s all work even harder to keep our minds focused on kindness, patience, forgiveness, empathy, and the willingness to accept what we can’t change. Because aging is not for the faint of heart! But luckily, kindness, etc. is a gift you can give others that doesn’t adversely impact your aging body in any way, shape, or form. In fact, quite the opposite. Being a thoughtful human being brings on a high that not even the best-known uplifting drugs can duplicate or exceed. A natural high, as the saying goes!
Peace and love to all.
2 T. extra virgin olive oil
1 lb. bulk Italian sausage
2 sm. zucchini squash, chopped in 1-inch pieces
4 cloves garlic, finely minced
pinch crushed red pepper flakes
¼ tsp. fennel seeds
1½ c. dried orzo (Make sure the orzo was made in Italy)
3 c. chicken broth
½ tsp. kosher salt
freshly ground black pepper
1 c. grated Parmesan, plus more for passing
2 c. fresh baby spinach or arugula, optional
Heat the olive oil in a large, heavy, covered pan over medium high heat. Add the sausage and cook, breaking up the sausage as it browns. Add the zucchini and sauté for 2 minutes. Add the garlic and cook for one minute. Then add in the crushed red pepper flakes, fennel seeds, and orzo. Cook for 1 minute.
Pour in broth, bring to a boil, reduce heat, cover, and simmer for 10-12 minutes, stirring every few minutes until orzo is cooked. (If the consistency seems a bit watery, remove the lid for the last bit of cooking time.) Add the Parmesan and stir until well blended.
Add the spinach or arugula and cook only till wilted. Taste and adjust seasoning. Offer additional grated Parmesan to the table.