So I guess the first order of business is to apologize for not posting for over a month. But we were on a trailer trip and I just didn’t have the time or the inclination. (How’s that for putting my priorities in the proper order?) But I did return from our visit to New Mexico with a couple of new and exciting recipes to share with you. But first, a little insight into New Mexico’s take on Southwestern cuisine.
Unlike most of the Mexican restaurants in the Seattle area, whole pinto beans are served in New Mexico restaurants rather than mashed or refried beans. And along with the whole beans, the two best restaurants we visited served posole (dried white corn hominy) as a side dish instead of rice. (I seriously dislike most Mexican rice, so this was just fine by me!)
In fact, I enjoyed the posole as a side dish so much, I couldn’t wait to get home and work up a recipe for myself.
Now as most of you know, most posole is served as a stew. In fact, I have both red and green posole stew recipes already posted on this site – Red (Rojo) Posole with Pork and Green Posole with Chicken. But when posole is served as a side dish, all the wonderful flavor of a stew is still right there; it just isn’t as “saucy”. But before I say more about this recipe, and because I know you are all just dying to know if we enjoyed our trip, the answer is yes, yes, yes! In fact, we can hardly wait to return. The quality of the art in the Santa Fe area was beyond belief! The pueblos, Aztec Ruins National Monument, and Mesa Verde were spectacular. And of course the food was wonderful. And the high road (scenic byway) between Taos and Santa Fe was an absolute delight. (Very reminiscent of driving through the hill towns in Italy.)
Along the way (all 5,327 miles) we visited other areas that were equally amazing. Our favorites were Craters of the Moon, Moab, Bandelier National Monument, and Vedauwoo.
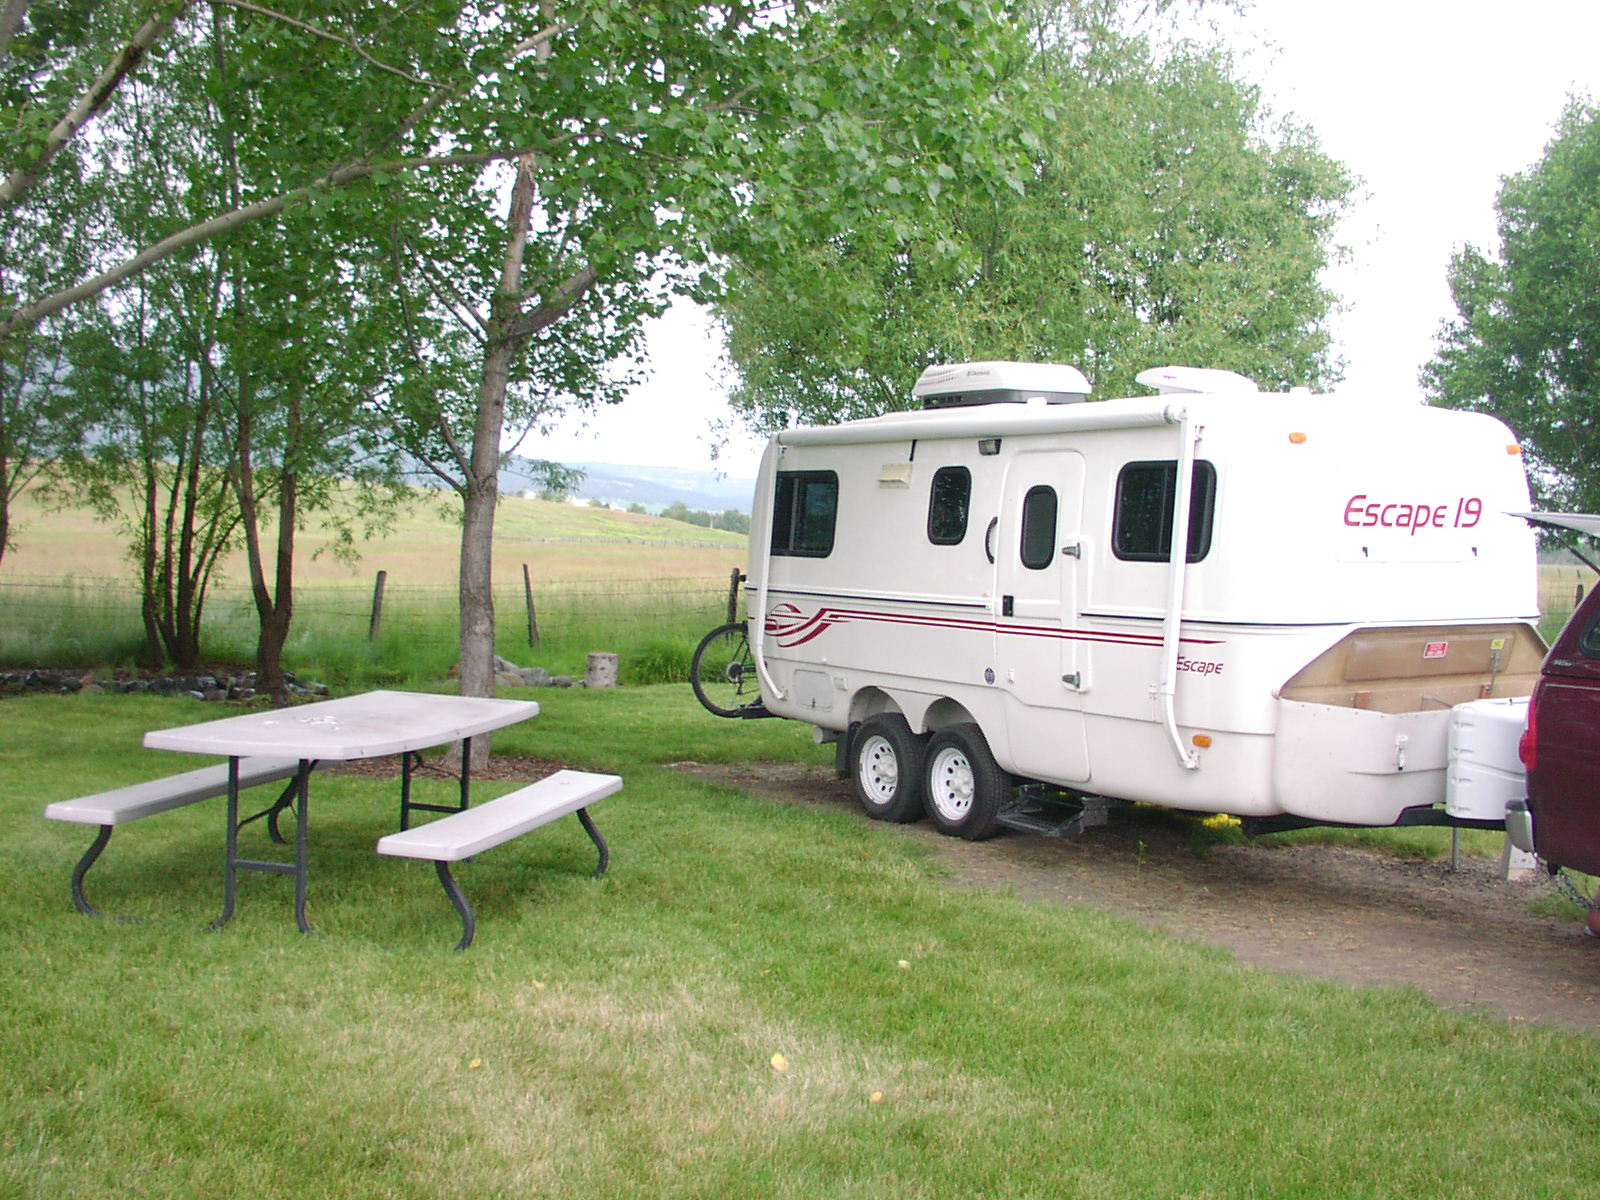
But the area that captured our hearts and caught us completely by surprise was the Eagle Cap Wilderness in North-Eastern Oregon. What an absolutely enchanted and lovely part of the world. So much so, that I told Mr. C. that if we didn’t already live in paradise, I could actually see us living in a home somewhere between Enterprise and Joseph, Oregon. Beautiful mountain vistas, plenty of open space, creeks in abundance, a lovely lake, and the cost of living about half what it is here. (What’s not to love about that, right?!) The photos below were taken at our RV park outside Joseph, Oregon where we spent 3 fabulous nights.
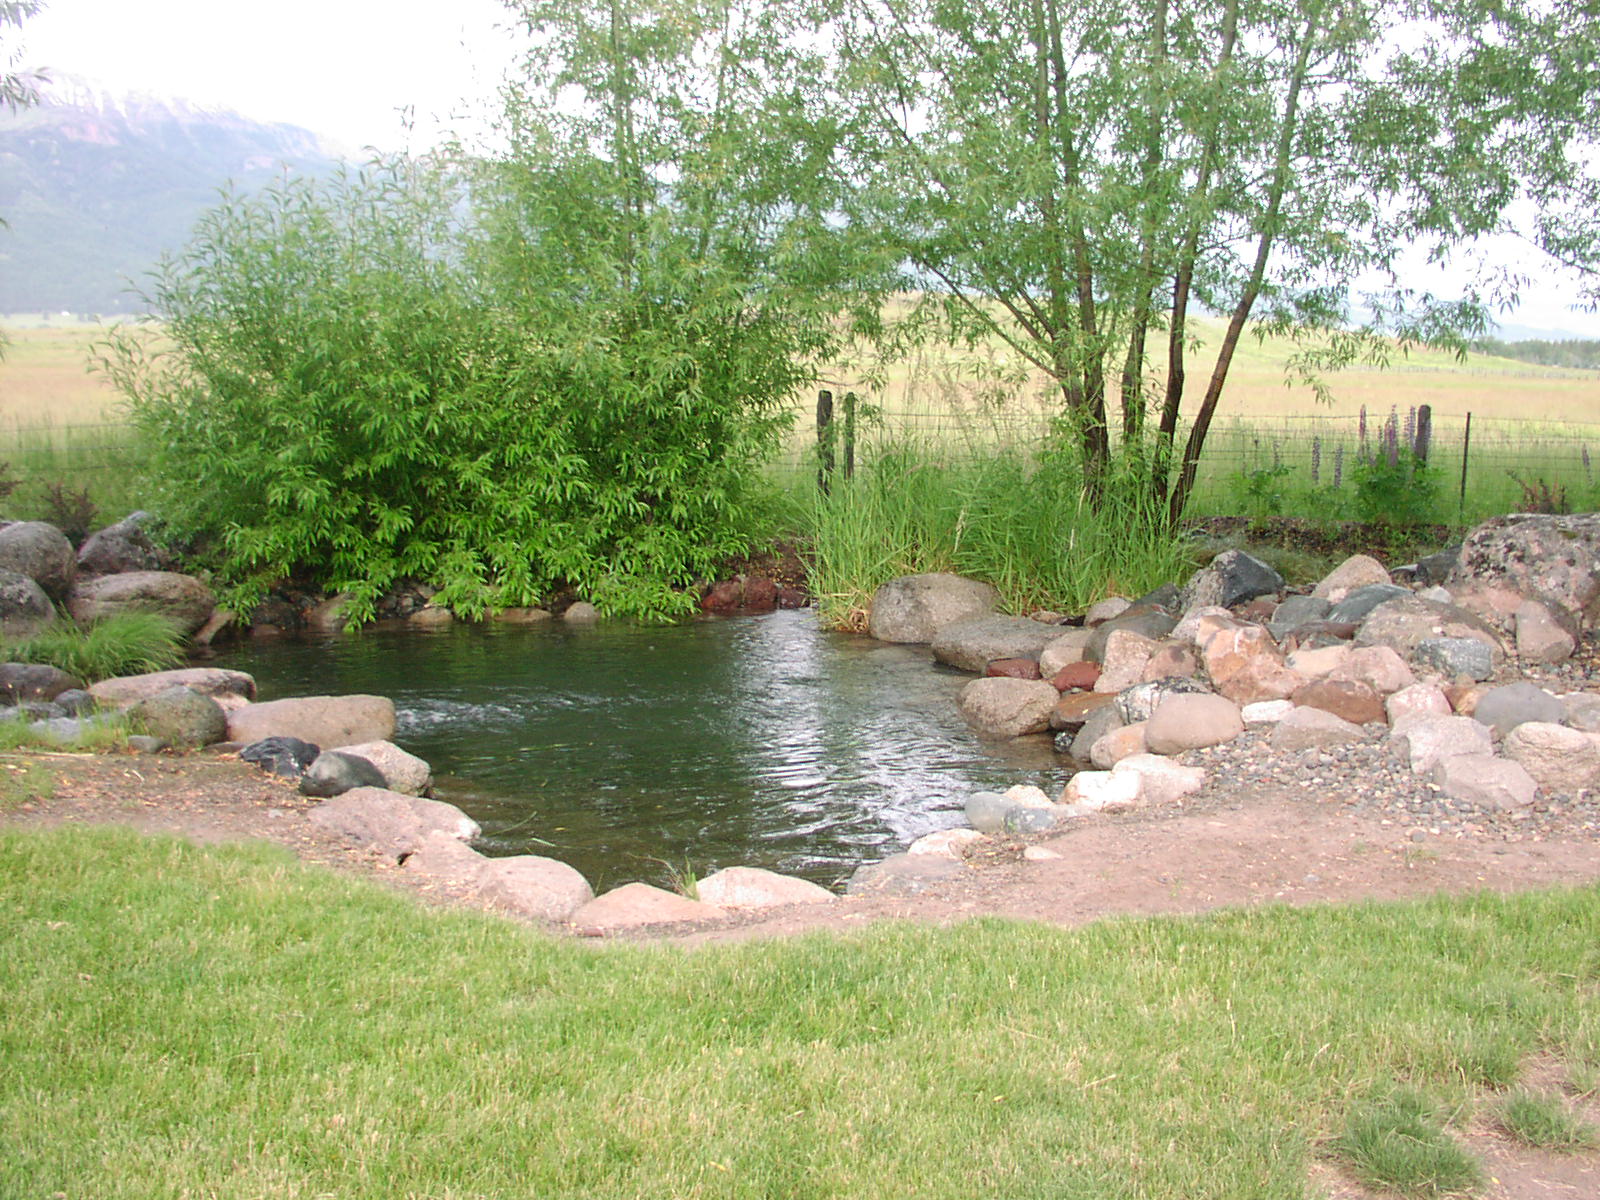
(The “swimming” hole just beside our trailer)
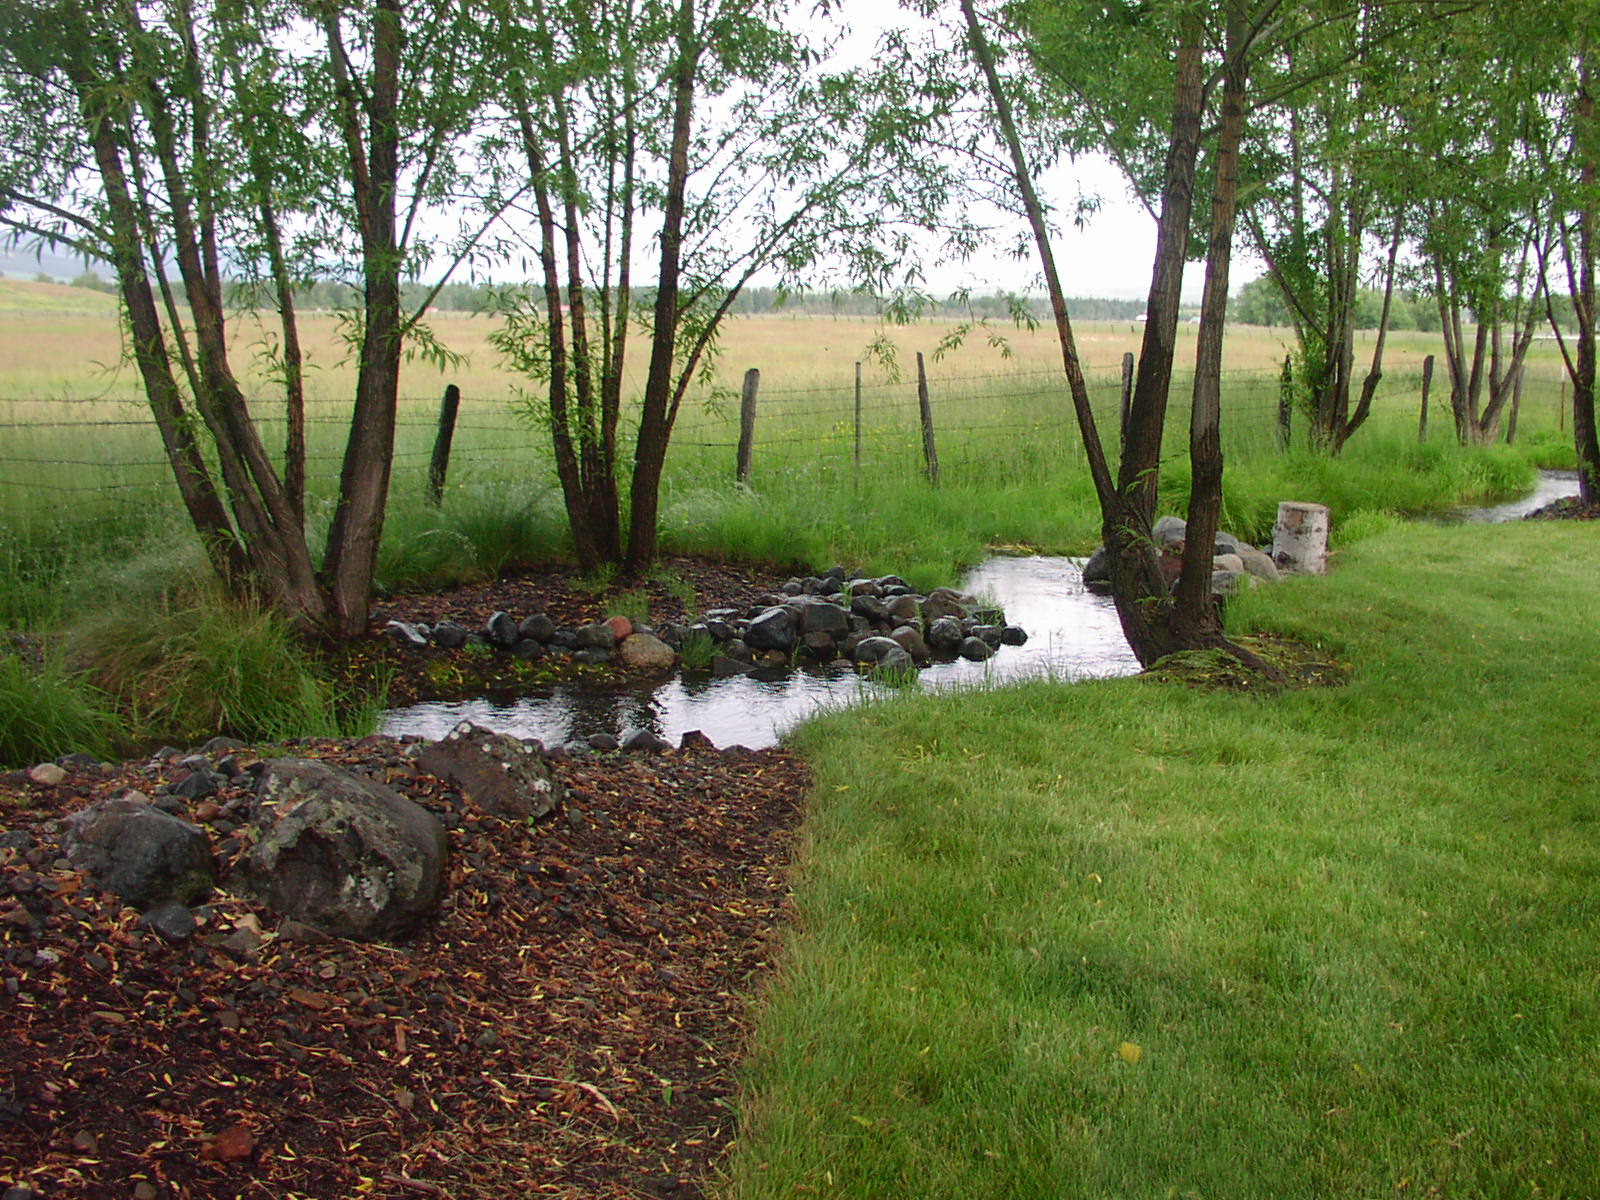
(The creek right behind our trailer)

(The cow pasture and view of the mountains just behind our trailer)
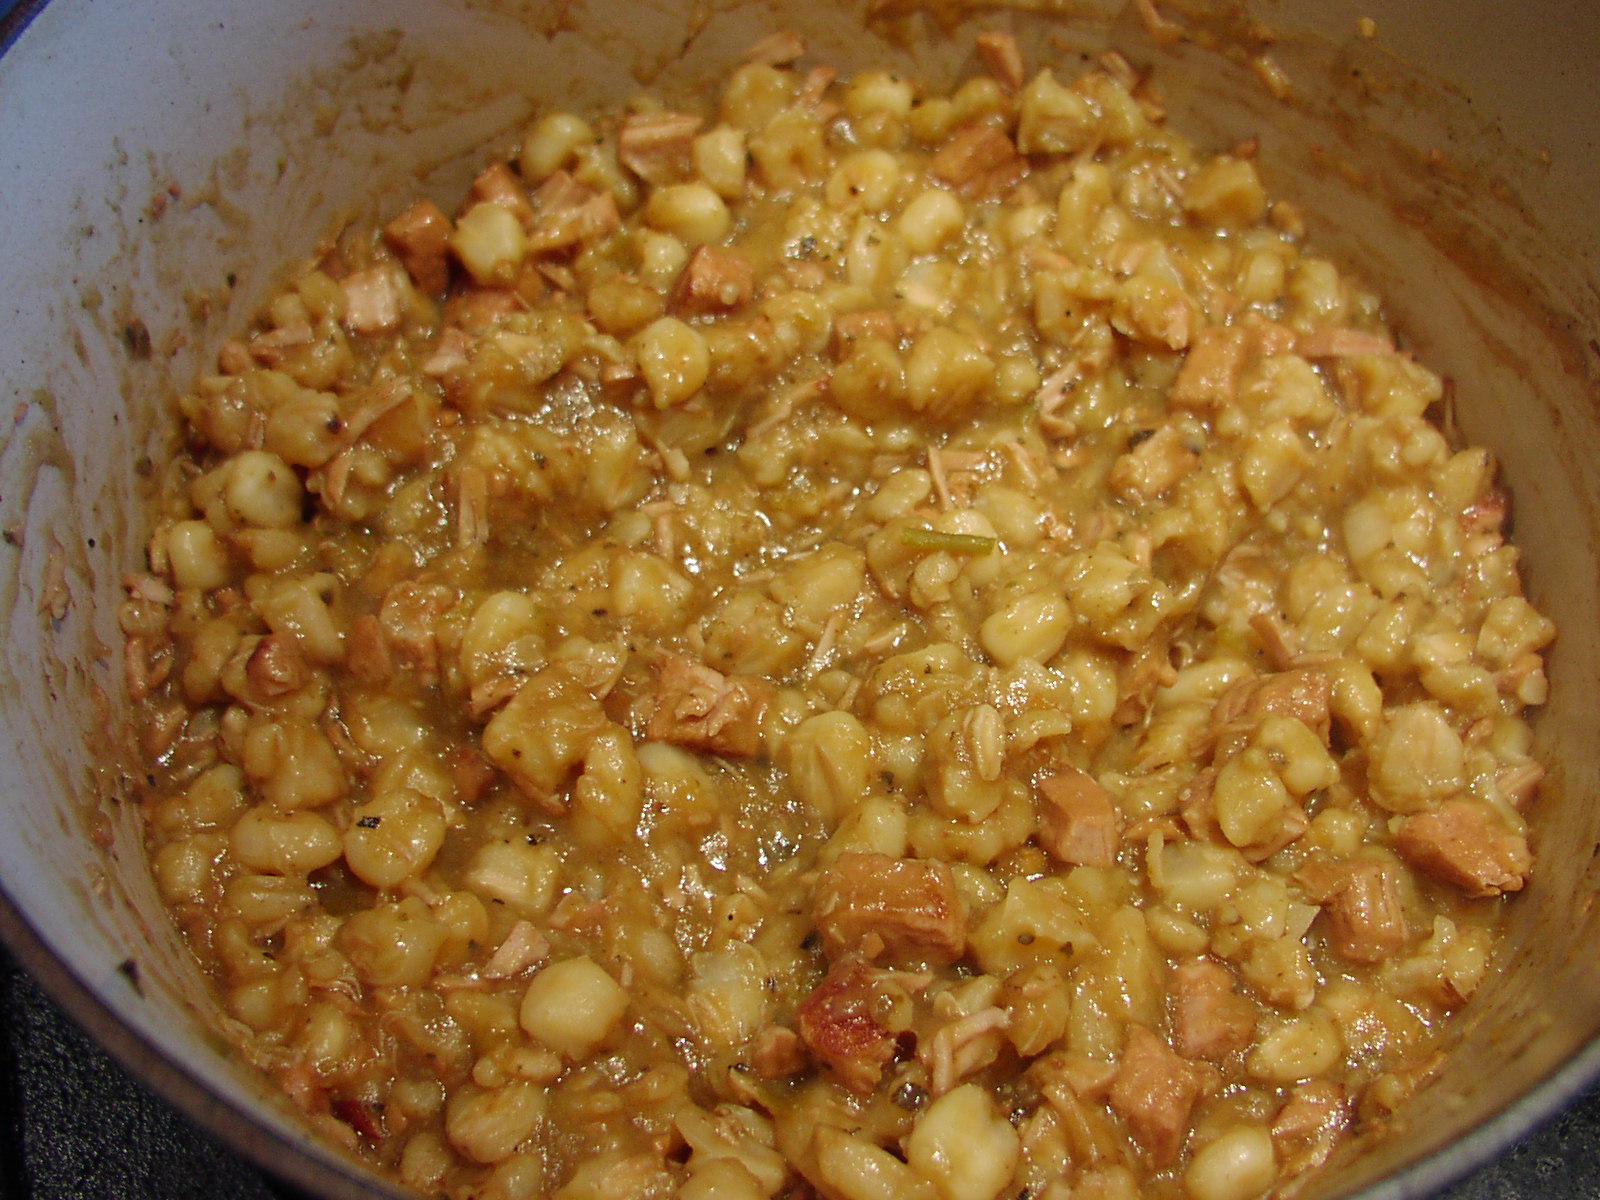
But enough with the travel log and back to this recipe. Suffice it to say, that when I served this dish to Mr. C. last evening, he declared it a masterpiece. And of course I had to agree with his excellent evaluation. If there ever was a food that could awaken the spirits of the indigenous people from the region now known as New Mexico, it would have to be this combination of ingredients.
So if you too feel the need for a little awakening or just a change from your normal rotation of favorite dishes, give this recipe a try. It is simple to prepare, but it does take some planning and time to cook. So find yourself some dried white corn posole (QFC usually carries it) and take a culinary trip to the Southwest. You will not be disappointed.
For additional recipes from the Southwest, look under Mexican Food Recipes.
- 2 c. dried posole
- water
- 1 T. vegetable oil
- ½ lb. lean pork, cut into small pieces and dried with paper towels
- kosher salt
- freshly ground black pepper
- 1 med. onion, chopped
- 4 garlic cloves, minced
- 1 c. canned mild diced green chiles or roasted, peeled, and chopped Anaheim chile
- ½ tsp. dried oregano (Mexican oregano preferably)
- 6 c. chicken broth
Place dried posole in a non-reactive container, cover with water by about 3 inches, and place in your refrigerator overnight. Drain well before proceeding.
Heat the oil in a large, covered pan. Season the meat well with salt and pepper. Add to the pan and fry, stirring frequently until brown. Add the onion and cook until transparent, about 4 minutes. Add the garlic and cook for 1 minute. Add the chile, oregano, and chicken broth. Bring to a boil, reduce heat, cover, and simmer for about 3 hours or until the posole is tender and some of the kernels have popped open or “blossomed”. (After about 2 hours of cooking, taste and adjust the seasoning.) Stir regularly and add water as needed. (Don’t add too much water, because you are not making stew. This recipe is served as a side dish, in much the same way you would serve whole or refried beans.) Adjust seasoning. Serve with any of your favorite Southwestern/Mexican dishes.