I want you to know just how brave I have become. I have actually used my Instant Pot 3 times in the last few weeks. Amazing right? And I must say in all honesty – what in the heck was I worried about? My Instant Pot is so easy to use, and so far the results have been terrific. OK, I still don’t sauté in my Instant Pot because I like to control that step on my stove top. But cook dried beans, or in this case meat that would normally have to simmer for hours, well I am now so on board the Instant Pot train! And the pot is even easy to clean! Better and better.
So the other day I got a wild hair to make a shredded beef enchilada. I love Mexican food, and already had a great recipe for Cheese Enchiladas with Red Chili Sauce (the best red sauce you could ever hope to create at home BTW), but my mouth was craving shredded beef. So I went on line and glommed together this recipe. And I must say it filled my expectations and then some. And easy? Oh yah!
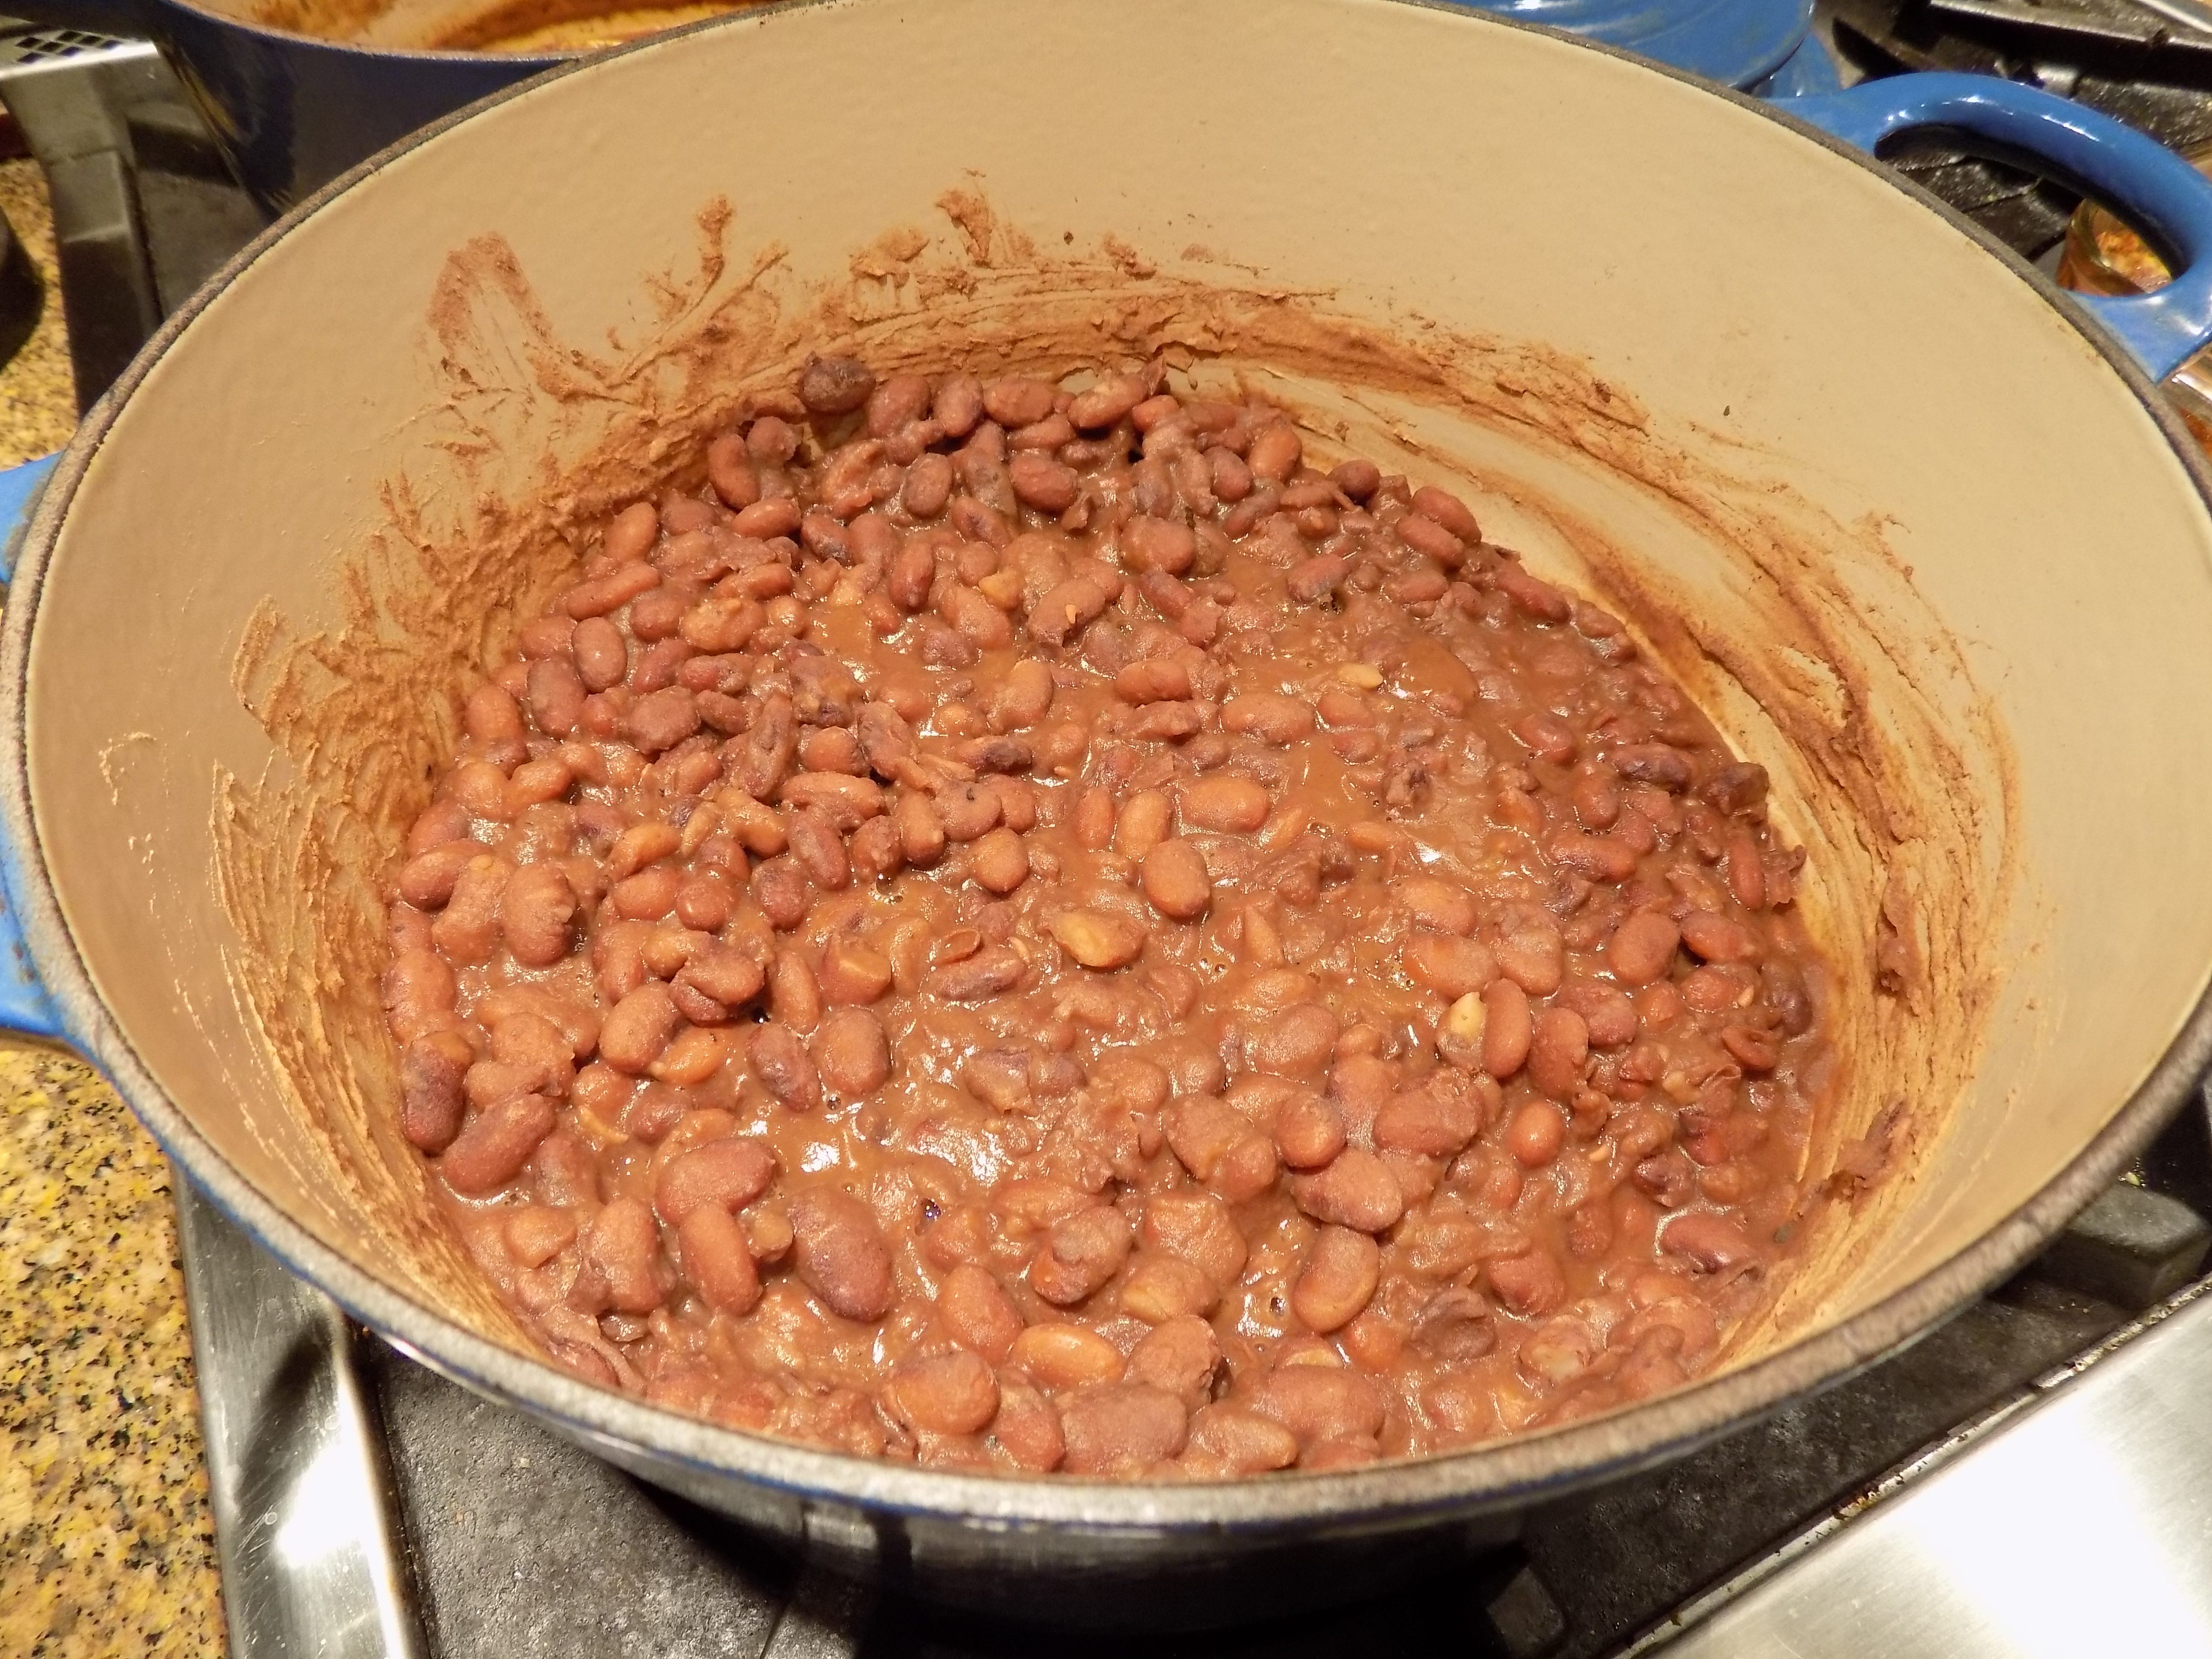
So if you too have been the least bit hesitant to use your Instant Pot, get over your fears and give this recipe a try. I topped the enchiladas with homemade Pico de Gallo (on site) and sour cream. And served Mexican Cabbage Salad (see recipe below) and Instant Pot refried pinto beans on the side. (Beans recipe to be posted in the next few days.)
And if you love shredded beef enchiladas as much as I do, make this recipe at your earliest convenience. It is just plain yummy. And if you have extra meat, don’t hesitate to freeze it for the next time you experience an enchilada craving.
2 T. extra virgin olive oil
3 lb. boneless chuck roast, all visible fat and gristle removed, and cut into 3-inch pieces
1 c. beef broth
juice of 1 lime
1 sm. can (8 oz.) tomato sauce
2 tsp. chili powder
2 tsp. dried oregano, preferably Mexican oregano
2 tsp. ground cumin
1 tsp. paprika
1 tsp. kosher salt
¼ tsp. crushed red pepper flakes
¼ tsp. ground cloves
freshly cracked black pepper
1 can (lg. or sm.) chopped green chilies
1 sm. yellow onion, rough chopped
4 cloves garlic, rough chopped
2 bay leaves
flour tortillas, warmed on a dry griddle
Heat olive oil in a large frying pan. Brown all the pieces of meat and place them in your Instant Pot. Add more olive oil if necessary. (The beef chunks should be very well browned on all sides.) Don’t wash the fry pan. Pour off any fat, but leave the brown bits for later.
In a medium sized bowl, whisk the broth, lime juice, tomato sauce, chili powder, oregano, cumin, paprika, salt, crushed red pepper flakes, ground cloves, and black pepper together. Stir in the canned green chilies, chopped onion, chopped garlic, and bay leaves.
Pour over the meat and give the whole mess a good stir.
Place the lid on the instant pot and lock. Steam release knob should be set on “sealing”. Cook on manual setting (high pressure) for 60 minutes. Allow pressure to release naturally.
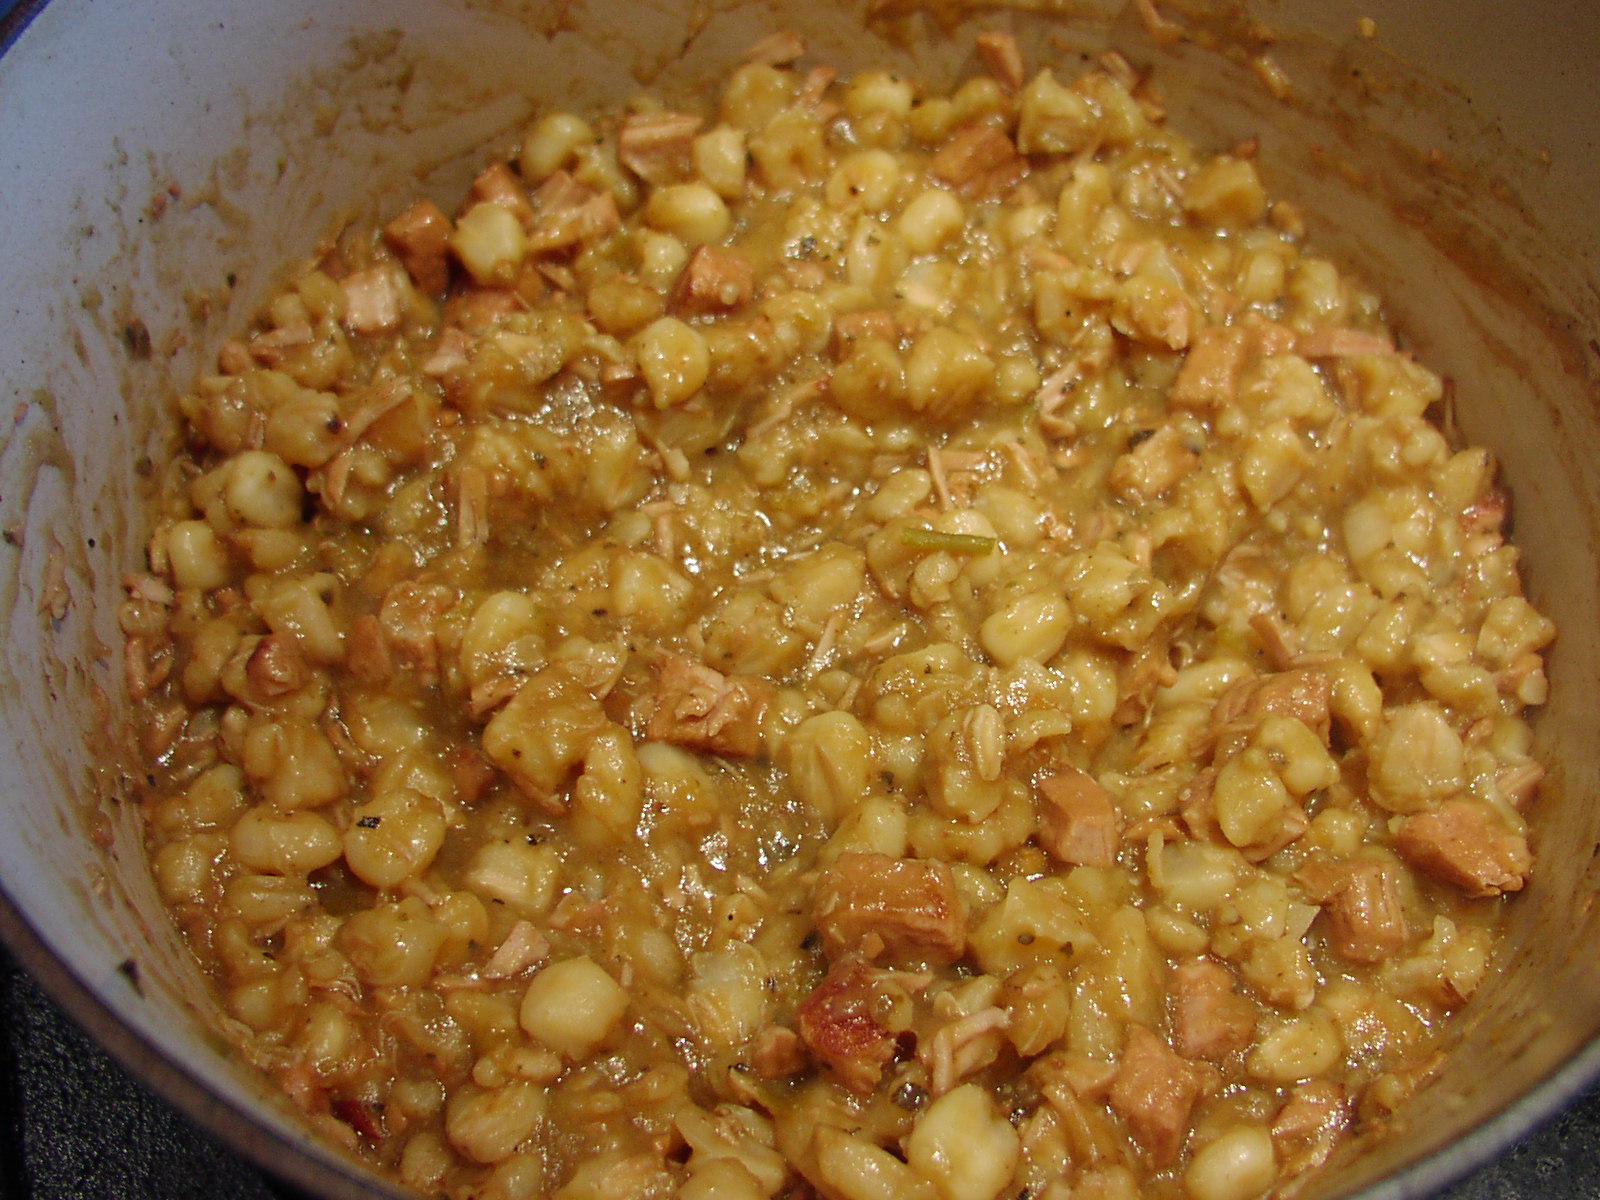
Remove beef from pressure cooker and shred with 2 forks, discarding any fat.
Pour the remaining liquid from the Instant Pot into the fry pan. Discard the bay leaves. Heat and stir up the brown bits on the bottom of the pan. If the sauce is not thick enough, make a simple water and cornstarch slurry (1 to 1 water and cornstarch mixture) and add to the meat juices. Bring to a boil, and whisk until smooth and sauce reaches desired consistency. Add shredded beef to pan. Adjust seasoning. Cook until warm.
Fill warmed tortillas with meat, roll, and top with Pico de Gallo and sour cream. Or whatever your heart desires. Meat can also be used as a filling for tacos or on a taco salad. Let your imagination be your guide.
Note: I have not tried making this shredded beef the more traditional way. That is on either my cook top or in the oven, but I see no reason why it wouldn’t turn out just fine. Just check it every hour or so to make sure the beef is not getting too dry. Add water or beef broth as required.
MEXICAN CABBAGE SALAD
½ small head cabbage, chopped
1 jalapeno pepper, seeded and minced
½ small red onion, minced
1 carrot, shredded
1 T. chopped fresh cilantro
juice of 1 lime
pinch kosher salt
freshly ground black pepper
In a bowl, mix together the cabbage, jalapeno pepper, red onion, carrot, cilantro, lime juice, salt, and pepper. Store in refrigerator until ready to use.
This salad would also make a great accompaniment to fish tacos. Just sayin’!