Confession time. I really love Indian curries. Thai curries, not so much. Part of the reason might be that I started making and loving Indian curries in my 20’s. And hadn’t tasted a Thai curry until a few years ago. And there is a considerable difference in the ingredients used in the preparation of these two main types of curry. And even though I have tried Thai curries, I absolutely prefer the ingredients used to make Indian curry.
Indian curry is prepared from a base of onions, often tomatoes, and ginger-garlic paste, flavored with a medley of spices like turmeric, cumin, coriander, and chilies, and can include various proteins such as chicken, lamb, seafood, and lentils.
Whereas Thai curries primarily feature a blend of aromatics and spices including chili peppers, garlic, shallots, galangal, lemongrass, and cilantro, often combined in a creamy coconut milk base. Additional common ingredients include protein (like chicken), vegetables such as bell peppers or green beans, and seasonings like fish sauce and lime juice to balance the rich flavors. And Thai curries are generally hotter and spicier than Indian curry. And as I’ve gotten older, spicy for me has gone from 2-3 to under 1 if possible. But before I go any further, a bit of history from the napoleon.com site:
“Curry originated from the word Kari, which is a spice blend that was brought to the rest of the world by British traders from the British East India Trading Co. in the mid-17th century. The spices were pre-mixed and ground before being traded to the British for export, however, you will not find what we know as Curry Powder in India. Coriander, turmeric, cumin, fenugreek, and powdered chili peppers are the basis for Indian Curry Powder. These elements are toasted and hand-blended by a chef in India, where a wide range of additional spices may be added depending on where in India the curry is being made, and what other ingredients are going in the dish.
The British East India Trading Co. is also credited with introducing the chilies that originated in Mexico and South America to the Asiatic countries. They were then added to curry and became a phenomenon that spread across the continent.”
Now that I have rambled on about why I prefer one curry over the other, which is of no real value to any of you reading this, I will get to the point.
This is a quick and easy recipe that works well for weeknights even if you don’t get home from work until 5:30 or 6:00 pm. I know that to be true, because I used to prepare this dish fairly frequently when I was a working mom with 4 starving children to feed.
I’d walk in the door, be greeted with “what’s for dinner”, pour water and raw rice into my rice cooker before changing clothes, and come back and prepare this dish while the rice was cooking. Oh, and steam broccoli or green beans too. Voila! Dinners ready! And yes, all my children loved curry. And to the best of my knowledge, they still do. And of course, garnishing the curry with chopped cashew nuts, chopped green onions, and savory Major Grey chutney never hurt. (If you’re going to do it, do it right.)
Well, that’s it for today. Mr. C. has a gig tonight at the Rockfish Grill in Anacortes. So, dinner is on them. And I can take it easy today knowing someone else has their apron on and will be preparing my meal.
We all need a break from whatever it is that makes us happy. For me, being in the kitchen is my happy place. But so is the chair where I spend hours reading. And speaking of reading, I just finished an interesting book lent to me by my friend Laura. The title of the book is The Paris Bookseller, written by Kerri Maher. It is the dramatic historical fiction account of how a humble bookseller fought against incredible odds to bring one of the most important books of the twentieth century (James Joyce’s Ulysses) to the world.
Even though The Paris Bookseller was set in Paris during the 20’s and 30’s, it is very relevant to what is happening in America today. Books were being banned in America, the nationwide ban on alcohol known as Prohibition, increasingly harsh limitations on immigration, which disproportionately affected non-white people and immigrants from Southern and Eastern Europe, the rise of industrialization, and anxieties about social changes and economic competition. All contributed to a very hard time in America. And once again, we are being attacked by our own leaders who were elected to protect our democracy.
If you are not as scared as I am for the future of America, and the world at large, you are just not paying attention. But if you are paying attention, then please work in your own way, to inform your friends of the real facts (not Fox News), be available to talk calmly and respectfully with your friends, and be the best person you know how to be. Your example is worth a thousand words.
Peace and love to all.
3 T. unsalted butter
1 c. diced boneless, skinless chicken breast
⅓ c. finely diced carrots
⅓ c. finely diced onion
2 garlic cloves, minced
2 T. dry vermouth
1 tsp. dried parsley
2 T. flour
3-4 tsp. curry powder, or more to taste
freshly ground black pepper
1 can cream of mushroom soup
½ c. whole milk
1½ c. sour cream
chopped cashew nuts (opt.)
finely chopped green onions (opt.)
chutney (opt.)
Melt butter in a medium sized saucepan. Add the chicken and cook just until done. Remove from pan and set aside.
Add carrot and onion to the pan and sauté for about 5 minutes. Add garlic and cook for one minute.
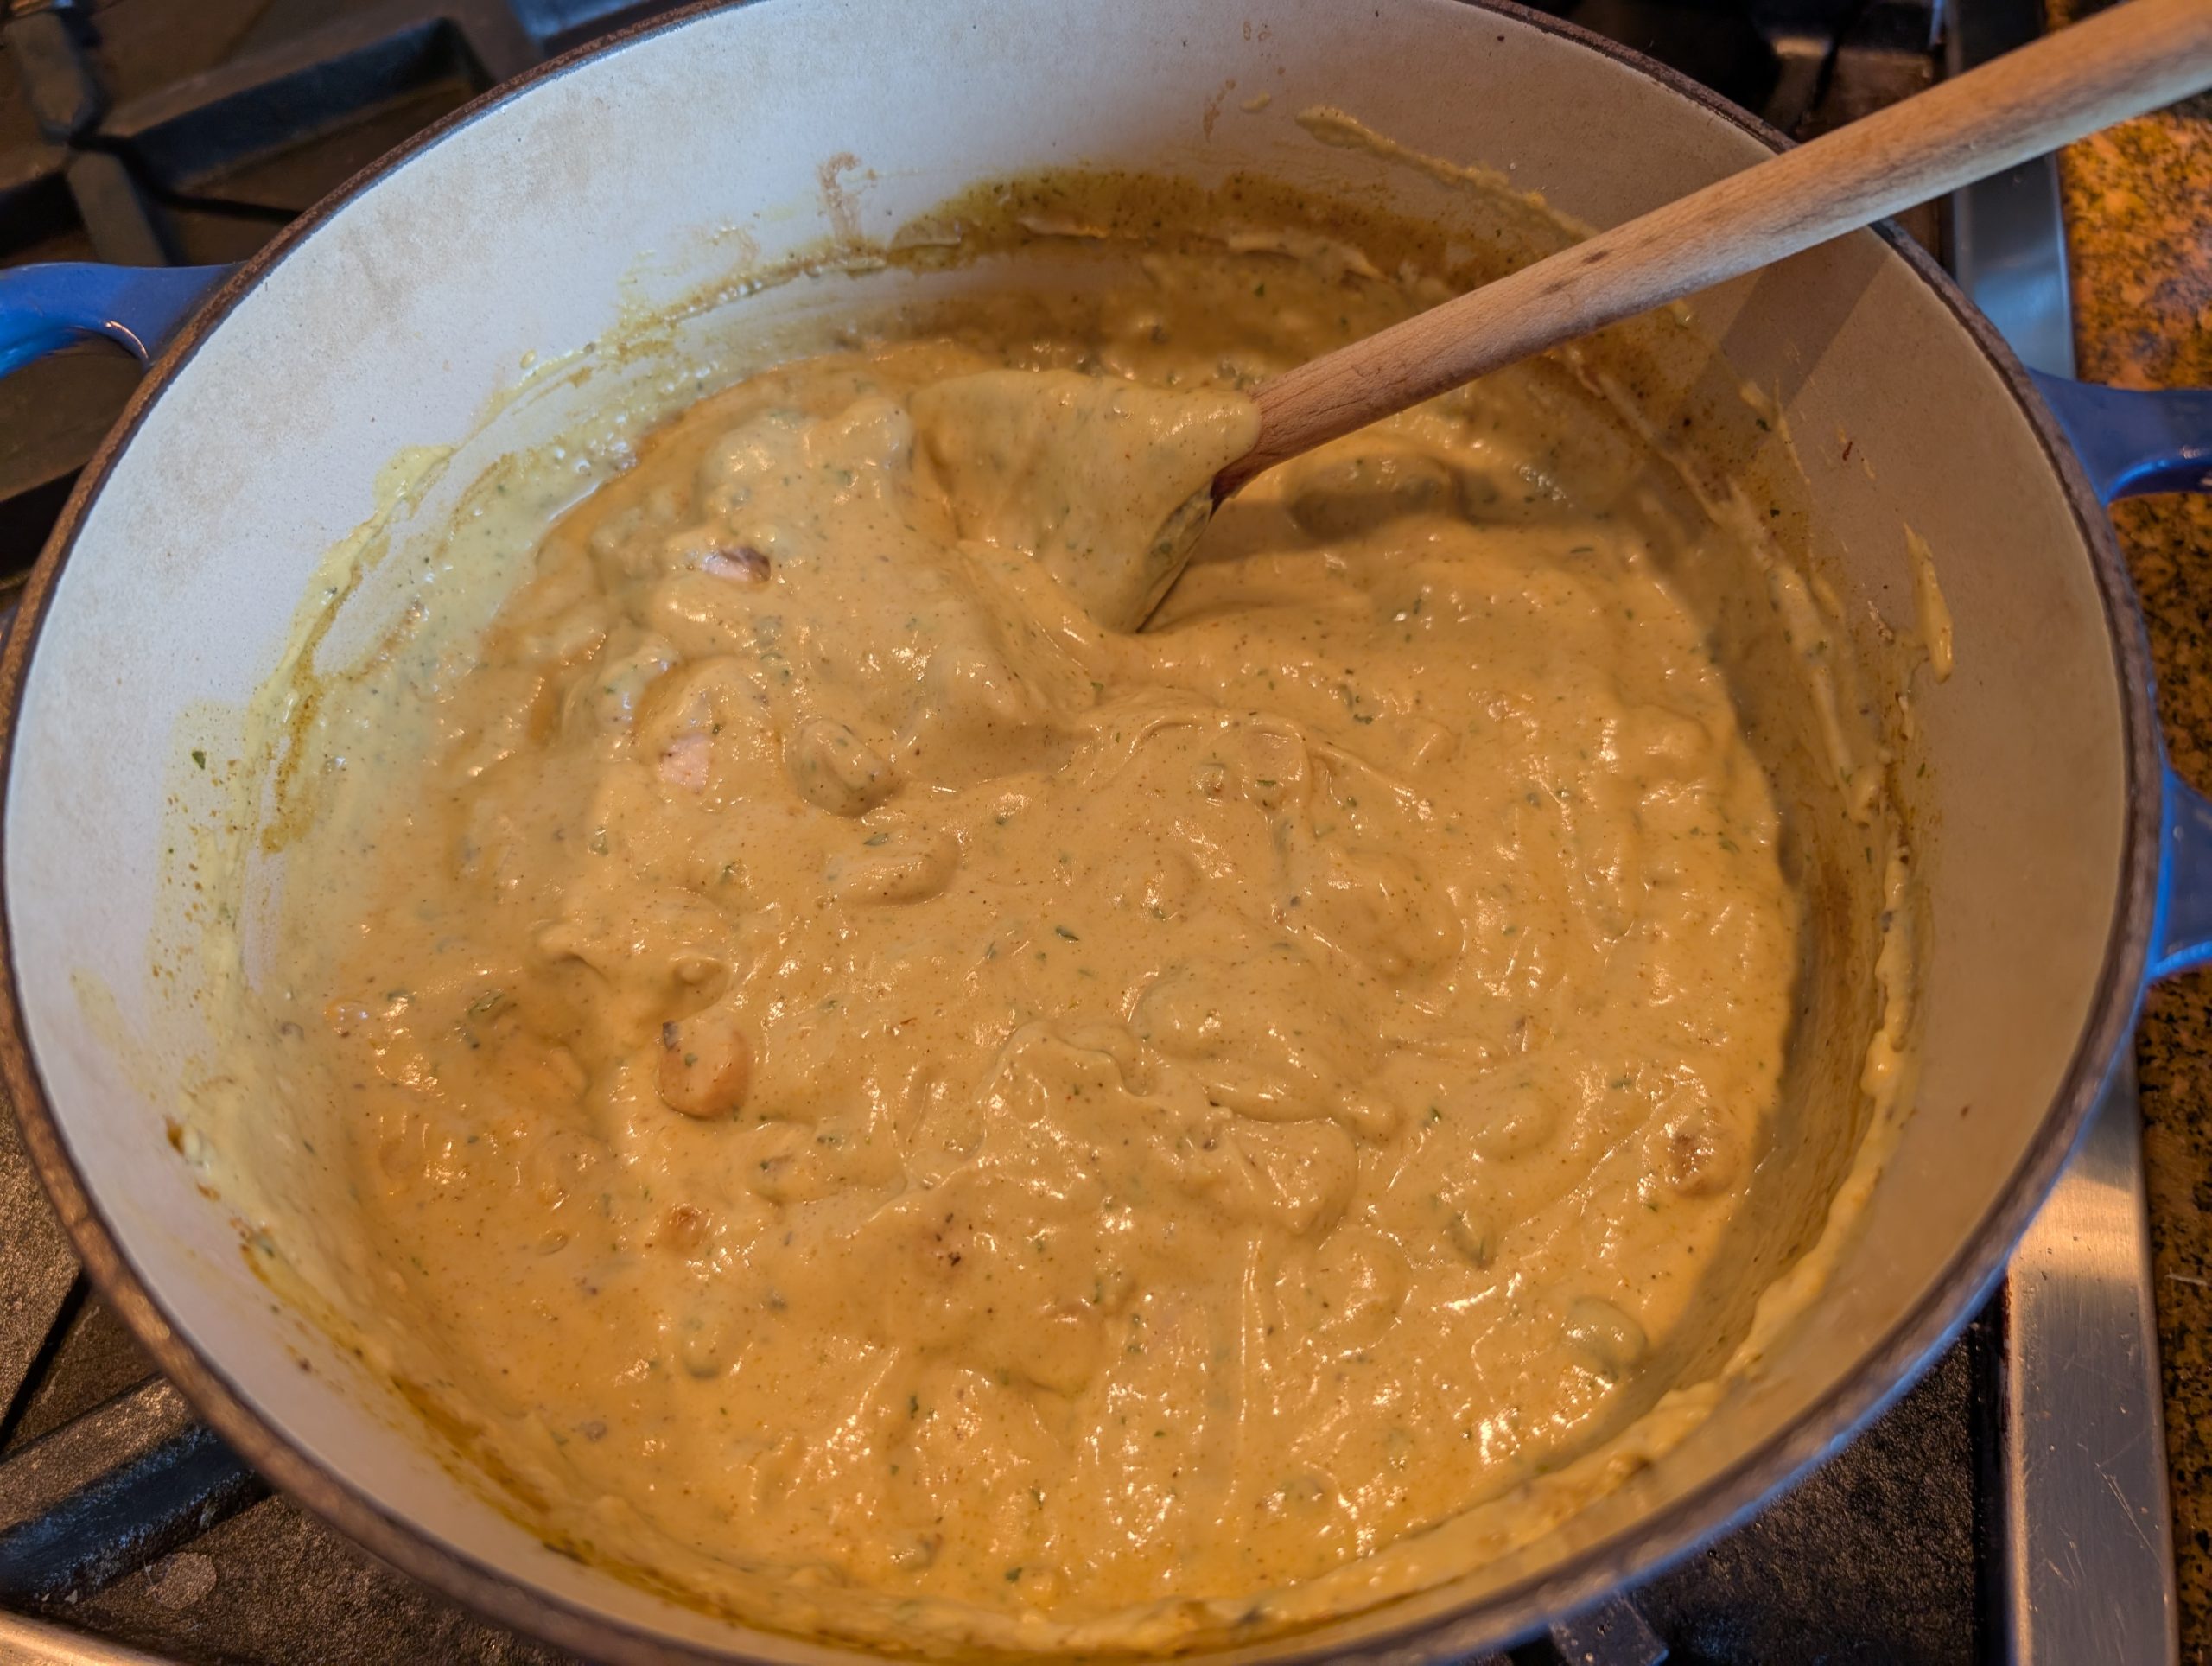
Deglaze the pan with vermouth. Whisk in the parsley, flour, curry powder, black pepper, cream of mushroom soup, and milk. Bring to boil, reduce heat, and simmer on low for about 5 minutes. Carefully whisk in the sour cream and add the cooked chicken.
Taste and adjust seasoning. Serve over rice garnished with cashews, green onions, and chutney, or any combination thereof.