I don’t know why, but recently I have been craving chili. And although I have probably made chili at least 100 times over the years, I always like to mix things up a bit. And last evening was no exception. Except, last night, I wasn’t really in the mood to cook. (I know, it’s happening with greater frequency the older I get.) And considering my newfound laziness, I didn’t want to do much veggie chopping or open more than the 2 cans necessary for last evening’s recipe. (Canned tomatoes and canned beans.)
So, I came up with this bare bones’ recipe. And by golly, it was really delicious. And it had been so very easy to prepare. No fuss, no muss!
So, in keeping with last evening’s cooking adventure, I’m going to keep this post short and sweet. If you love chili, but don’t have a lot of time or strength, this recipe might be great for you too. Full of flavor, nutritious, and cooks up in no time. Perfect for work nights. And believe me, I know what it’s like to work all day and come home to hungry kids and have no real desire to be creative. All you want is to get food on the table that you know everyone will enjoy, while still leaving room to do the dishes, start a load of laundry, supervise bath time, read stories to the kids, and make a batch of cookies for next evening’s PTA meeting!
And although I usually make cornbread from scratch, I always have a box of Jiffy Corn Muffin Mix on hand. Inexpensive and delicious. And perfect when quick and easy is the order of the day.
And as always, peace and love to all.
1 T. extra virgin olive oil
1 lb. lean ground beef
1 sm. yellow or white onion, diced
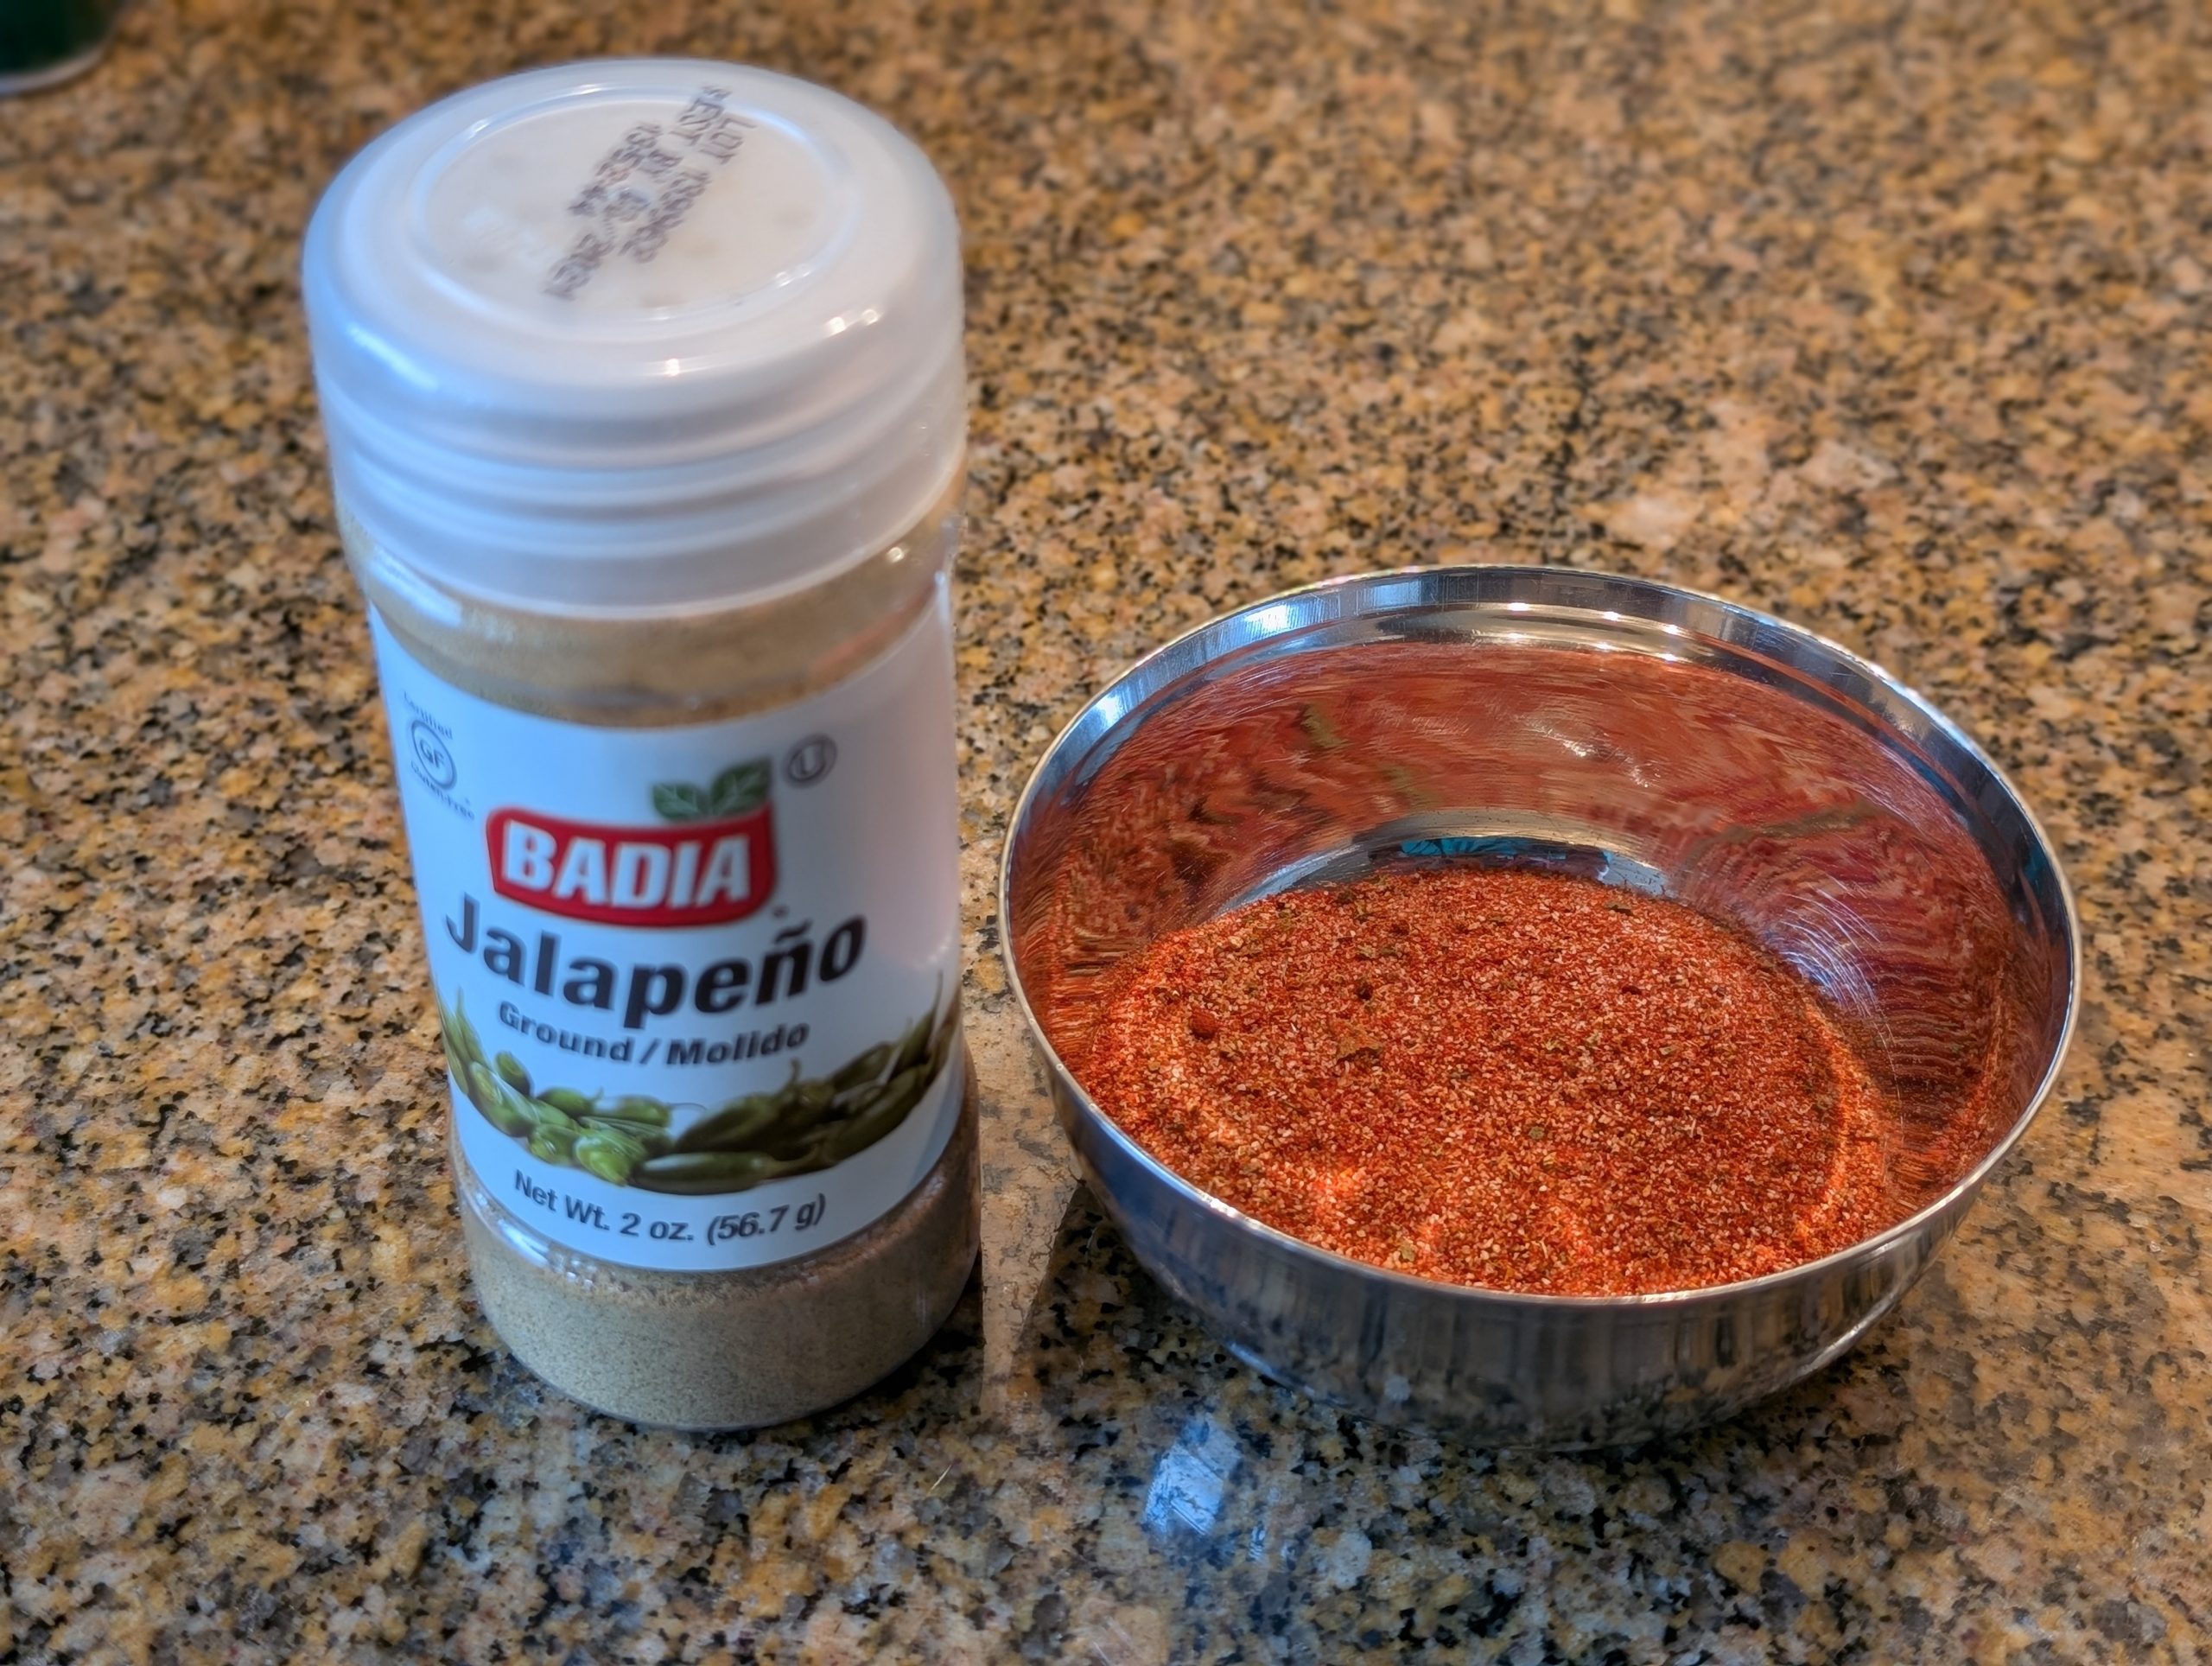
3 T. chili powder, or more to taste (I use my homemade chili powder. Recipe below.)
1 T. granulated garlic
2 tsp. ground cumin
2 tsp. granulated sugar
2 tsp. seasoned salt
freshly ground black pepper
1 bay leaf
1½ c. water
2 T. beef base (I use Better Than Beef Bouillon)
1 (28 oz.) can diced tomatoes (preferably Italian)
2 T. tomato paste
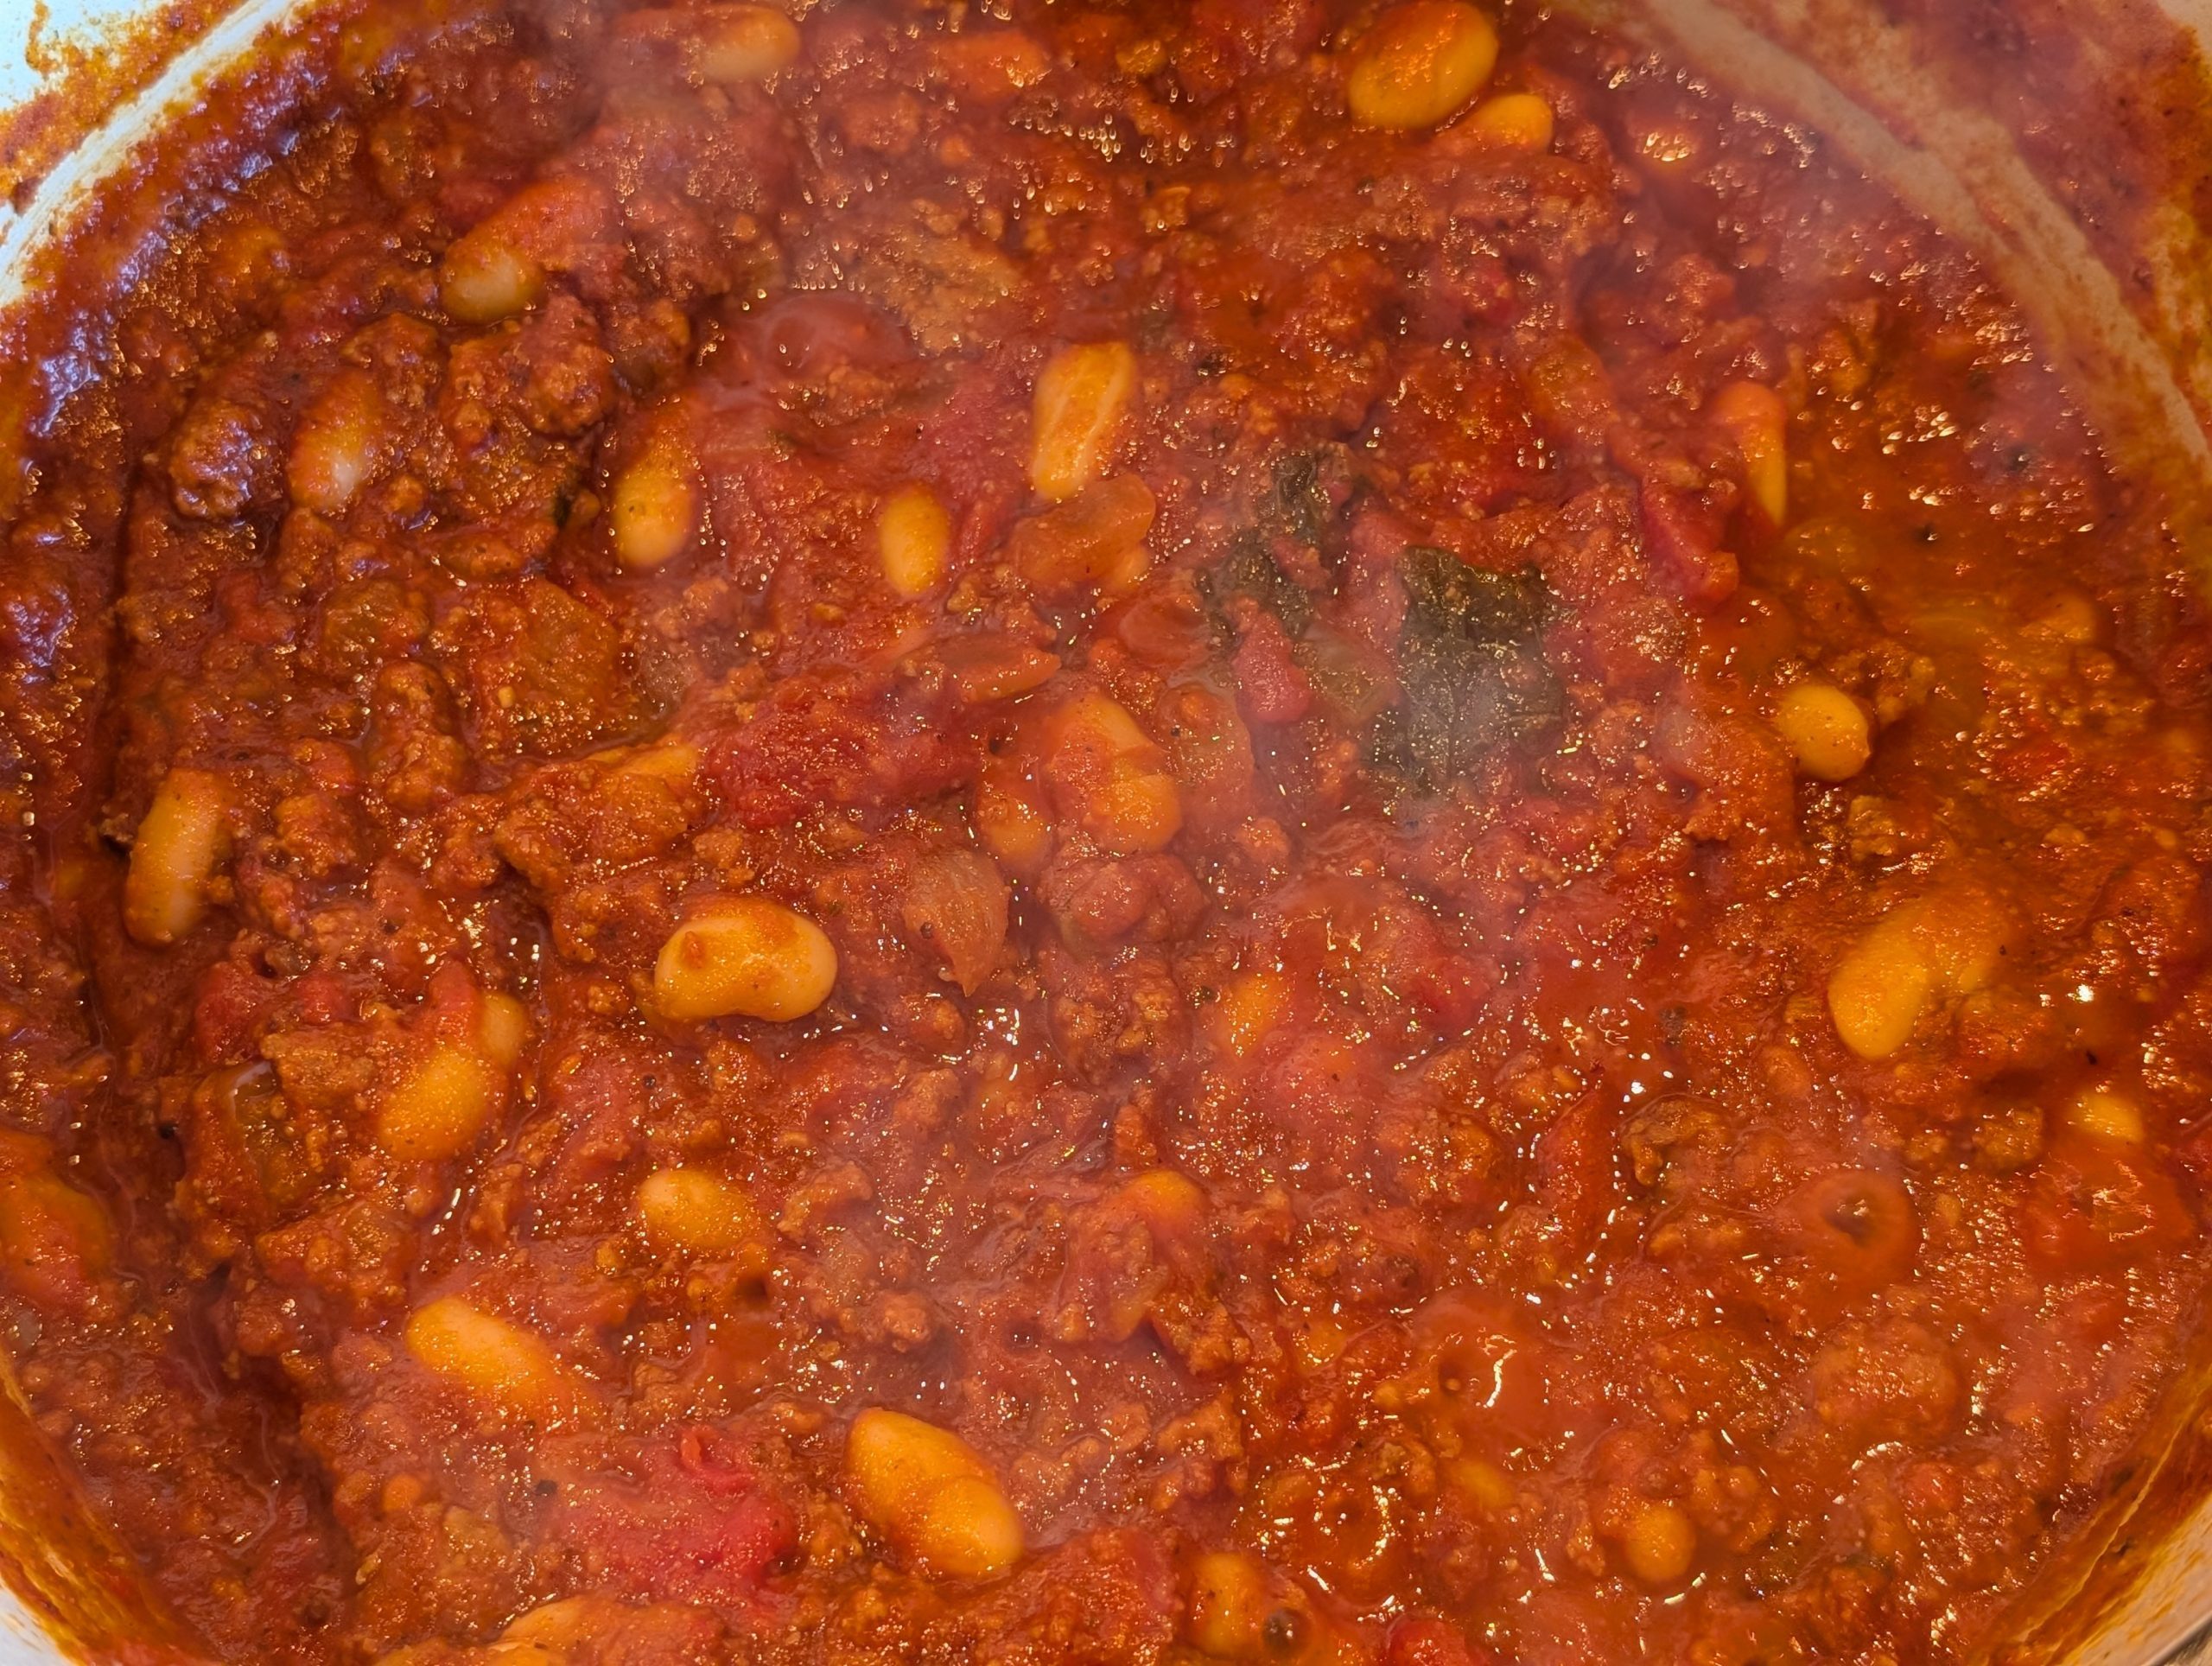
1 (16 oz.) can beans (your choice), drained and rinsed
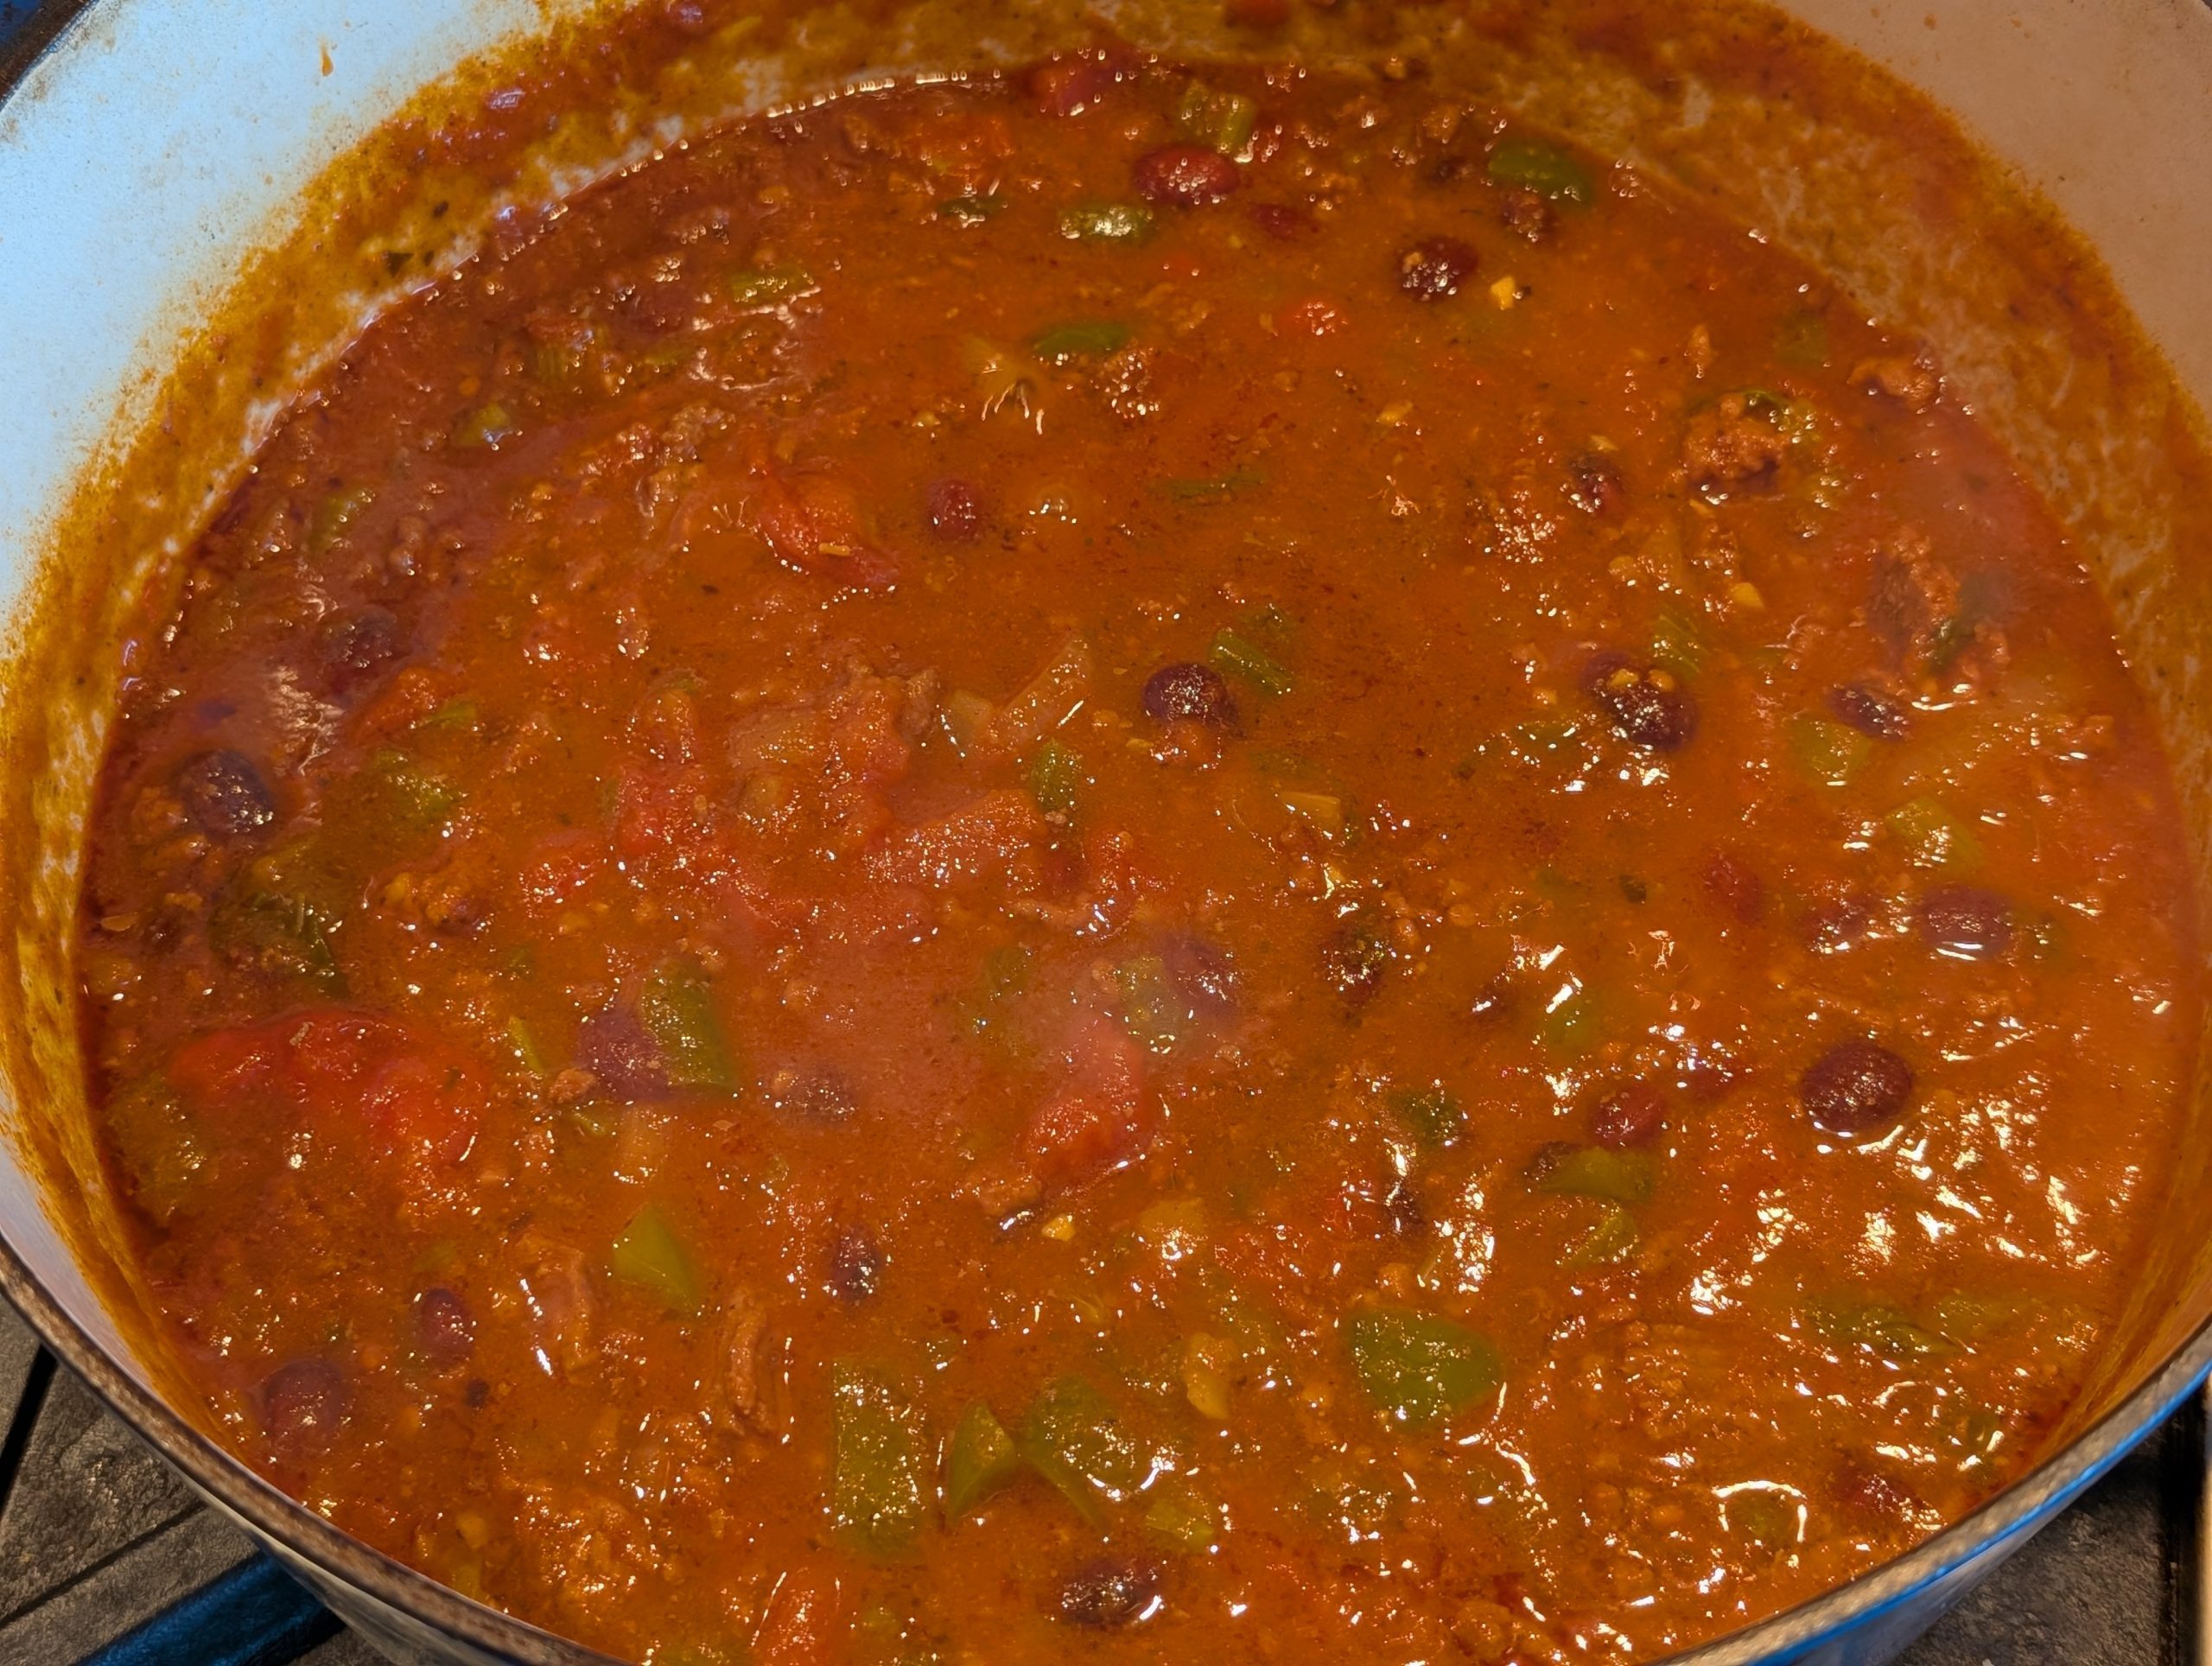
Heat the olive oil in a large Dutch oven or lidded soup pot. Add the ground beef and cook until the meat is nicely browned. (Caramelized.) Add the onion. Cook for 5 minutes, stirring occasionally.
Add the chili powder, granulated garlic, cumin, sugar, seasoned salt, black pepper, and bay leaf. Stir until well combined.
Add the water, beef base, diced tomatoes (with their juice), tomato paste, and drained beans. Stir well.
Bring to a low boil. Then, reduce the heat, cover, and gently simmer for about 30 minutes, stirring occasionally.
Serve with chopped green onions, grated sharp cheddar cheese, and sour cream. And if you are feeling really ambitious, warm corn bread is the perfect accompaniment.
SAVORY HOMEMADE CHILI POWDER
¼ tsp. cayenne pepper, more or less
1 tsp. freshly ground black pepper
2 tsp. seasoned salt
2 tsp. smoked paprika
4 tsp. dried oregano leaves (preferably Mexican oregano), broken down a bit
4 tsp. ground cumin
2 T. granulated garlic
2 T. granulated onion
½ c. sweet paprika
Combine all ingredients together in an airtight container.
Teaspoon for teaspoon, use in any of your favorite recipes calling for chili powder.