Now as much as I love me a good pie, I don’t bake pies very often because they are a lot of work, and then it only takes about 5 minutes for a small group of diners to consume an entire pie. That is, if I still baked regular sized pies. (Which BTW, I never do anymore.)
Because about 25 years ago, I was lucky enough to find a potter who made wider and deeper than normal pie plates. Not only are these pie plates lovely to look at; they are constructed of heavy clay. So, my pies always bake evenly. And they hold a lot of pie. Which for us is imperative. Because basically I don’t bake pie unless it’s a holiday or I’m having company. But back to my wonderful pie plates.
I bought 3 for myself and gave several away as gifts. Because of the size of these masterpieces, the pies I bake are almost half again as large as a regular sized pie. So, with that in mind, I have provided you with the same recipe, only proportioned to fit both my need and the needs of those of you who are normal and only make reasonable sized pies.
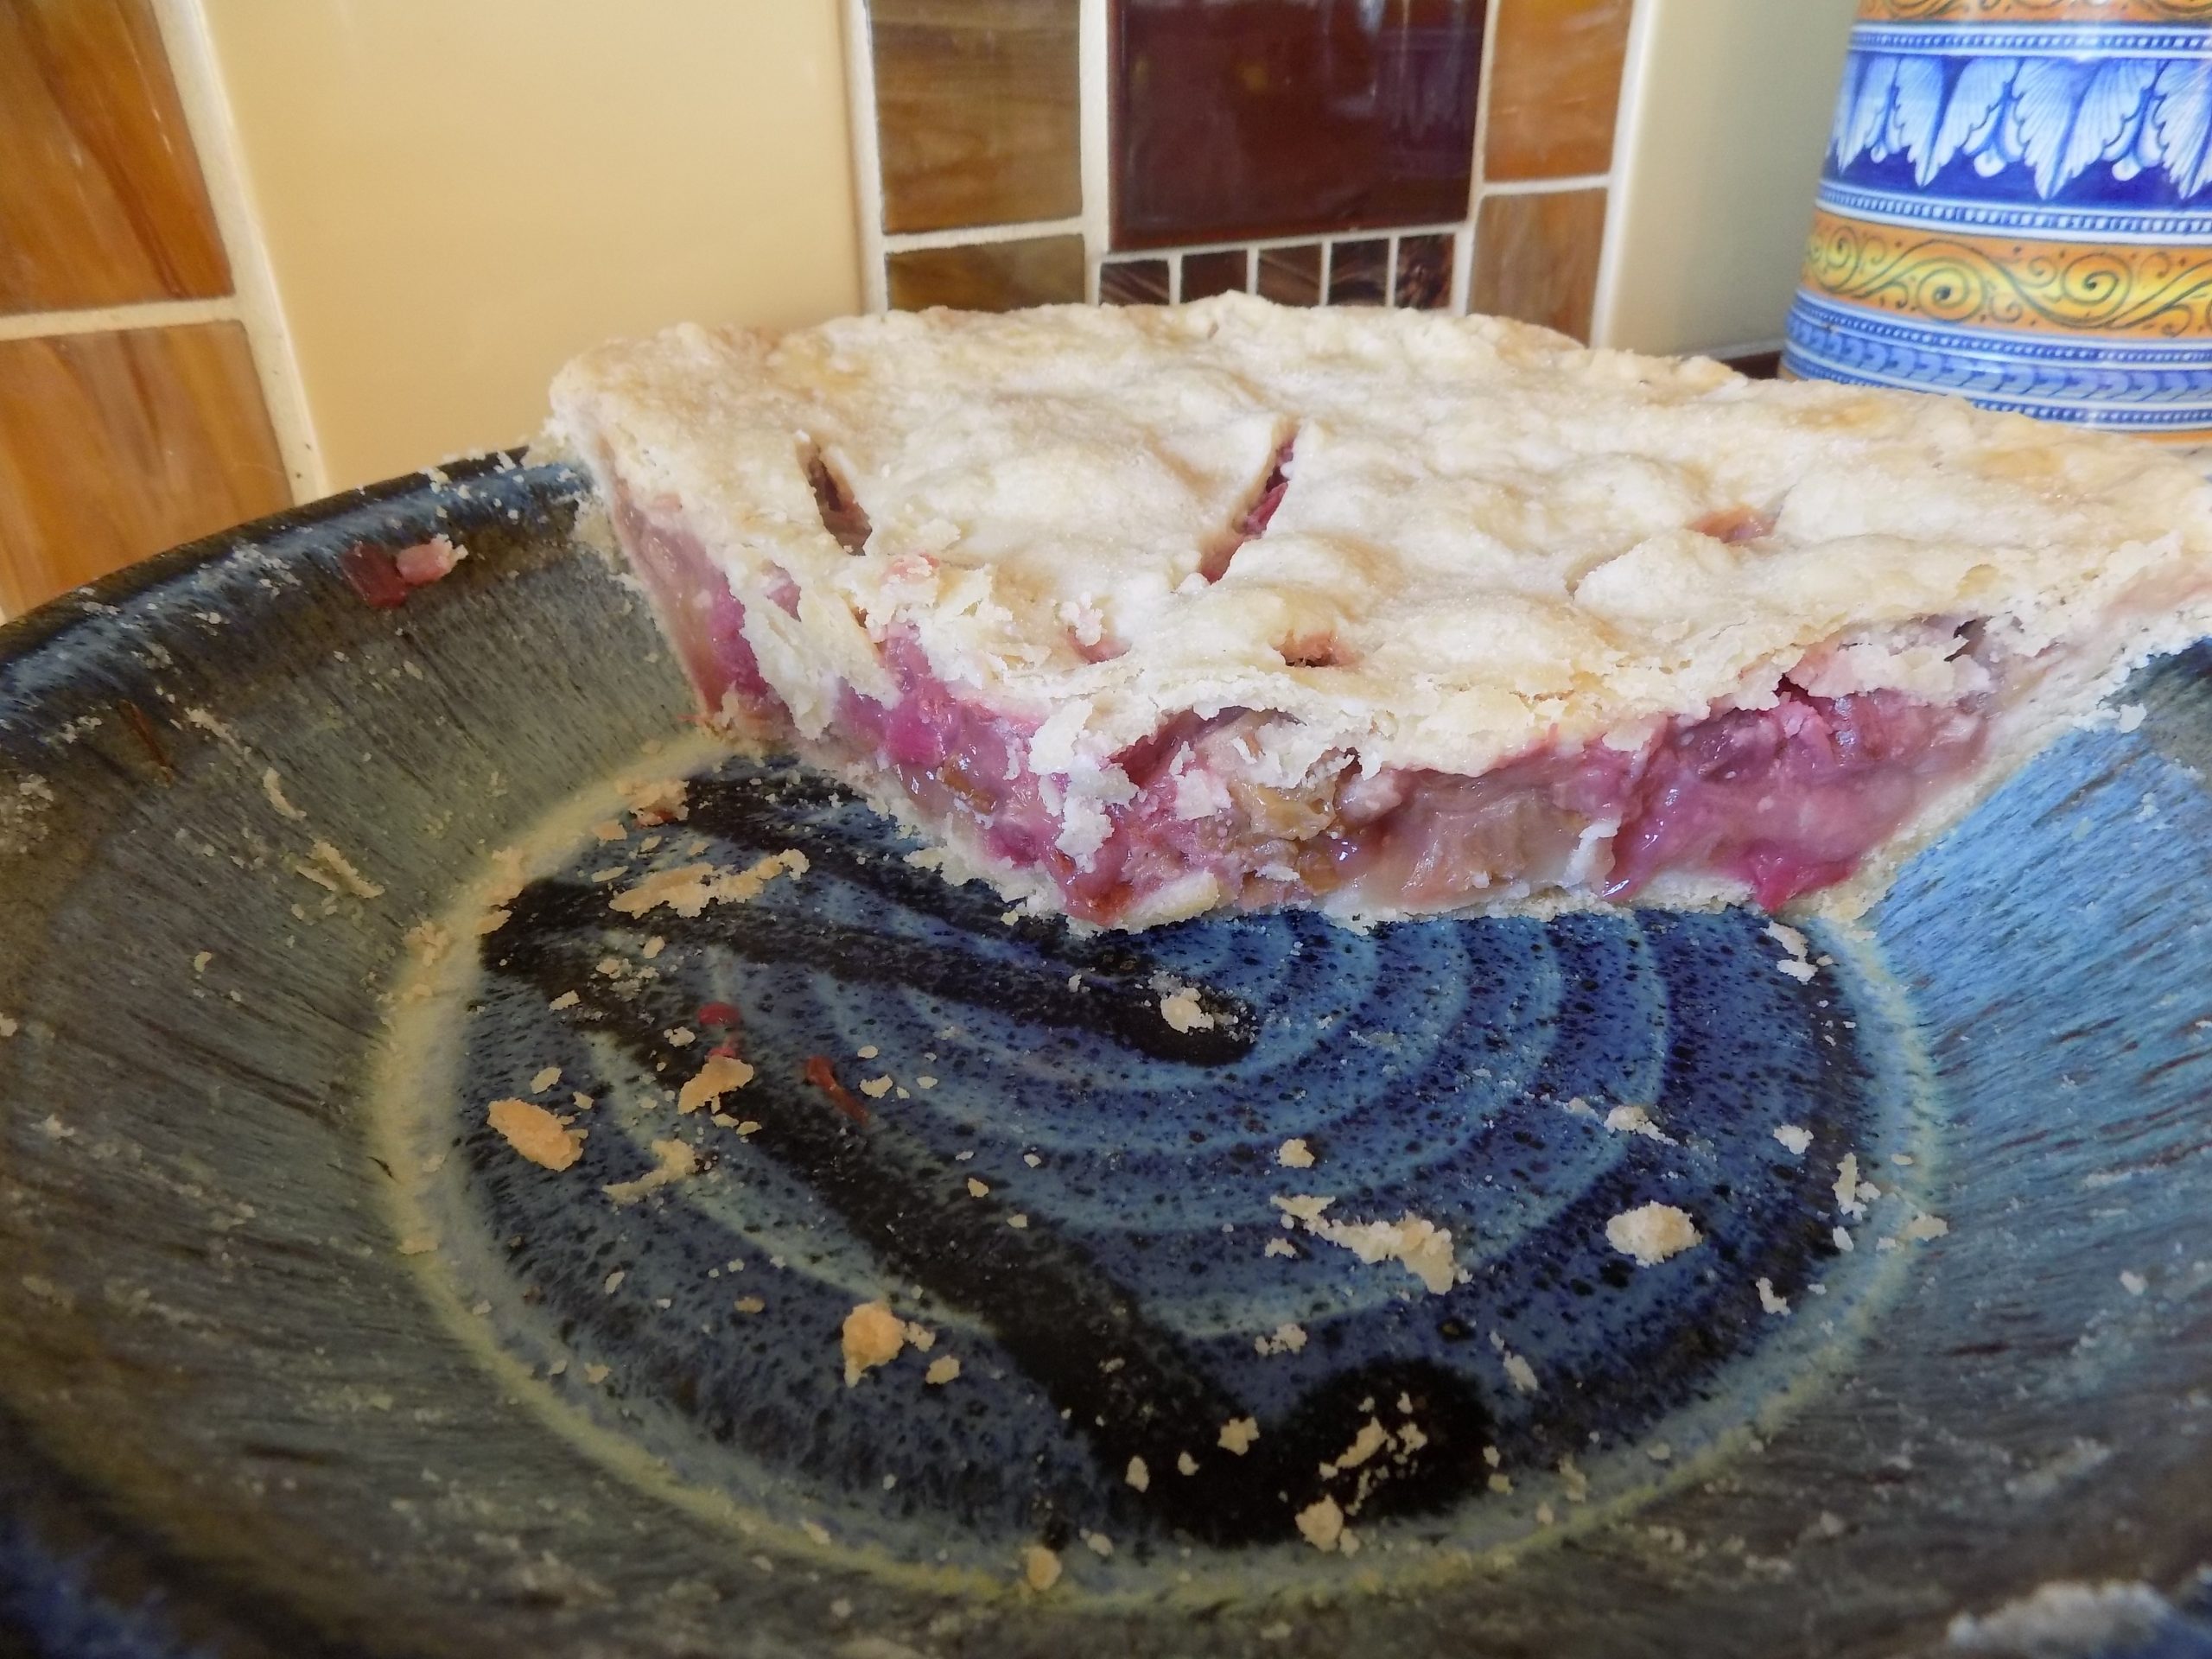
But regardless of the size of the pie you plan to build, you are going to love this recipe for a simple rhubarb pie. But if you want to build a fancy rhubarb pie, this is not the recipe for you. There are no unusual ingredients in the filling, and the filling always sets up beautifully. The bottom crust is not soggy, if that is something you strive to achieve. The filling isn’t too sweet, again an attribute I appreciate, but may not be to your liking. And there is a lot of top crust, which BTW is pretty darn tasty. But those of you who don’t particularly like crisp and flaky crust might want to look elsewhere for something a little less perfect.
But if you want a recipe that shouts rhubarb with every bite, then stick with me on this one. Because this pie is all about the rhubarb. And since its still fresh rhubarb season, I say build a rhubarb pie while supplies last. There is simply no other dessert that smacks of good home cooking like a rhubarb pie. Or any pie for that matter!
I can still remember walking into my grandmother’s kitchen and seeing a pie on the counter that I knew we were going to be enjoying that evening. I always felt like the luckiest little girl in the world. And I still feel that way. Even if I am far from being a young girl and the pie is on my own kitchen counter, and I’m the one who expended all the effort to prepare the darn thing! Seeing, and of course smelling a homemade pie, simply makes me exceedingly happy.
As always, keep thinking of great ways to bring your family joy. Even a simple pan of brownies can help a kid whose had a rough day feel better about the world. I cannot remember a day when the first thing out of my teenager’s mouths when I walked in the house after work was – what’s for dinner? There must have been some connection in their minds between feeling safe and secure because I was home, and the fact that they probably had escaped starvation for yet another day. Whatever triggered this feeling of being loved and feeling safe, I know it had a lot to do with food. And good food is such a simple way to prove your love. So, take time in preparing the food for your family. Believe me, your adult children will remember their childhood with a great deal more fondness if good food was the standard in their childhood kitchen.
Peace and love to all.
Pie Crust: (for 10 to 11-inch pie pan)
6 T. very cold water
3 c. unbleached all-purpose flour
1½ tsp. kosher salt
heaping 1 c. Crisco
2 T. granulated sugar (for use later), plus more for the top crust
Step 1 – Pour cold water into a small bowl.
Step 2 – Measure flour and salt into a mixing bowl.
Step 3 – Take ½ cup of the flour back out of the mixing bowl and stir it into the water. Make a paste. Set aside.
Step 4 – Add the Crisco to the flour and salt mixture. Mix together. (I use my KitchenAid mixer.)
Step 5 – Add the water/flour paste to the flour/shortening bowl and mix just until blended. Do not over-mix.
Filling: (for 10 to 11-inch pie pan)
8 c. diced rhubarb
1 c. granulated sugar
¼ c. brown sugar
½ c. flour
1 tsp. vanilla
2 T. unsalted butter
Combine the diced rhubarb, granulated sugar, brown sugar, flour, and vanilla together in a bowl. Let sit for about 10 minutes.
Put the Pie Together:
Roll out ½ of the dough and place in your pie plate. Sprinkle the 2 tablespoons granulated sugar (shown under pie crust) evenly over the bottom and sides of the crust. (You will have to gently pat the sugar into place on the sides of the pie plate.) Scoop the rhubarb mixture into the pie pan. (And yes, it will seem like too much rhubarb, but it will be fine.) Dot the rhubarb with butter. Roll out the top crust. Place over the rhubarb and dotted butter. Crimp along the top edge as desired. Cover edge of crust with thin strips of aluminum foil to prevent edges from getting too brown. Make a few slits in the top crust to allow steam to escape. Sprinkle with a bit of granulated sugar. Not too much. Just a light sprinkle.
Please note: If you don’t want a top crust on your pie, roll out some of the remaining pie dough fairly thick. Cut out fun shapes with cookie cutters. Lightly sprinkle with granulated sugar. Place on top of the pie.
Place the pie on a rimmed cookie sheet. (The hot filling might escape over the sides of the pie pan. Probably not, but just in case…… Believe me, it’s a whole lot easier to clean a baking sheet than the bottom of your oven!)
Bake in a pre-heated 425-degree oven for 15 minutes. Reduce heat to 350-degrees and continue baking for 45 to 50-minutes more, or until a bit of pink juice bubbles up through the slits or around the decoration pieces on the crust. Remove the aluminum foil covering the edge of the crust and continue baking for 15 minutes.
Remove from oven and allow to cool before serving. Great topped with vanilla ice cream.
Pie Crust: (for 9-inch pie pan)
4 T. very cold water
2 c. unbleached all-purpose flour
1 tsp. kosher salt
heaping 2/3 c. Crisco
2 T. granulated sugar (for use later), plus more for the top crust
Step 1 – Pour cold water into a small bowl.
Step 2 – Measure flour and salt into a mixing bowl.
Step 3 – Take ⅓ cup of the flour back out of the mixing bowl and stir it into the water. Make a paste. Set aside.
Step 4 – Add the Crisco to the flour and salt mixture. Mix together. (I use my KitchenAid mixer.)
Step 5 – Add the water/flour paste to the flour/shortening bowl and mix just until blended. Do not over-mix.
Filling: (for 9-inch pie pan)
5-6 c. diced rhubarb
¾ c. granulated sugar
3 T. brown sugar
⅓ c. flour
1 tsp. vanilla
2 T. unsalted butter
Combine the diced rhubarb, granulated sugar, brown sugar, flour, and vanilla together in a bowl. Let sit for about 10 minutes.
Put the Pie Together:
Roll out ½ of the dough and place in your pie plate. Sprinkle the 2 tablespoons granulated sugar (shown under pie crust) evenly over the bottom and sides of the crust. (You will have to gently pat the sugar into place on the sides of the pie plate.) Scoop the rhubarb mixture into the pie pan. (And yes, it will seem like too much rhubarb, but it will be fine.) Dot the rhubarb with butter. Roll out the top crust. Place over the rhubarb and dotted butter. Crimp along the top edge as desired. Cover edge of crust with thin strips of aluminum foil to prevent edges from getting too brown. Make a few slits in the top crust to allow steam to escape. Sprinkle with a bit of granulated sugar. Not too much. Just a light sprinkle.
If you don’t want a top crust on your pie, roll out some of the remaining pie dough fairly thick. Cut out fun shapes with cookie cutters. Lightly sprinkle with granulated sugar. Place on top of the pie.
Place the pie on a rimmed cookie sheet. (The hot filling might escape over the sides of the pie pan. Probably not, but just in case…… Believe me, it’s a whole lot easier to clean a baking sheet than the bottom of your oven!)
Bake in a pre-heated 425-degree oven for 15 minutes. Reduce heat to 350-degrees and continue baking for 35 to 45-minutes more, or until a bit of pink juice bubbles up through the slits or around the decoration pieces on the crust. Remove the aluminum foil covering the edge of the crust and continue baking for 10 minutes.
Remove from oven and allow to cool before serving. Great topped with vanilla ice cream.
Helpful hint: Use a pastry cloth to roll out your pie crust. It really makes a difference when you go to move the rolled-out crust onto the pie plate. You can find pastry cloths in almost any kitchen wares shop. Well worth the $10 or so.