Never one to refrain from proceeding where others would tell themselves enough is enough, here is yet another cookie recipe featuring peanuts and/or peanut butter. What can I say? I love peanuts. Maybe it’s because my dad loved peanuts and I loved my dad. (Funny how that works sometimes!) Anyway, as a child there were always peanuts in our kitchen pantry or mixed in with the always available bowl of popcorn liberally “garnished” with either regular salted peanuts or red-skinned Spanish Peanuts. So how could I not love these salty little bites of heaven? They are part of my cell structure. It’s kind of like baseball fans loving hot dogs. It’s organic.
But back to this recipe. (I am so easily distracted. Sorry about that.) Anyway, this recipe evolved because I’m lazy. Simple as that. I wanted to bake a batch of cookies to feed 4 distinct groups of people, but I didn’t want to spend a lot of time in the kitchen. I needed to have a treat for the Board of our home owner’s association meeting at our home last evening, the guys tiling our new shower, Mr. C. and his trio drummer Grant who would be practicing in our living room for an upcoming performance, and still have some cookies left over to take with me to Keizer, Oregon for my daughter Paula’s 50th birthday celebration this weekend. Yikes – that’s a lot to ask from one batch of cookies.
A bar cookie seemed like the perfect solution. So I went on-line in search of a bar cookie recipe that would be large enough to feed my army. I found the bones of this recipe on the Land O’Lakes web site. I changed a few things, but the real credit belongs to the fine cooks in the Land O’Lakes test kitchen. Thank you one and all.
So if you too have an occasion when you need a goodly number of cookies and you’re feeling a little lazy, give this recipe a try. It’s pretty darn wonderful. Oh what the heck, bake up a pan of these little darlings even if you aren’t feeling lazy! They’ll still be delicious.
- 1 c. (2 sticks) unsalted butter, room temperature
- ¾ c. packed brown sugar
- ¾ c. granulated sugar
- 2 lg. eggs
- 1 tsp. vanilla
- 2 c. unbleached all-purpose flour
- 1 tsp. baking soda
- ½ tsp. kosher salt
- 1½ c. rolled oats
- 1 c. chocolate chips
- 1 c. peanut butter baking chips
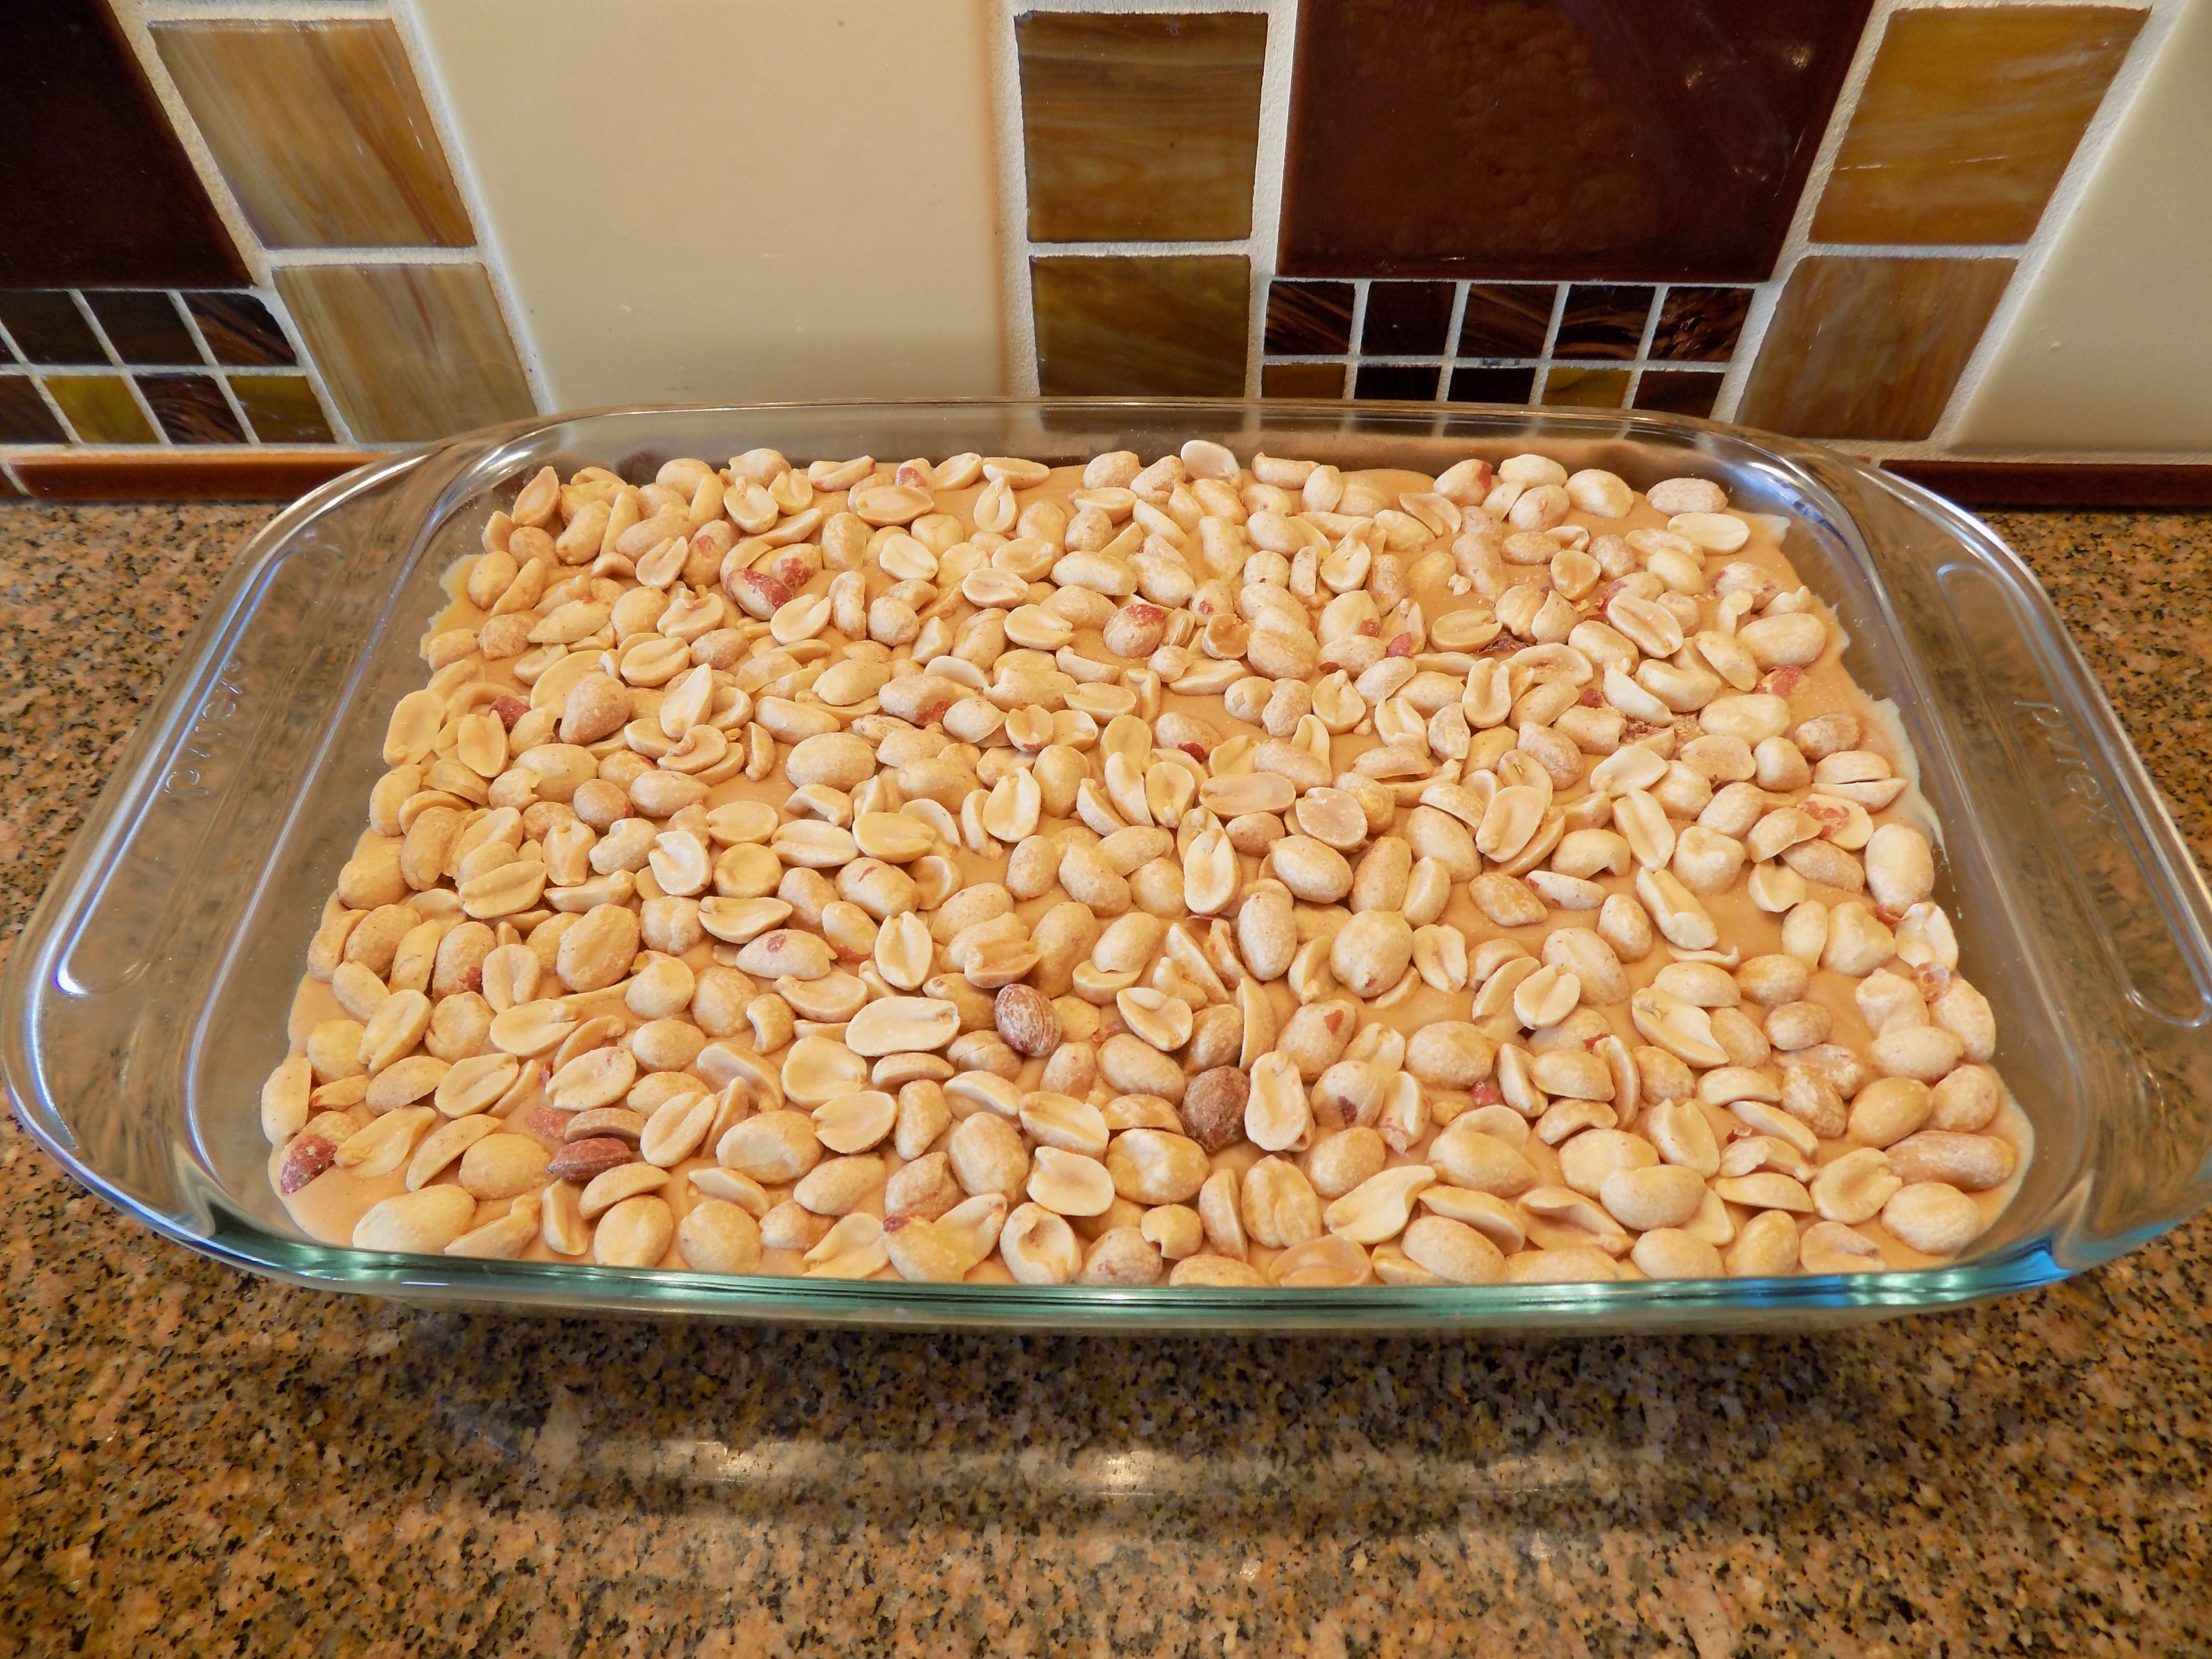
- 1 c. salted peanuts
Beat the butter, brown sugar, and granulated sugar in your mixer bowl until thick and creamy, about 4 minutes. Add the eggs and vanilla; beat until well blended. In a separate bowl, whisk together the flour, baking soda, and salt. Add to the butter mixture and beat on low speed just until blended. Add oats; mix well. Stir in the chocolate chips, peanut butter chips, and peanuts.
Press dough evenly into an ungreased 16 x 10-inch baking pan. (Preferably glass)
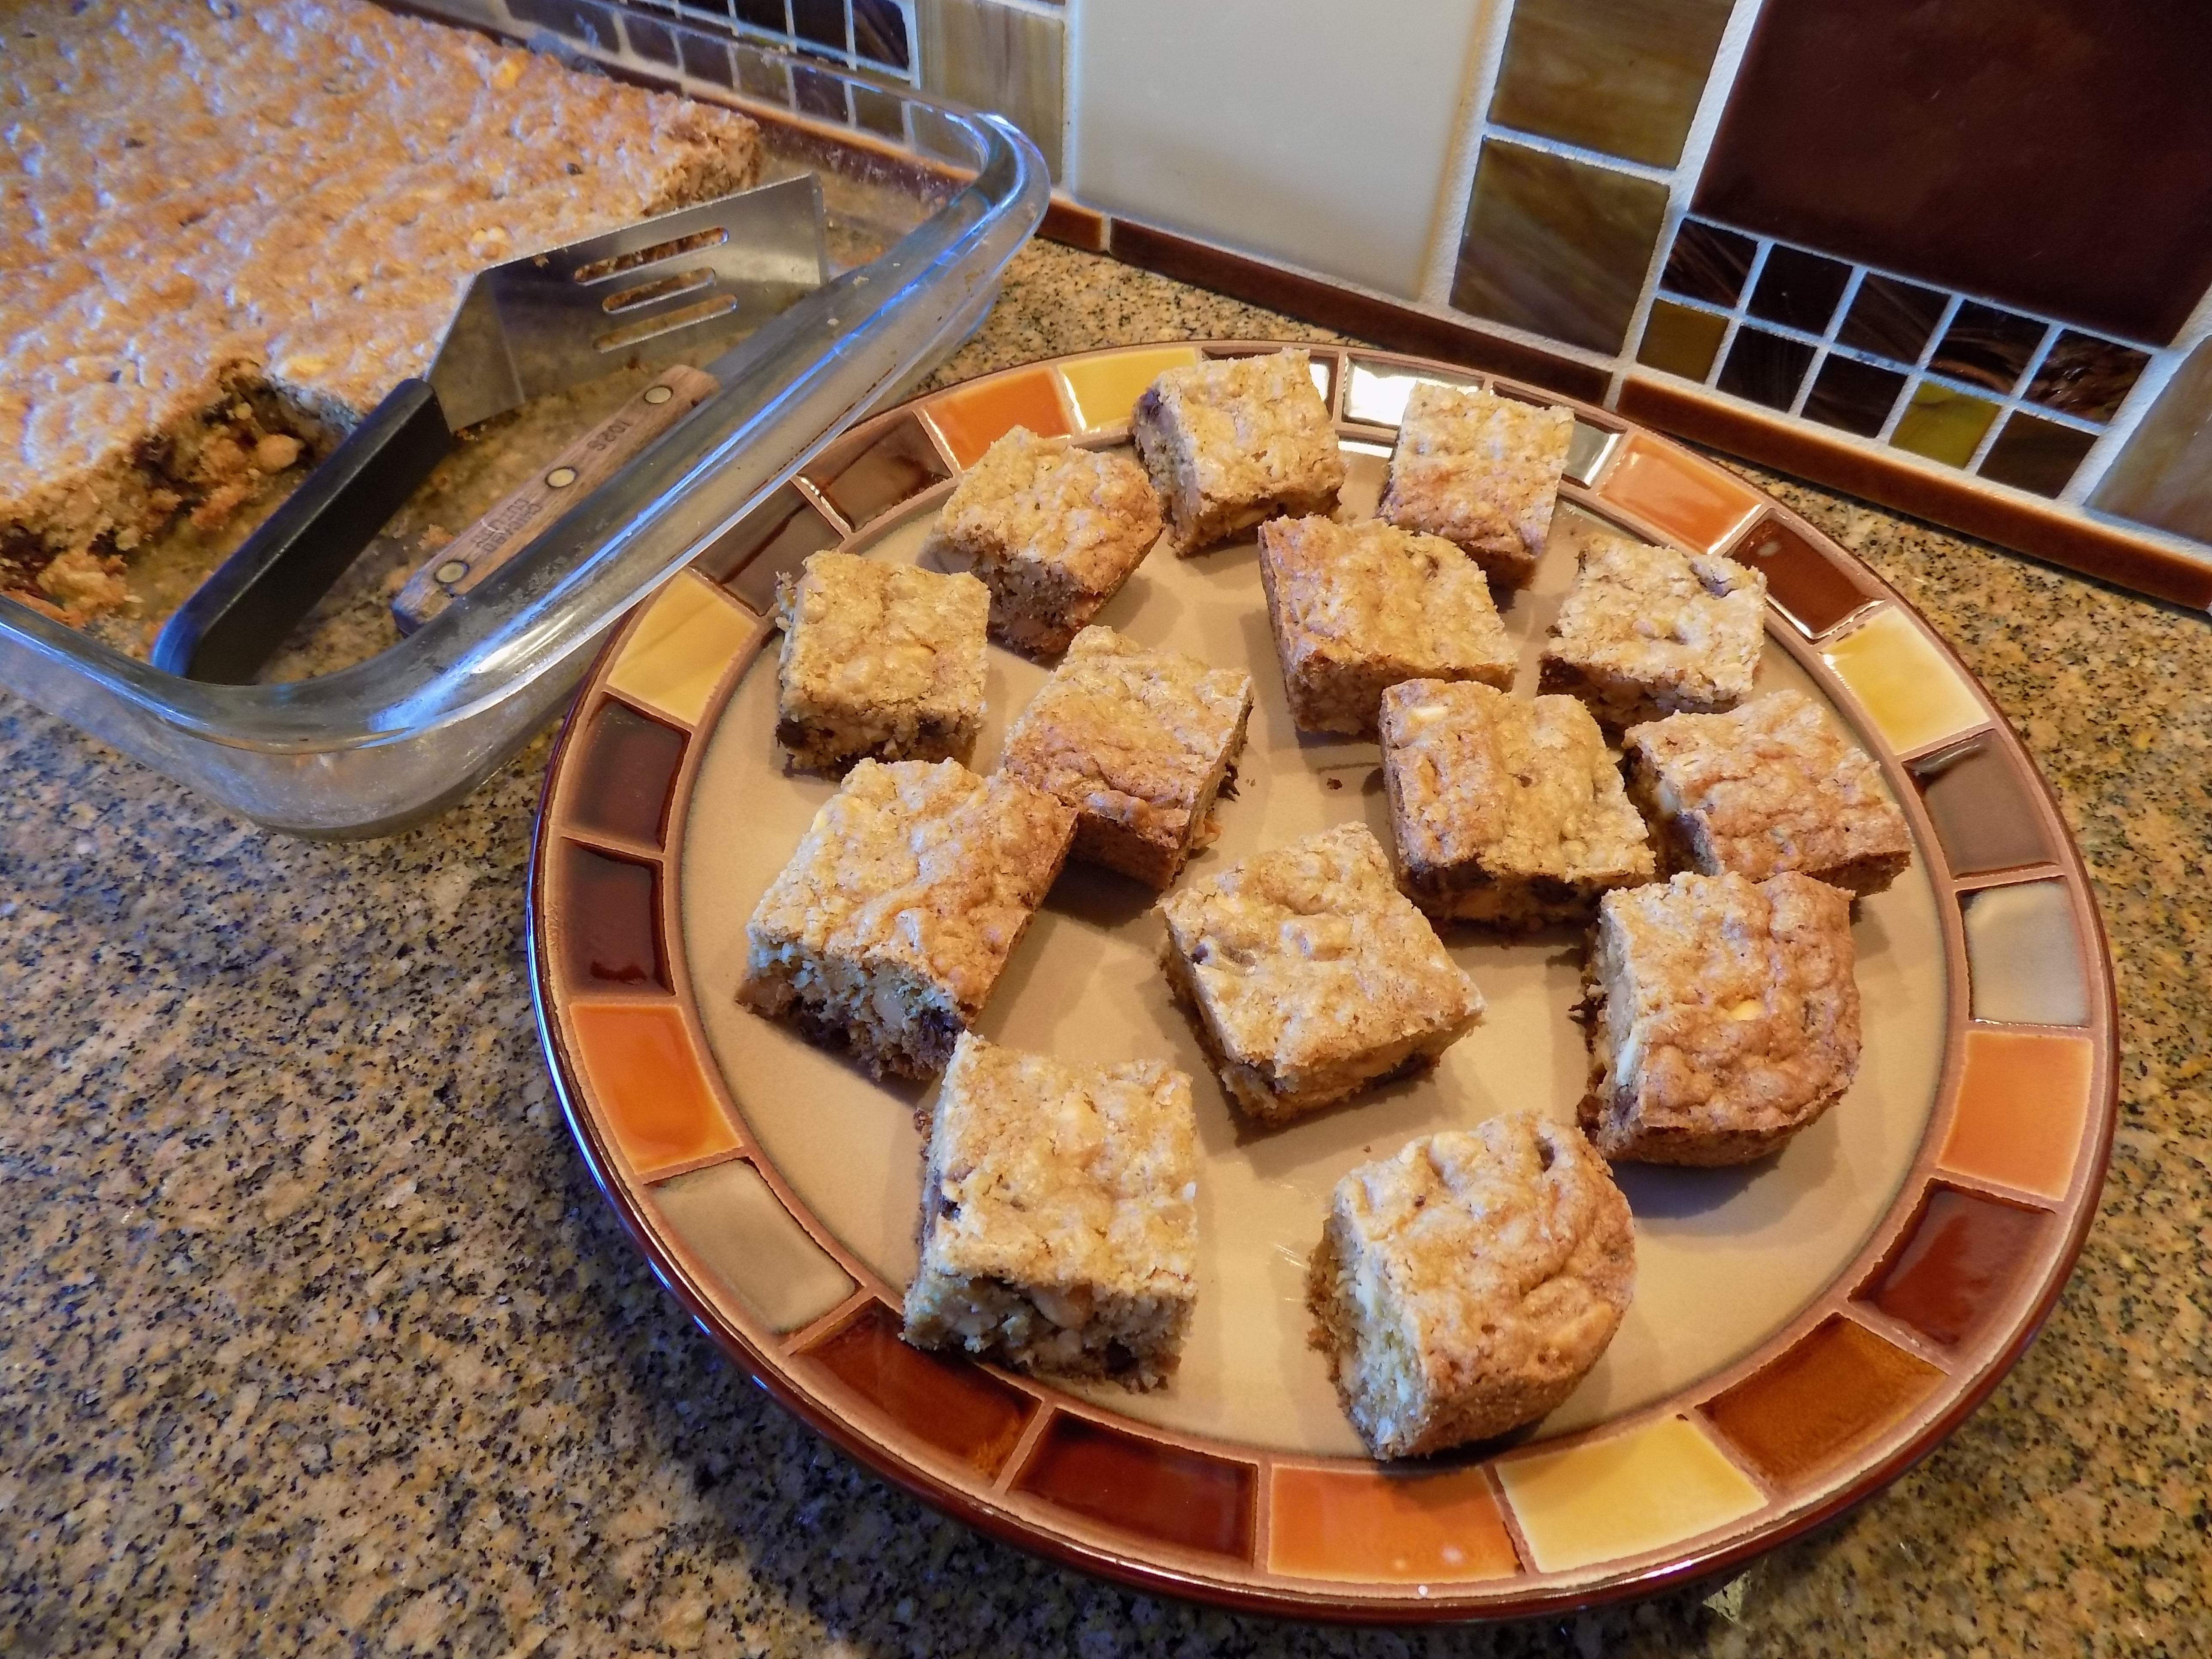
Bake in a pre-heated 350 degree oven (glass) or 375 degree oven (metal) for 20-30 minutes until just set and a lovely golden brown. Don’t overbake.
Remove from oven and cool completely on a wire rack. Cut into bars just before serving.
BTW, if you too are a peanut freak, check out my other cookie recipes that include Mr. Peanut and his friends – Chunky Peanut Butter and Chocolate Chip Cookies, Triple Peanut Butter Cookies, Peanut Butter, Oatmeal, and Chocolate Chip Bars, and Payday Candy Bar Bars.