
In my quest to eat healthier and stay away from white flour and sugar, I have been doing pretty well. But the main thing I miss is not sweets, it’s bread. Good old fashioned homemade bread. You know, the kind that smells wonderful as it’s baking and tastes even better when slathered in room temperature butter. Bread is totally my downfall. I simply must have bread in my life. So, after doing more research than I care to admit to, I have come to the conclusion that no two diabetic experts agree on mostly anything! Every article I read is a contradiction. Some experts say you can eat this or that, and the next article I read says just the opposite. Although almost every article I read says I can continue to eat leafy greens, fatty fish, eggs, Greek yogurt, nuts, and olive oil. Great! I love them all. But they aren’t bread!
However, another type of edible most articles reference as being good for diabetics are under the classification – whole grain. So, to my thinking, that means that stone-ground whole grain flours (oat, wheat, rye) should be OK. So, I’m going with that.
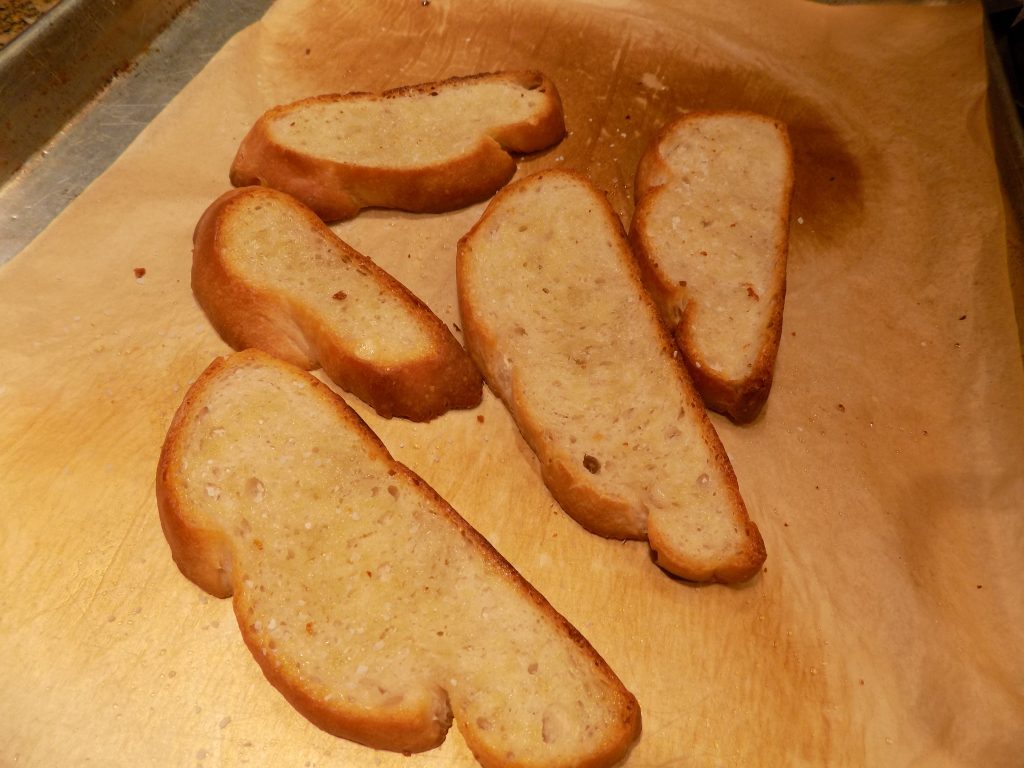
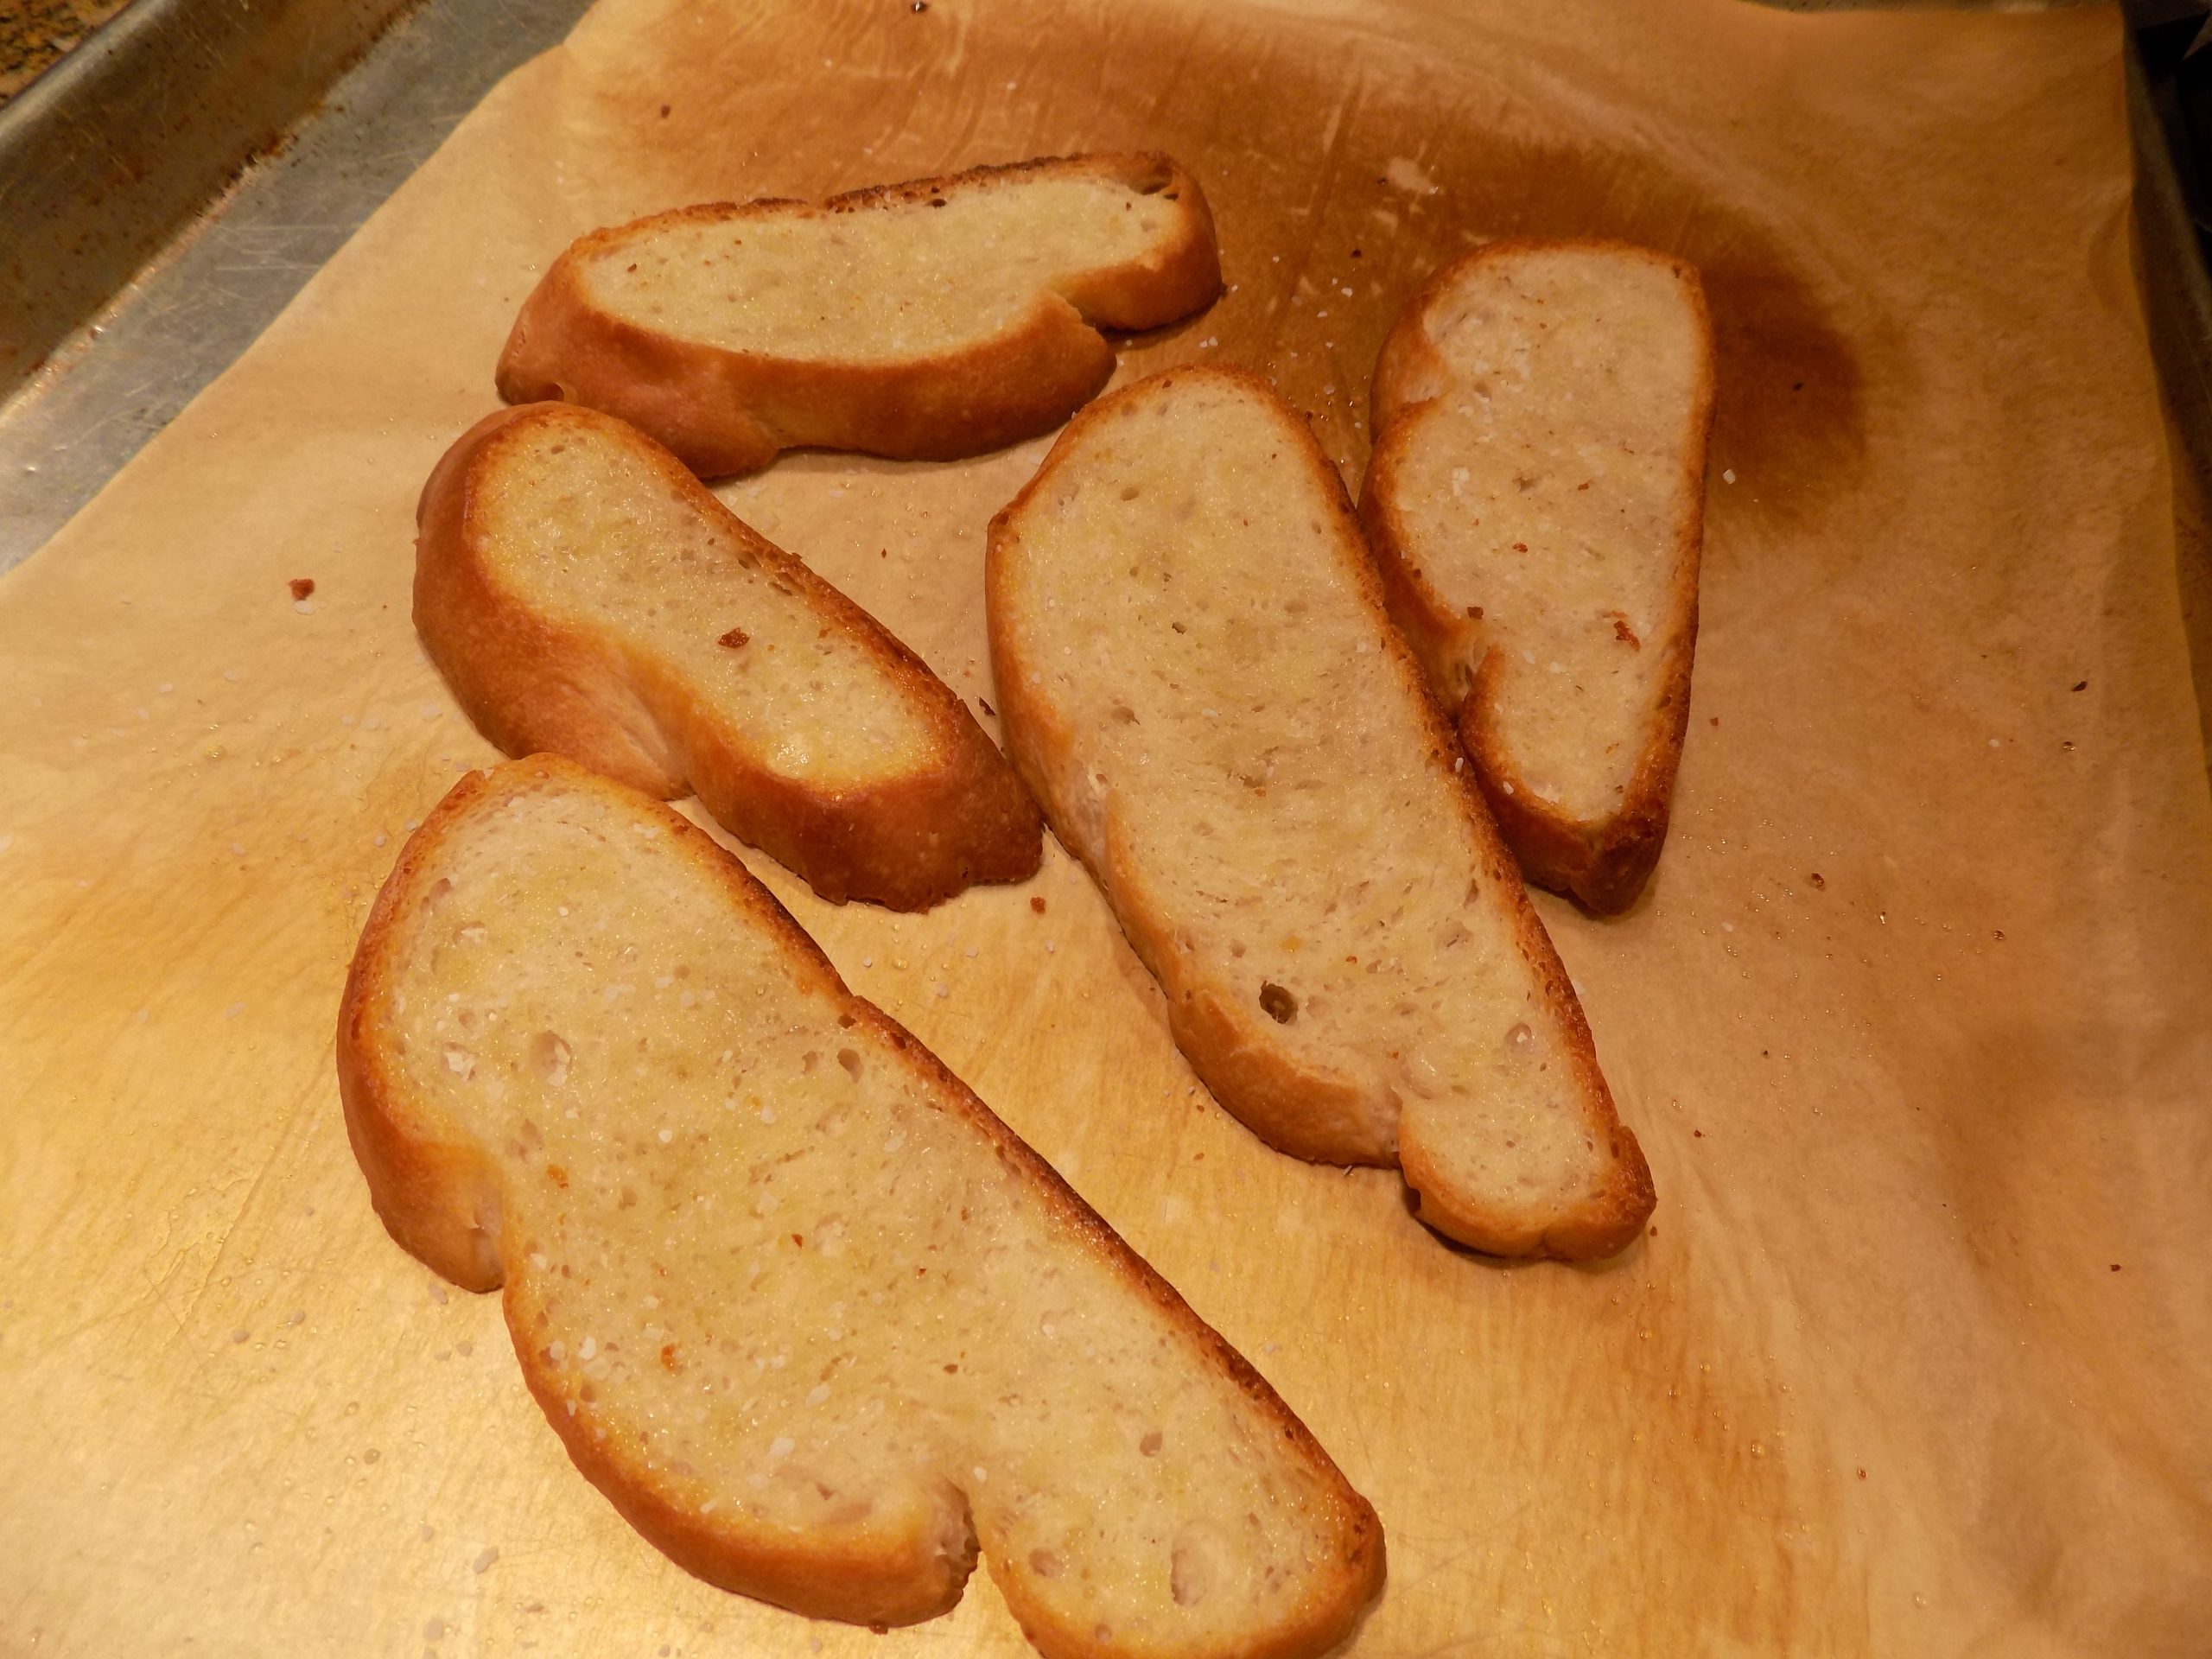
Now you realize, I am not going to sit down and eat a half loaf and think that’s OK. That would be ridiculous. But a piece of whole grain toast in the morning along with my eggs, homemade granola (lots of oats, nuts, seeds, dried fruit, etc.), fresh fruit, and Greek yogurt should be just fine.
So, as I work out new bread recipes like this one, I will keep you posted. And since I let my old sourdough starter die an honorable death a few months ago, I decided to start a new one without even a teaspoon of white flour to its name. I plan to use this sourdough starter using rye flour in all my future sourdough bread recipes.
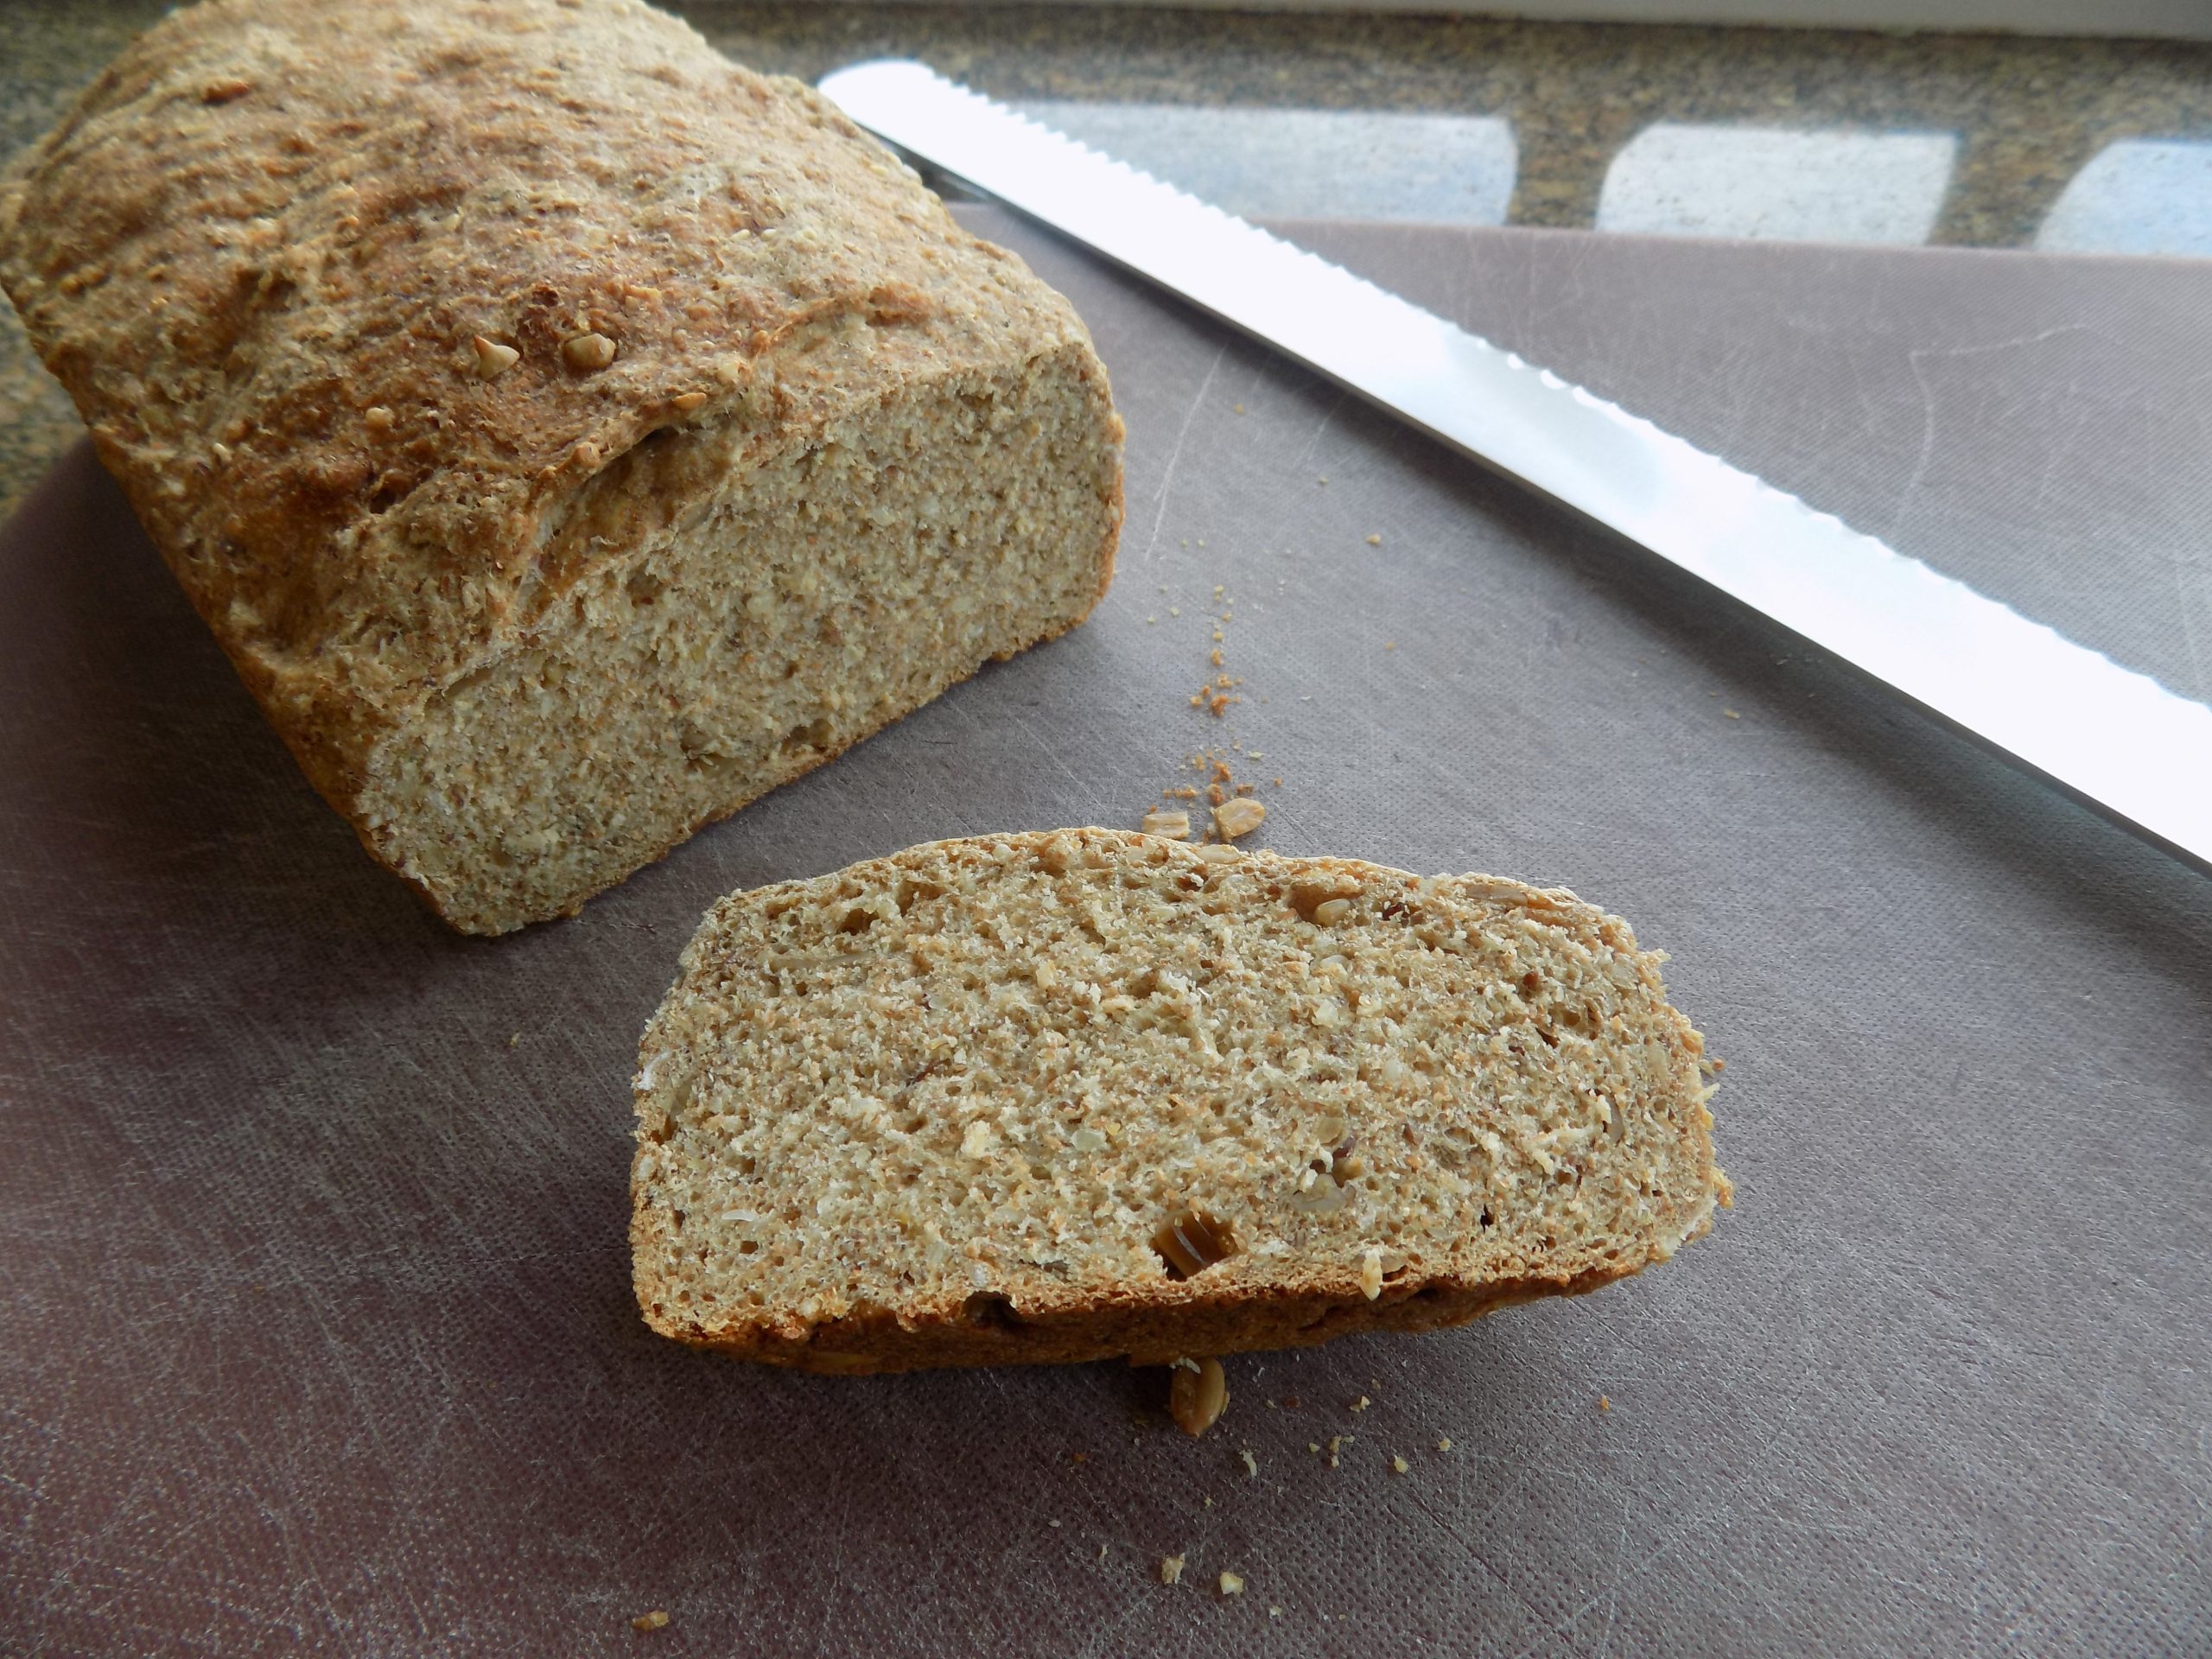
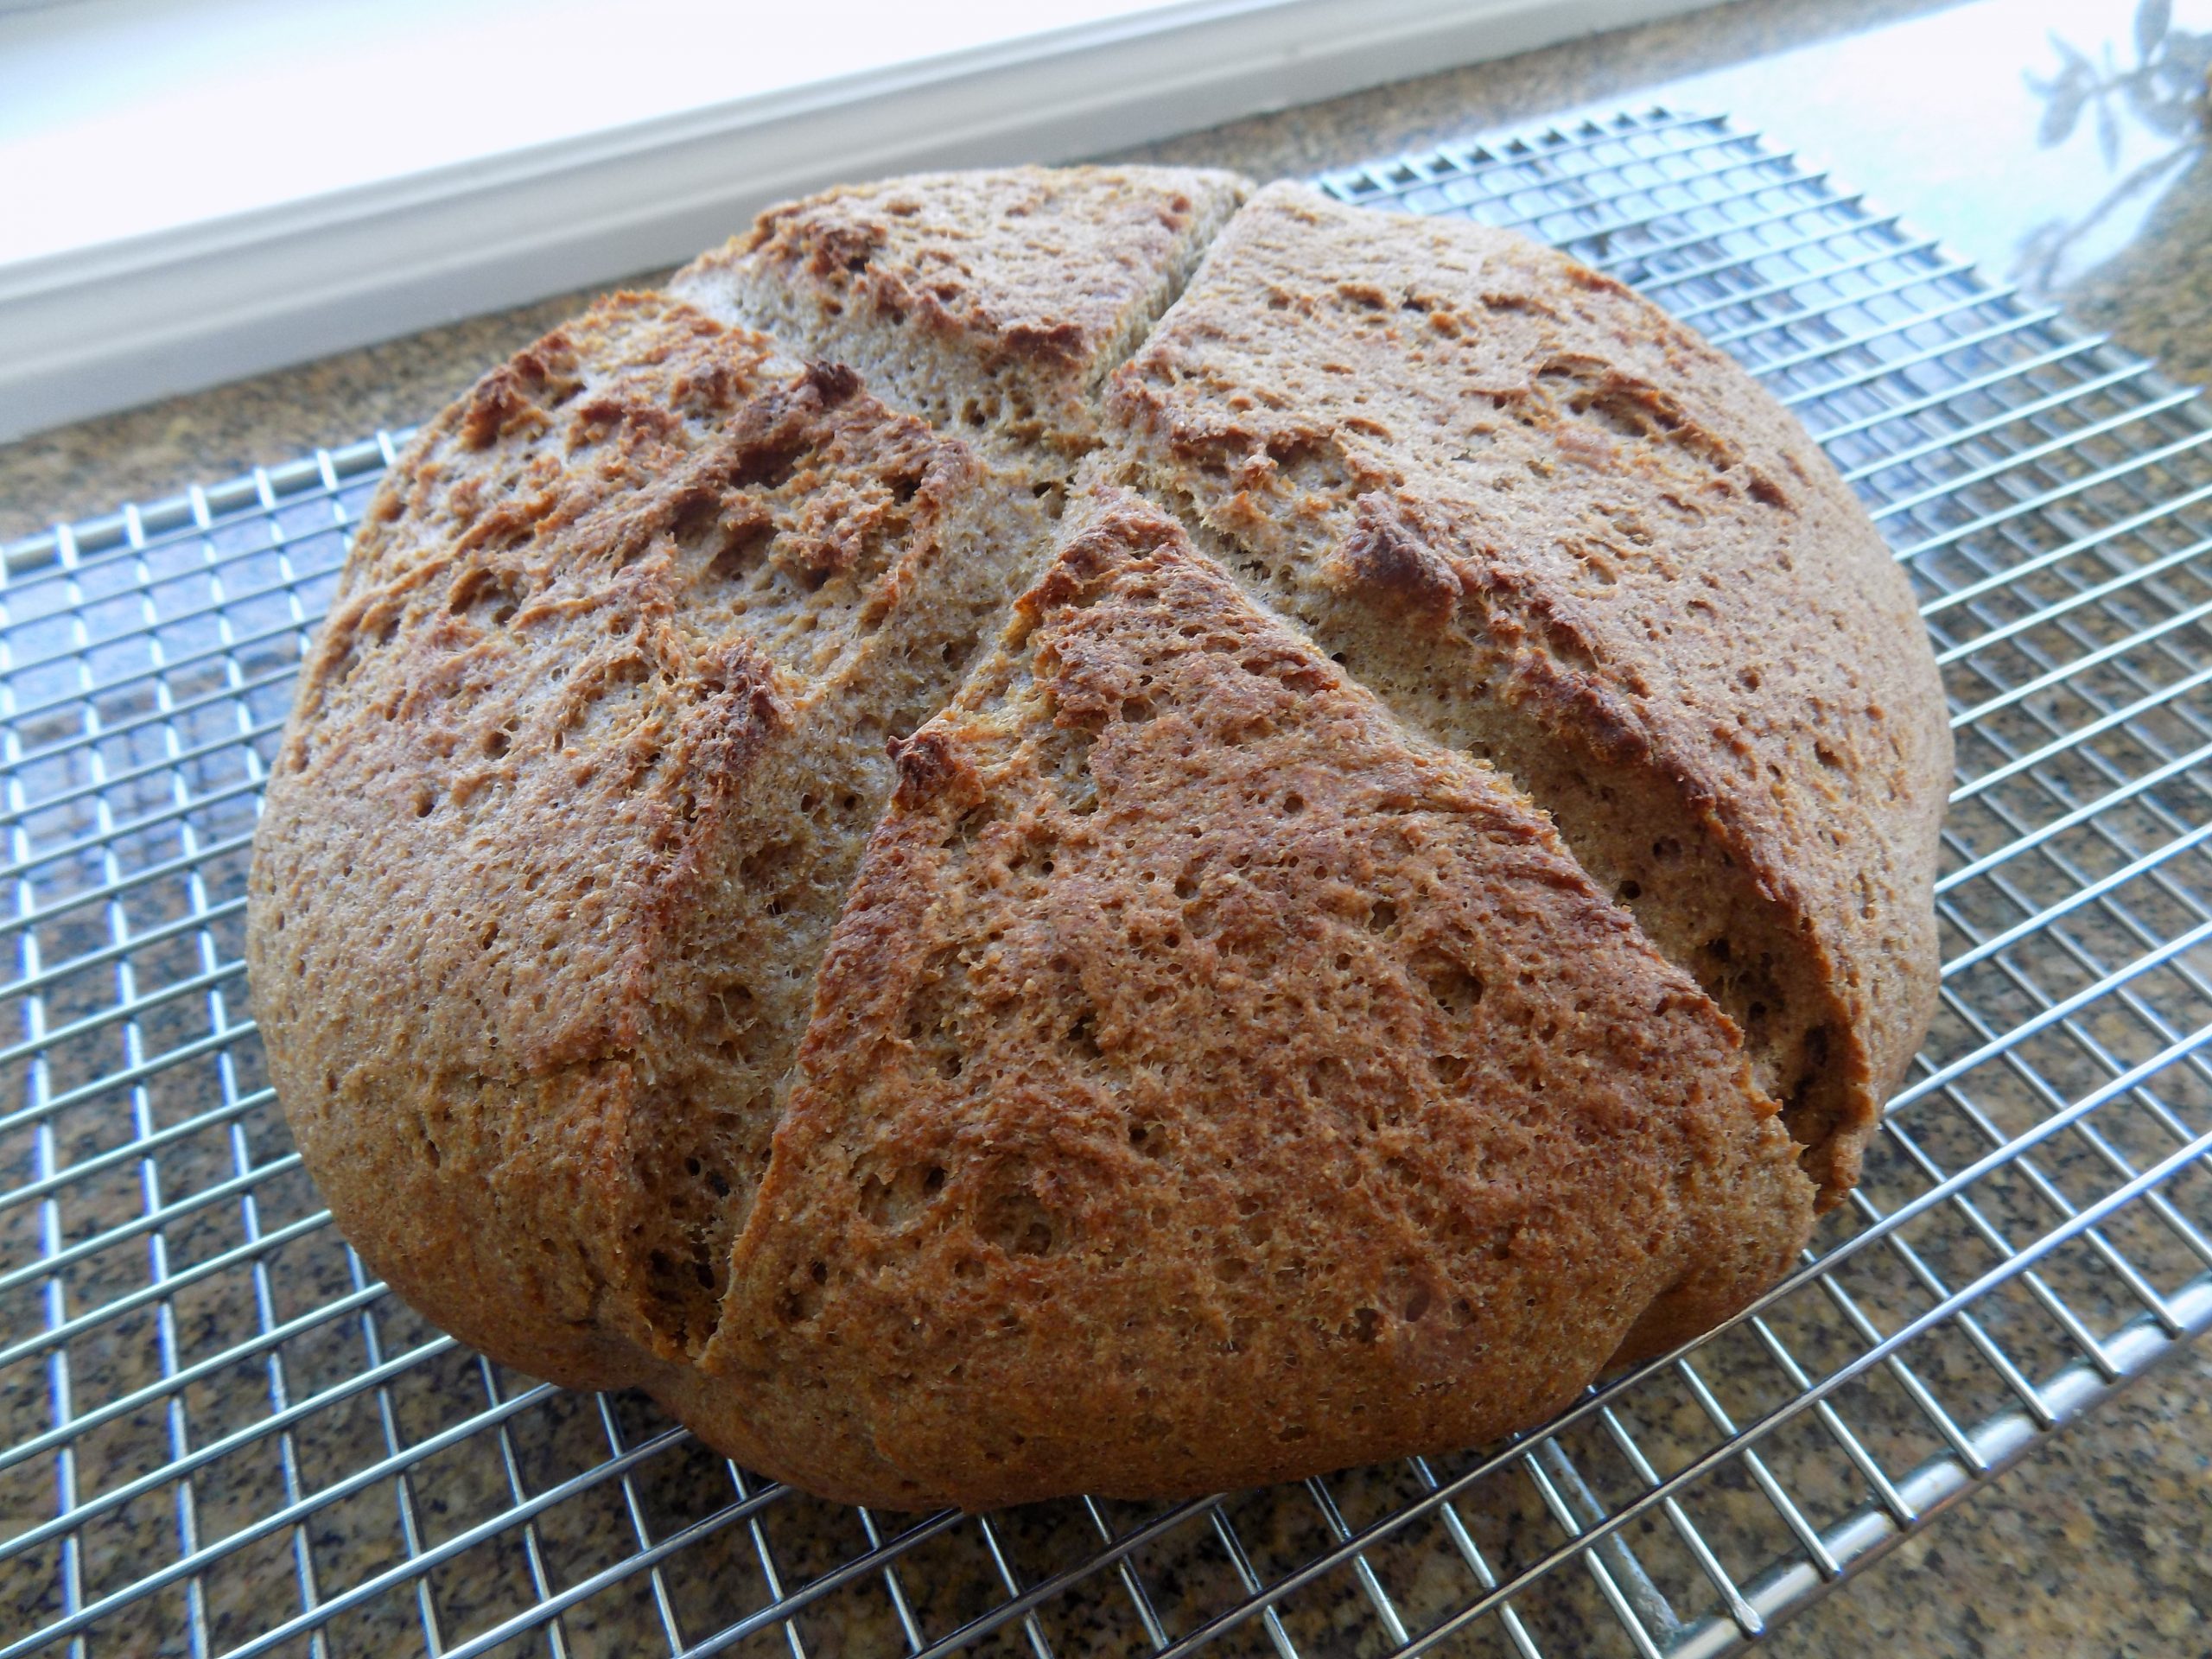
And if it gives my other recipes as wonderful and tangy a sourdough flavor as it did with this recipe, I may give up writing this lucrative food blog and start my own bakery. Because this bread is absolutely delicious with all the tang we all so desperately need in our lives. (It must be that the local bacteria are especially fond of rye flour.) Who knows, and more importantly, who cares? It works, that all that matters.
Well, that’s it for now. It’s sunny and warm here on the island. With just enough breeze to allow us to sit outside. Which is just exactly what Mr. C. is doing. I plan to join him shortly.
Peace and love and happy summer to all.

1 c. rye sourdough starter, room temperature (see recipe for rye starter below)
1½ c. stone-ground dark rye flour
1 c. slightly warm water
2 tsp. active dry yeast
1½ – 2 c. stone-ground whole-wheat flour
1½ tsp. kosher salt
2 T. honey
olive oil
Day 1:
Combine room temperature starter, rye flour, and water in the bowl of your stand mixer. Cover with plastic wrap and let stand on your counter overnight.
Day 2:
Add the active dry yeast, one cup of the whole wheat flour, salt, and honey to the bowl and using your dough hook, beat the mixture until the dough comes together. Knead for several minutes until the dough is smooth and springy. Add the rest of the whole wheat flour, a tablespoon or two at a time during the kneading process as necessary to reduce excess stickiness. However, this dough should remain somewhat tacky. There should be a bit of the dough that wants to stick to the bottom of the bowl.
Pour a little oil over the dough, the using your hands and a stiff rubber spatula, roll the dough into a lightly greased ball. Cover with plastic wrap and let rise about 60-90 minutes in a warm place or until doubled in size. (When you think it has risen enough, use your finger to make a small dent in the dough near the side of the bowl. If the dent remains, the bread is ready for Baking Option 1 or 2.)
Baking option 1: Baking your bread on a baking stone or greased baking sheet
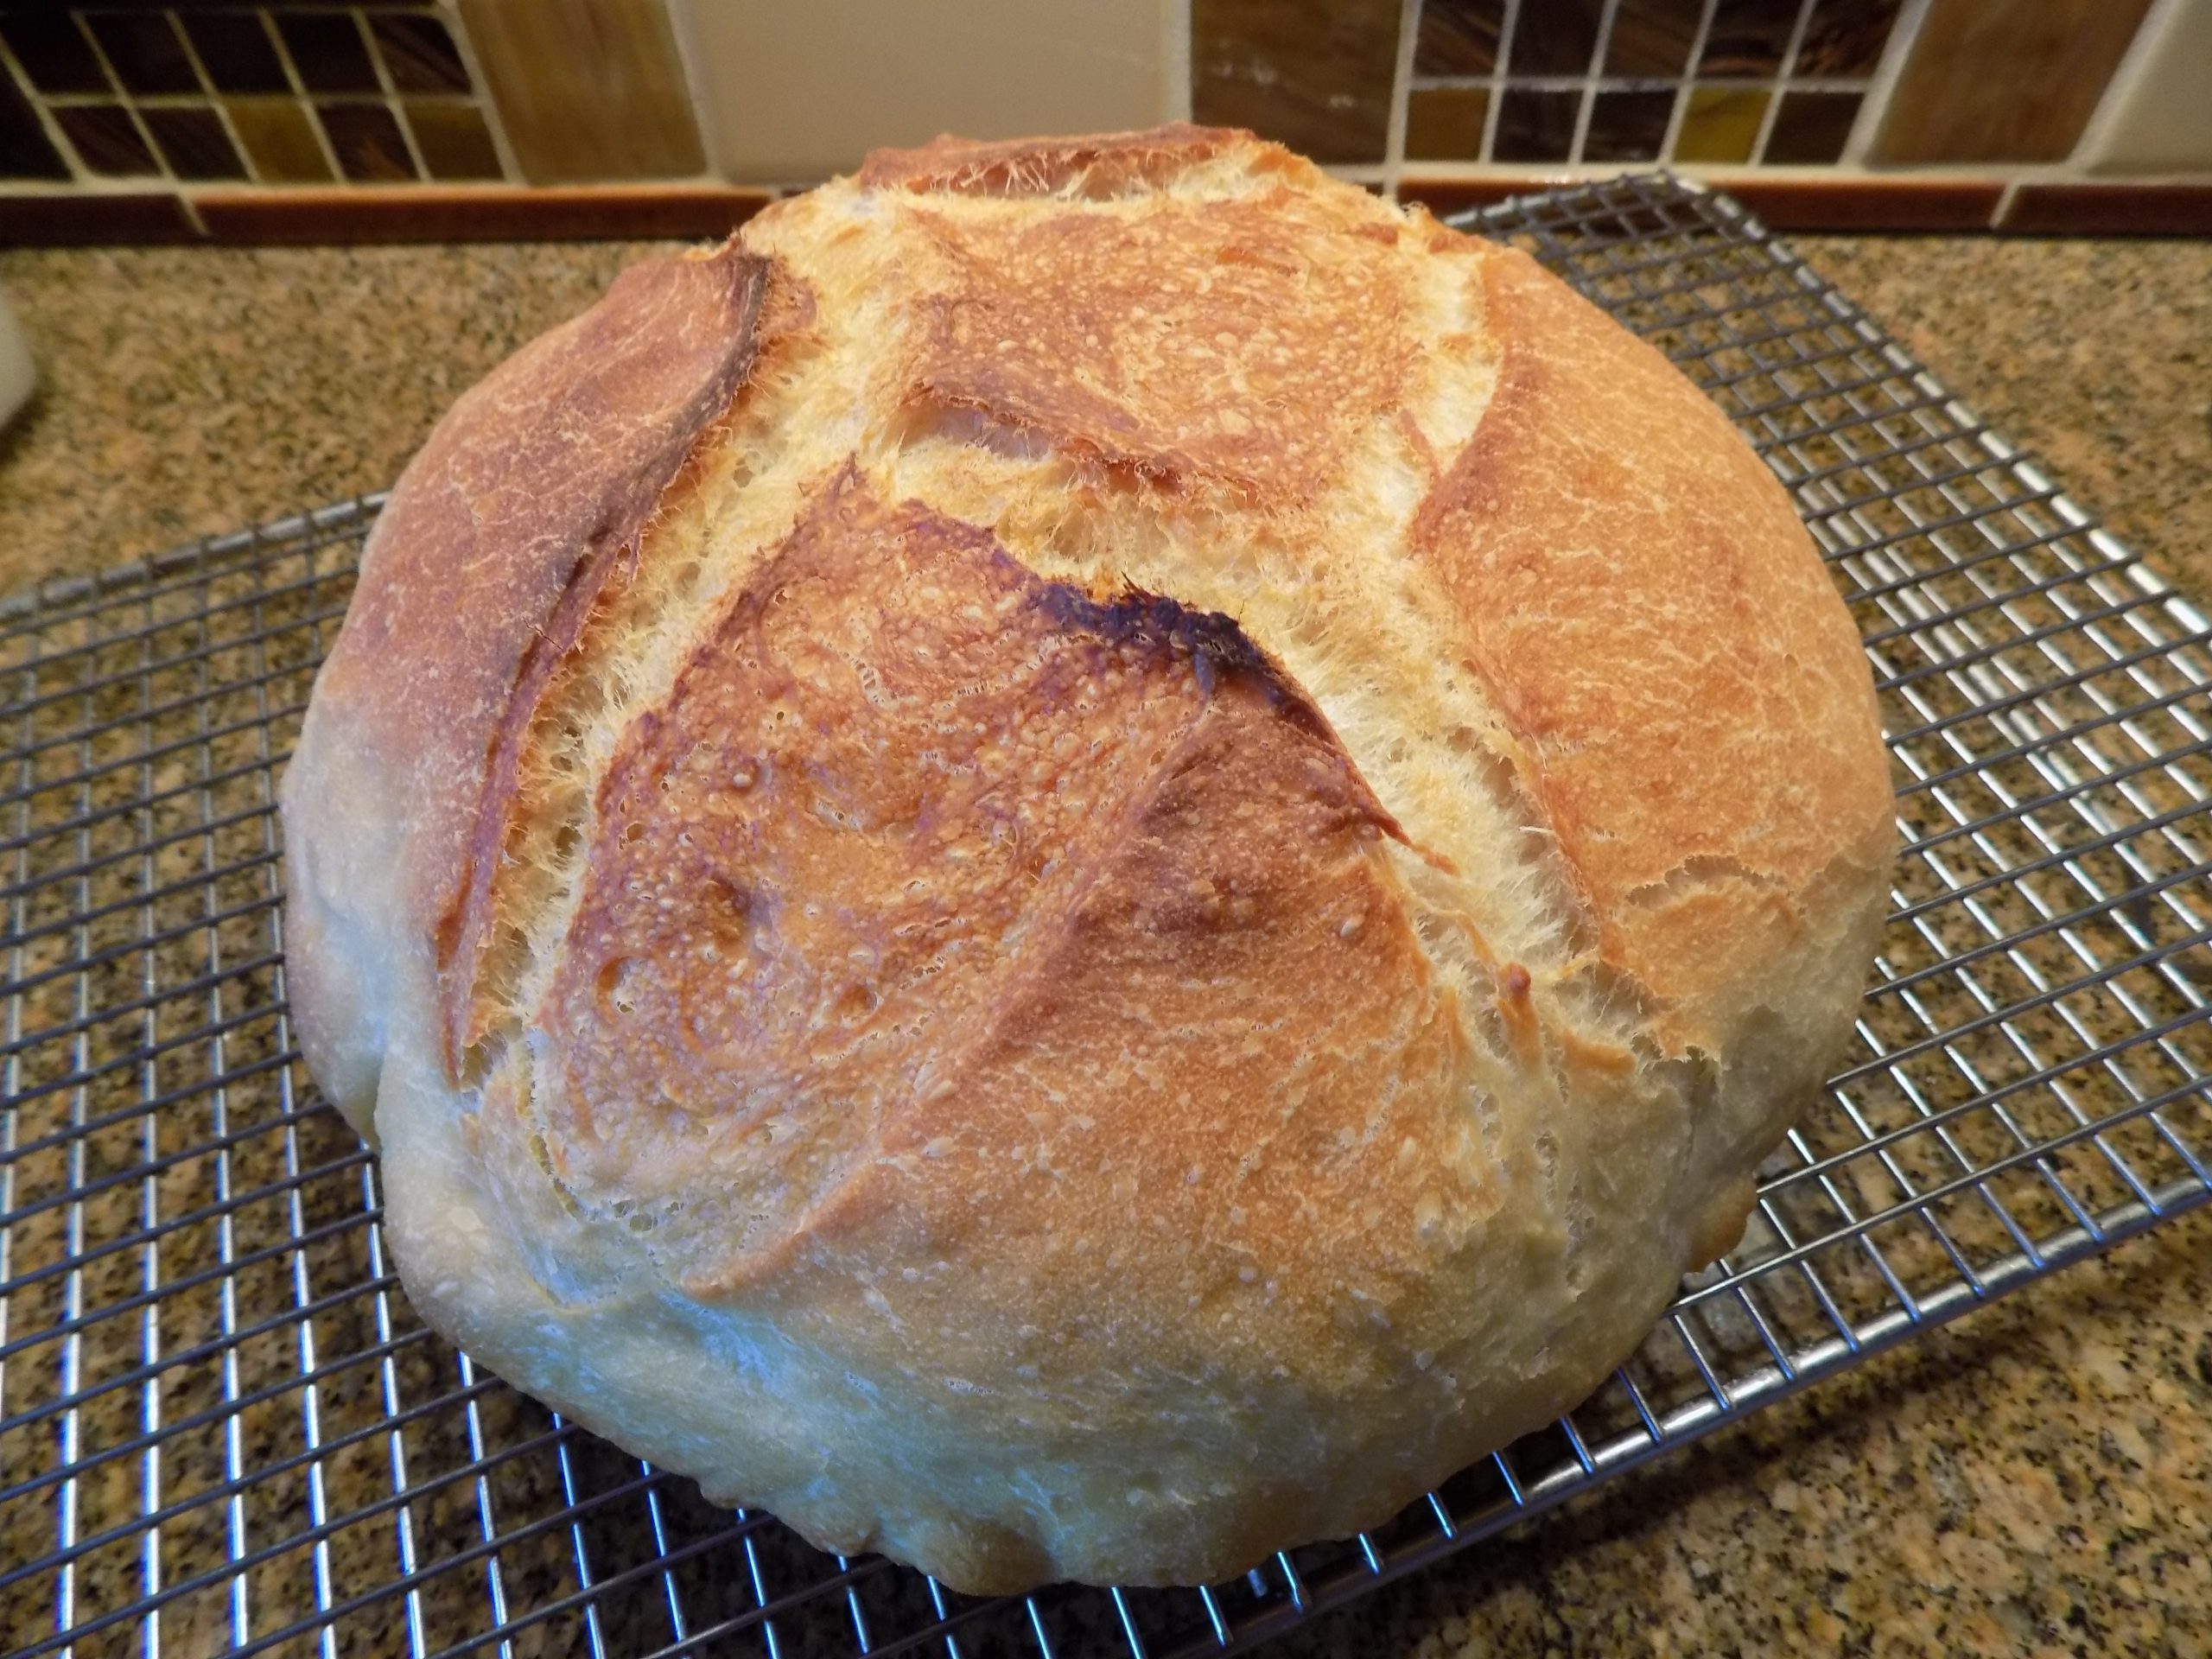
Punch down dough to release air; shape into a round loaf (boule) or an oval (batard). Place on a baking stone lightly sprinkled with flour or cornmeal or a greased baking sheet. Lightly cover with a tea towel and allow to rise about 30 minutes until almost doubled.
When ready to bake, cut 2-3 deep slashes on top of loaf. Let sit for 5 minutes, then lightly mist with water. Bake in a pre-heated 425 oven for 10 minutes. Reduce the oven heat to 400 degrees and bake another 20-25 minutes or until loaf is browned and sounds hollow when tapped on the bottom. The internal temperature of the bread should be about 205 degrees before it is removed from the oven. Let cool completely on a wire rack before slicing.
Baking option 2: Baking your bread in a clay baker (Cloche) or Dutch oven
Punch down dough to release air; shape into a round loaf (boule) and place on a rectangle of parchment paper. Lightly cover with a tea towel and allow to rise about 30 minutes until almost doubled.
Meanwhile pre-heat your oven to 425 degrees with your clay baker or Dutch oven inside. You want to heat the clay baker or Dutch oven as the oven heats.
When ready to bake, cut 2-4 deep slashes on top of boule. Let sit for 5 minutes. Carefully remove the clay baker or Dutch oven from your oven and take the lid off. Gently pick up the dough using the corners of the parchment paper. Lower the dough onto the clay baker or into the Dutch oven and replace the hot lid. Place in the oven and bake covered for 25 minutes. (I have found that if I use my clay baker, I first set it on a baking pan. It is much easier and safer to lift in and out of the oven, rather than just lifting the clay baker itself. You don’t have to do it my way, but it works well for me.) (For this recipe, I actually prefer my clay baker over my Dutch oven because the bottom doesn’t get as dark when baked on the clay baker.)
After 25 minutes carefully remove the lid and continue baking for about 15 more minutes. The internal temperature should be about 205 degrees when the bread is removed from the oven.
Carefully lift the bread off of the clay baker or out of the Dutch oven. Place on a wire rack and let cool completely before slicing.
RYE FLOUR SOURDOUGH STARTER
1½ c. water
2½ tsp. active dry yeast
2 c. rye flour
In a large glass container, dissolve the yeast in warm water. Let stand 5 minutes. Add the rye flour; stir. Cover loosely with plastic wrap. Let stand in warm place for 2 to 3 days. Stir twice each day.
The starter can be used for baking at this point or placed in the refrigerator for later use.
To use the starter, measure out desired amounts as specified in the recipe. Let refrigerated starter come to room temperature before using; this will take about 4 hours.
Replenish remaining starter with 3 parts rye flour to 2 parts water and 1 teaspoon sugar. Stir until blended. Some lumps may remain.
Cover loosely and let stand in warm place for 10 to 12 hours or overnight. Stir and store in refrigerator. If the starter is not used every week, stir in 1 teaspoon sugar to keep it active. Or replace used starter with equal parts rye flour, water, and a pinch of sugar.
Please note: This starter is a lot thicker than most sourdough starters. So, don’t be surprised if you don’t need quite as much flour as directed in other recipes.