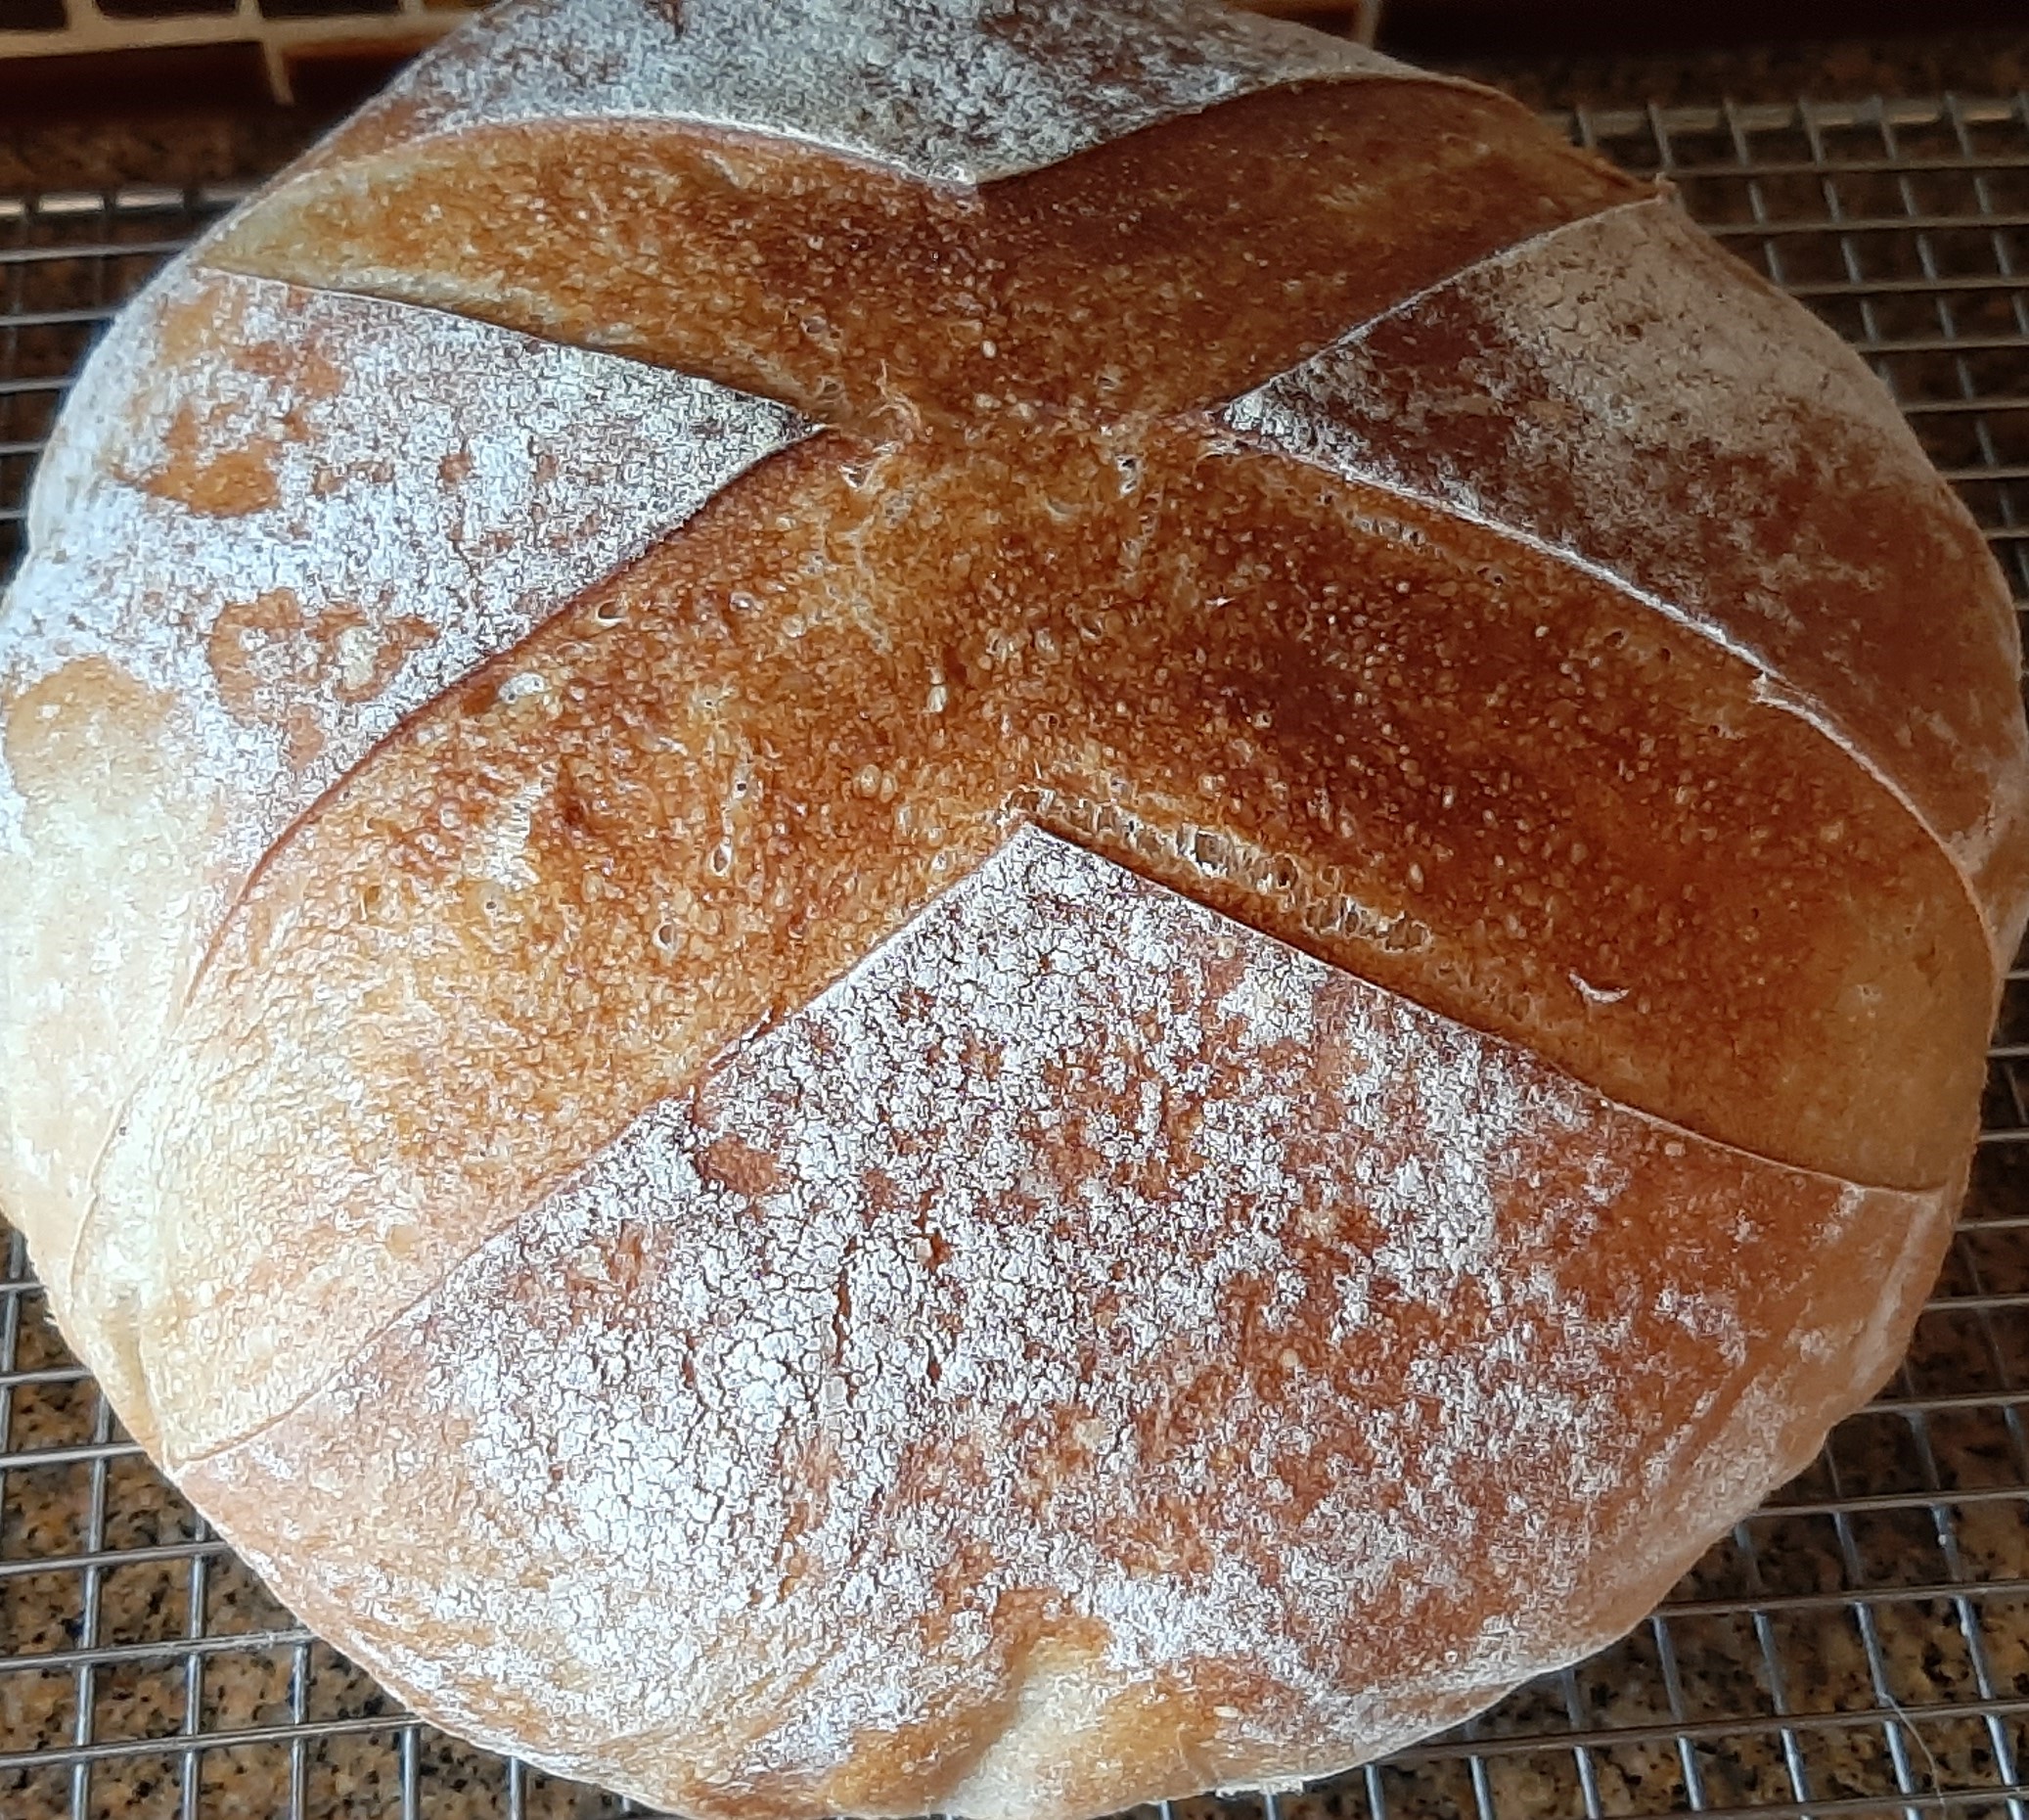
I love to bake bread because it is so darn forgiving. I mean truly, bread is really, really hard to mess up. In fact, you have to go out of your way to make a bad loaf of bread. Take this bread for example.
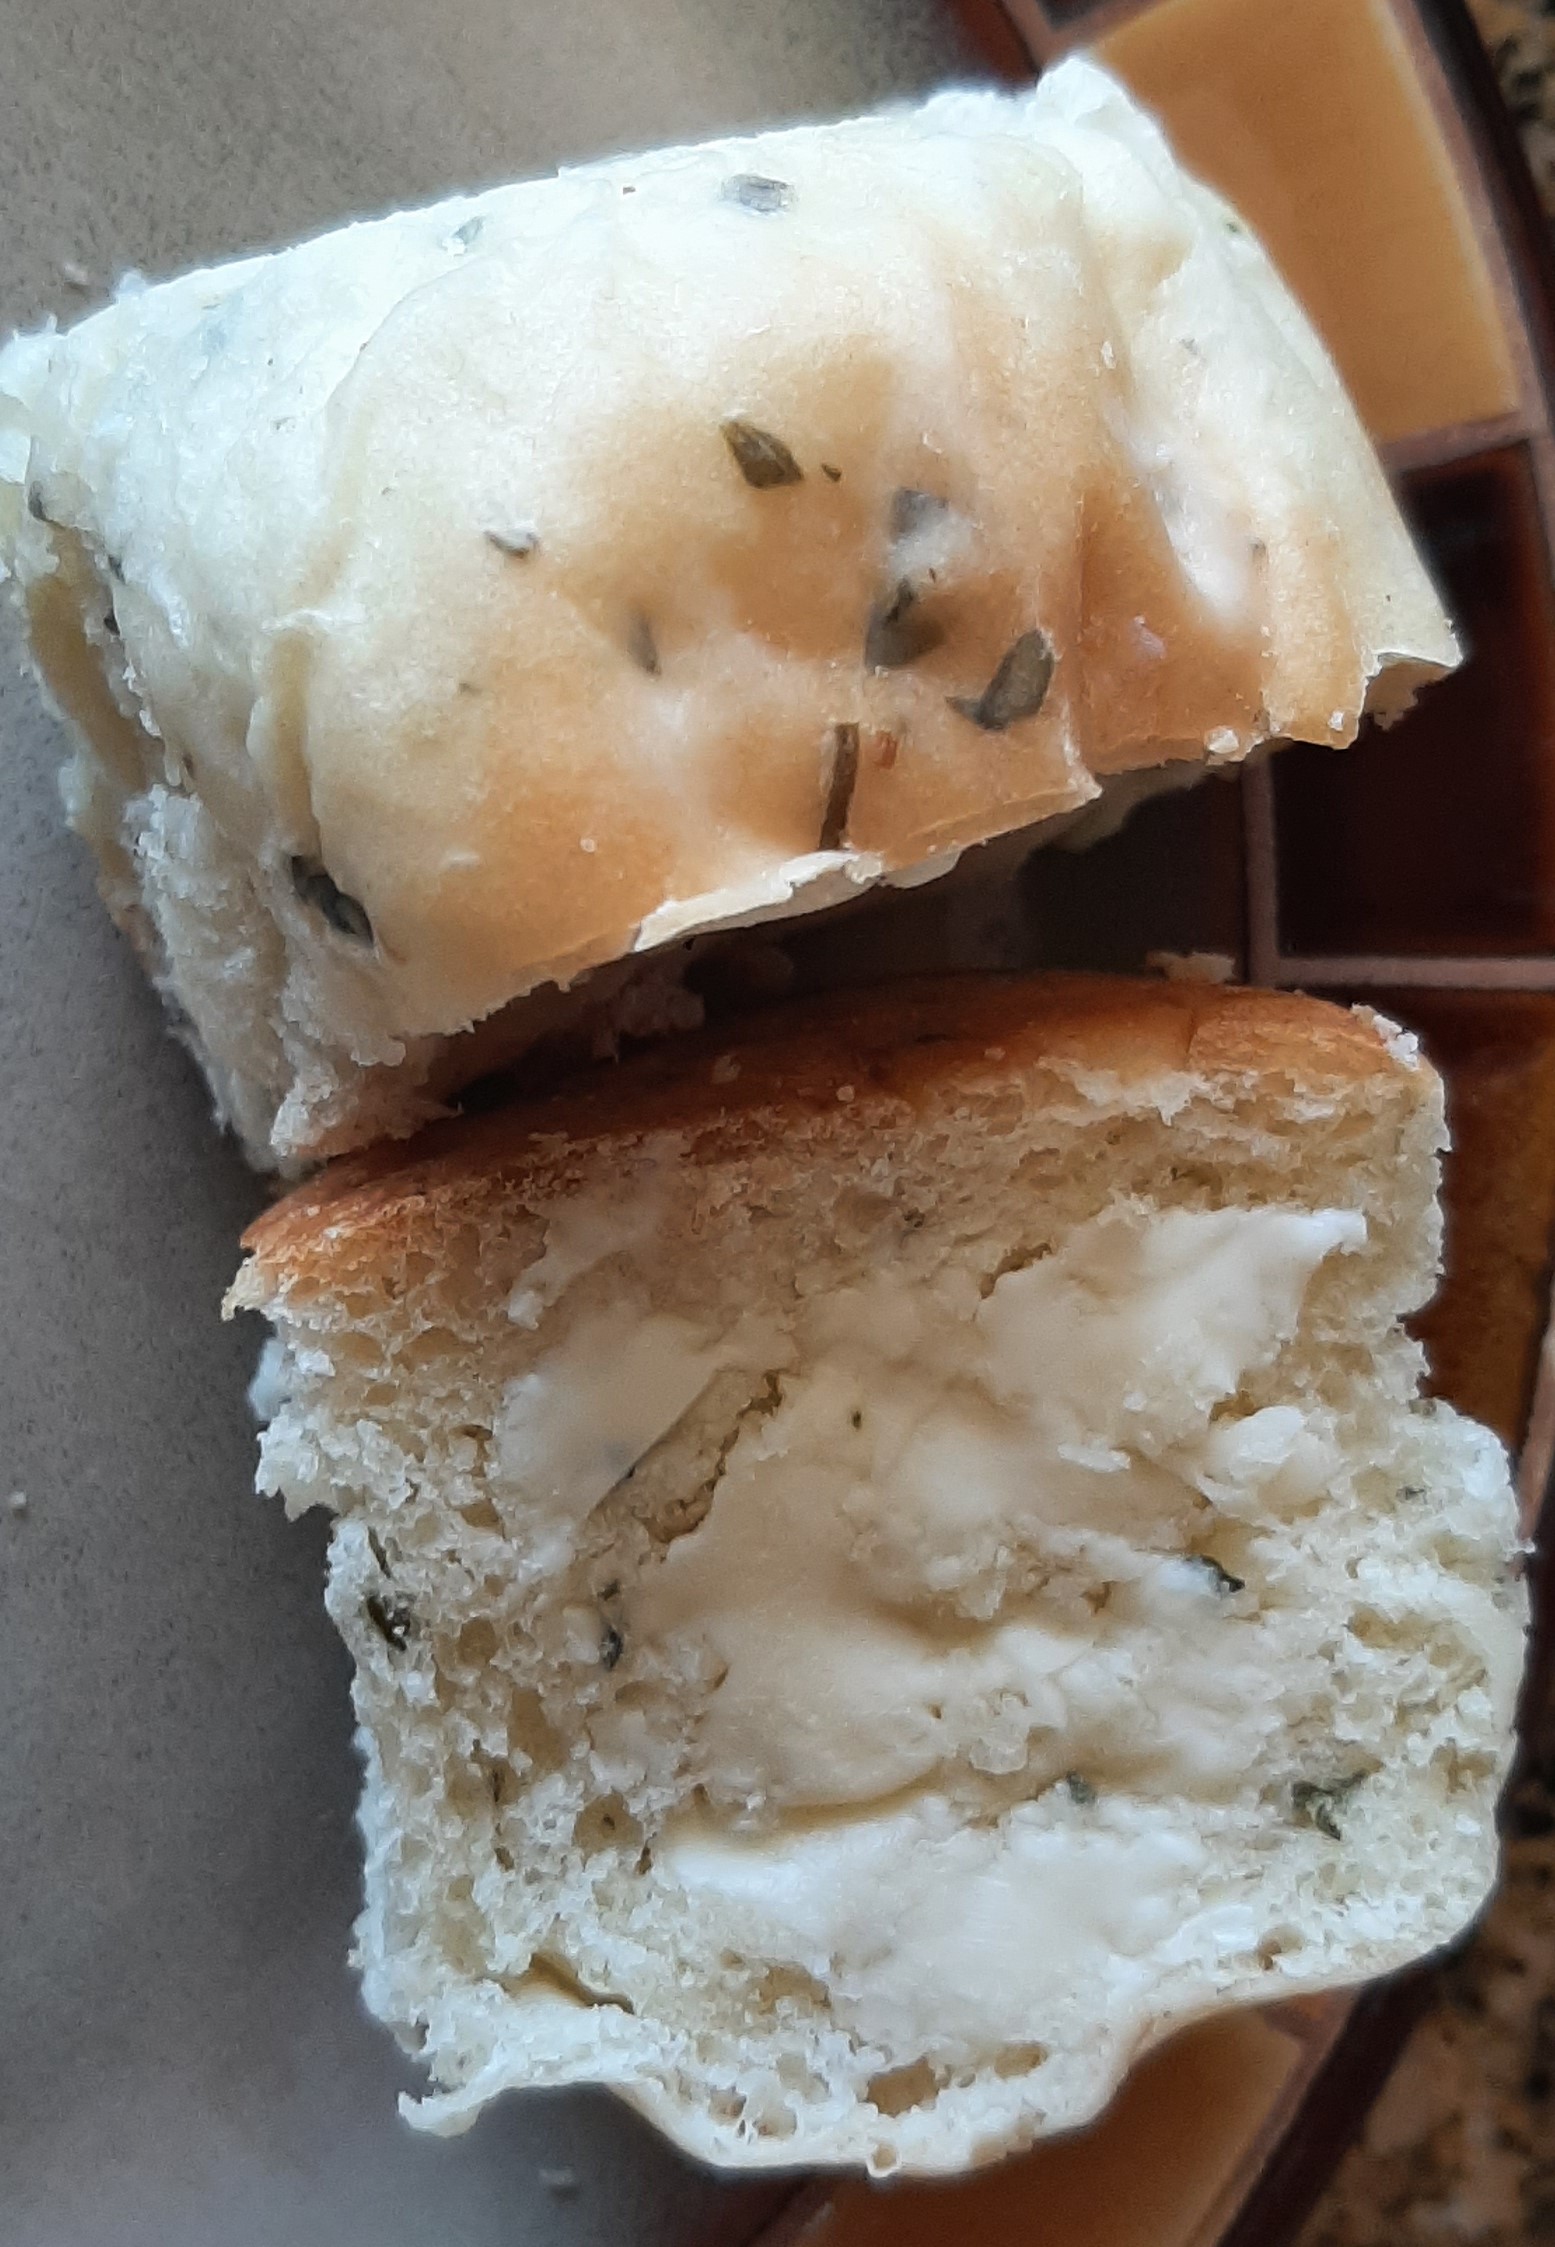
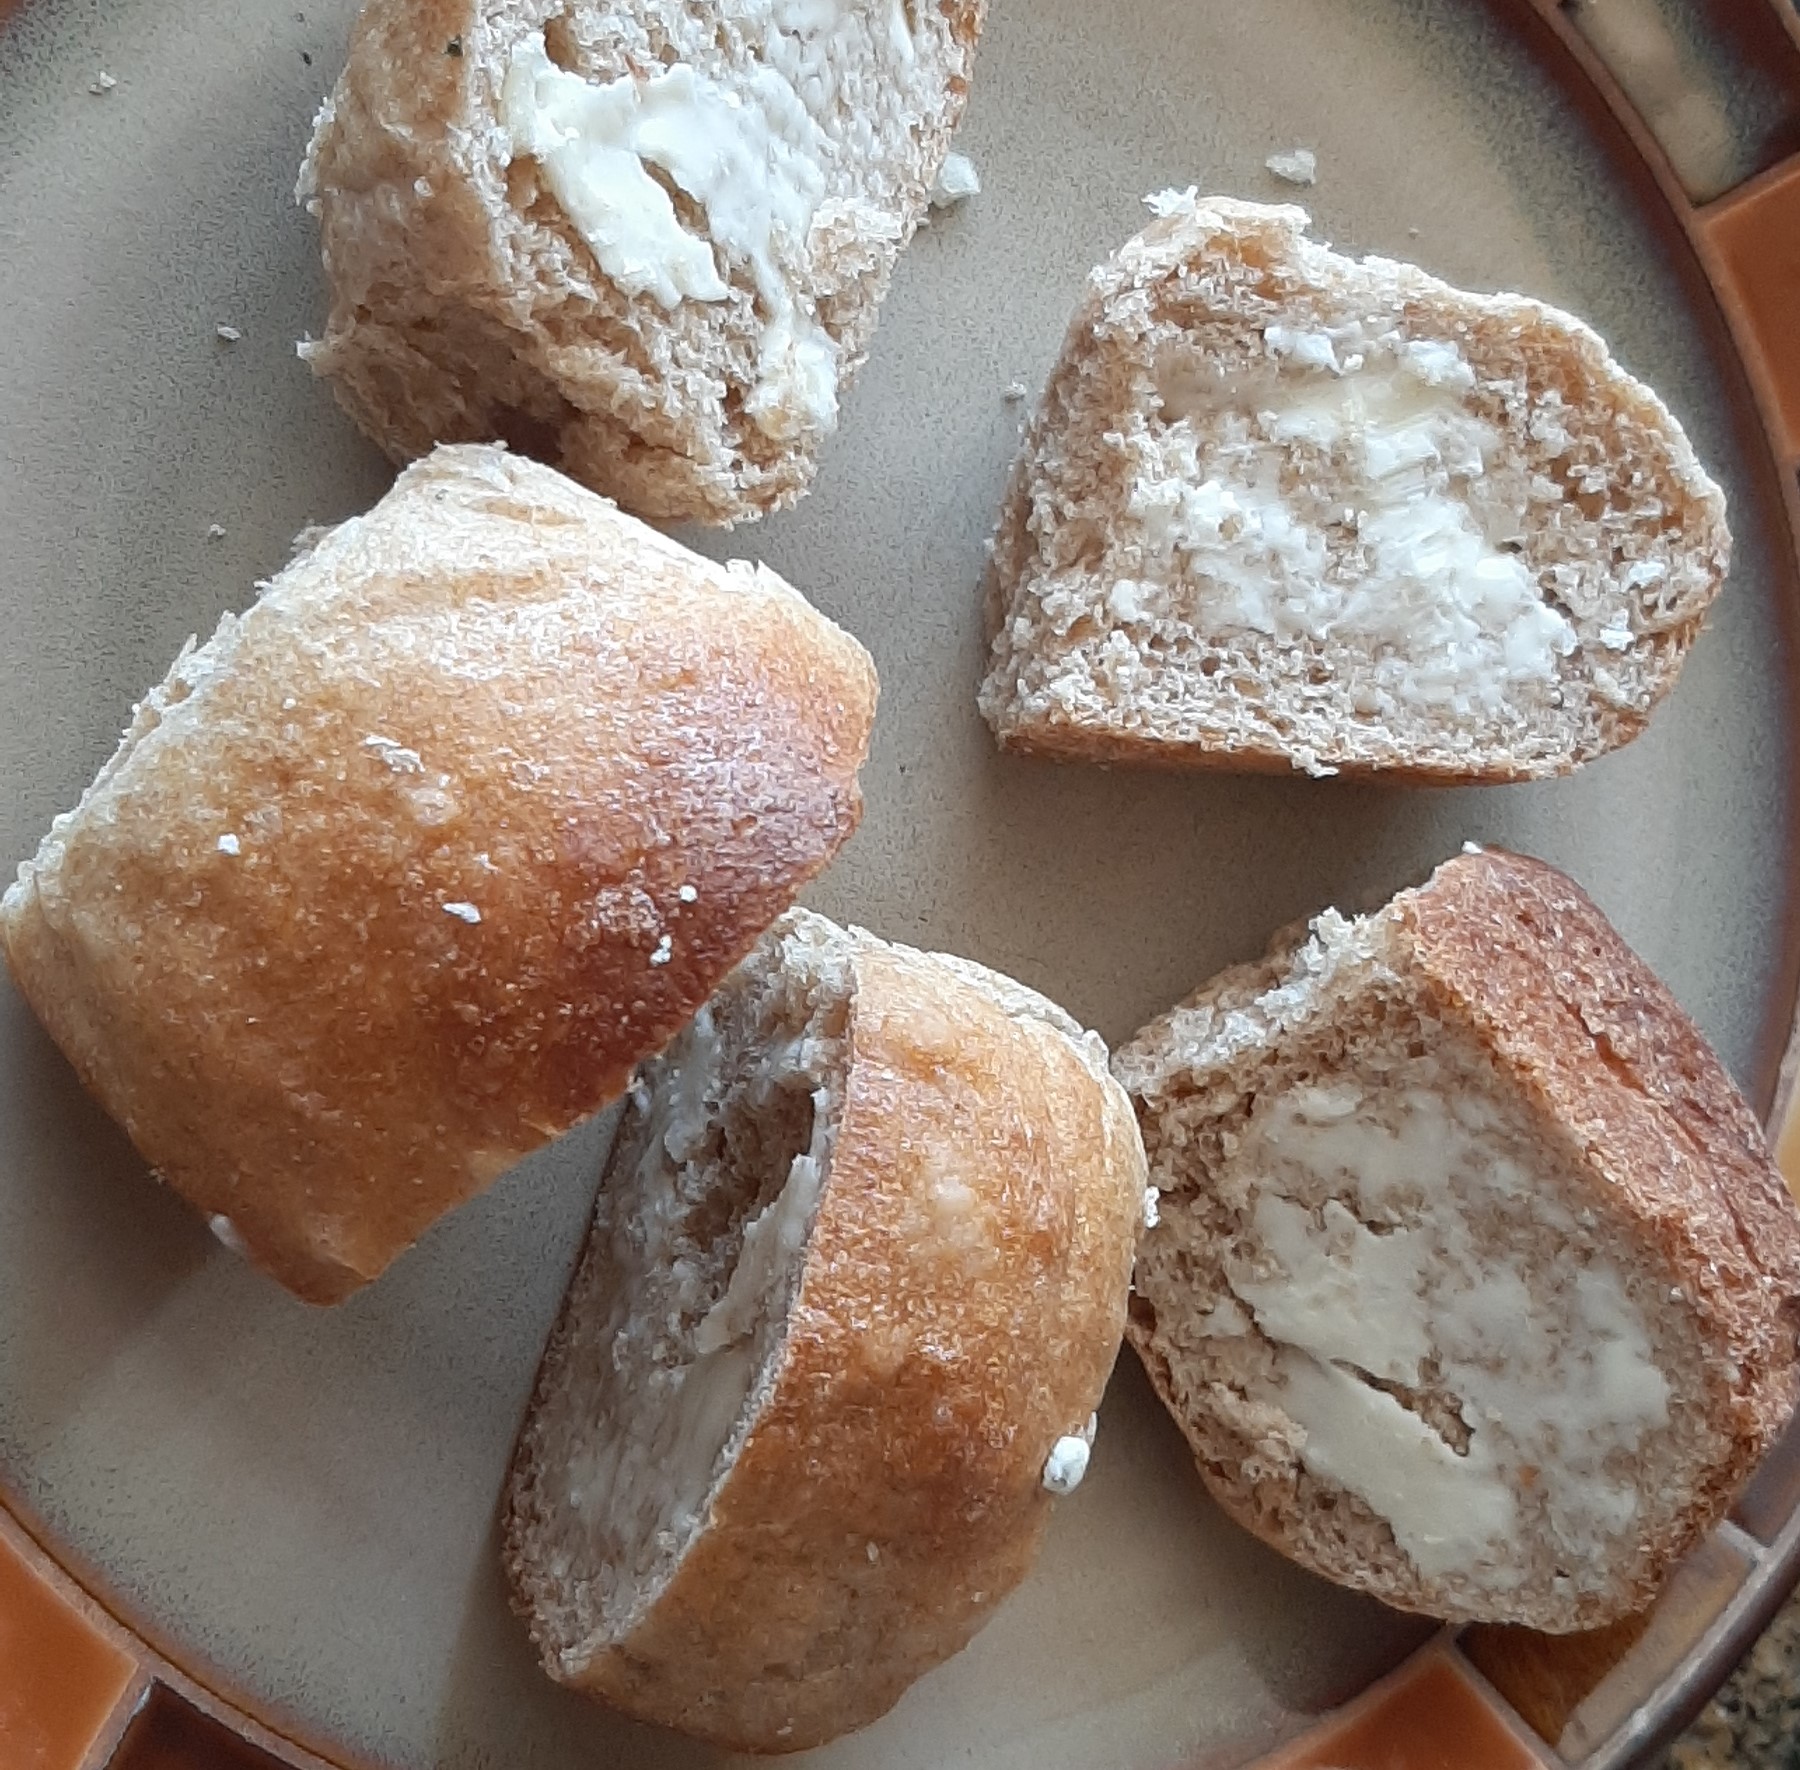
I wanted to explore the wonderful world of oat bread, but I didn’t want to use either some type of oil or butter. So, for my liquid I used whole milk. Of course, there is a bit of fat in whole milk, but not as much as churned butter or oil. I also wanted to use my sourdough starter and whole wheat flour. And of course, since I was thinking healthy, I decided to add a bit of wheat germ to the mix. Why not? And because whole wheat bread almost cries out for a bit of sweetener, I used 3 tablespoons of real maple syrup. And the result – great! Moist and flavorful bread. And I was able to build the dough and shape the bread the day before I needed it.
I often make bread dough ahead, shape it, and place it in the refrigerator overnight. Especially if I have other commitments the next day. Then all I have to do is remove the bread from the fridge the next day, let it sit out on the counter for a couple of hours to come to room temperature and perhaps rise a bit more, then bake it off. And the prep work from the day before, just a fleeting memory. And fresh out of the oven homemade bread on the day it’s needed.
Now I know some of you are new to bread baking. If that’s the case, I recommend you go to my post entitled Bread Baking 101. It is full of information and step-by-step instructions. And it might even be of help!
And for those of you who build bread on a regular basis, 2 thumbs up! You are doing the right thing. As you already know, homemade bread is easy and inexpensive to build, contains no ingredients even a person with a PhD in linguistics can pronounce, makes your entire home smell wonderful as it bakes, and tastes fantastic. What more could anyone possibly ask from the 4 basic ingredients in bread – flour, water, yeast, and salt? Bread truly is the “staff of life”! And found in virtually every society. So, I plan to keep “society” with bread for the rest of my life. And make it from scratch as much as possible.
As always, peace, love, and understanding to all.
1 c. old-fashioned rolled oats
½ c. warm water
¾ c. sourdough starter (fed or discard)
1½ tsp. active dry yeast
1 c. whole milk
3 T. maple syrup
1½ tsp. kosher salt
¾ c. whole wheat flour
2 T. wheat germ or wheat bran, opt. (wheat germ is healthier, but I use both)
2½ c. bread flour, more or less
veggie oil
cooking spray, for greasing the loaf pan or pans
Instructions:
Combine the rolled oats and warm water. Set aside.
In the bowl of your stand mixer, combine the sourdough starter, active dry yeast, whole milk, and maple syrup. Let sit for 5 minutes.
Then add the oat mixture, salt, whole wheat flour, wheat germ, and 2 cups of the bread flour.
Using the bread hook, mix and knead the dough until the dough is fairly sticky and part of the dough adheres to the bottom of the mixing bowl. Add additional flour as needed.
Pour a bit of oil around the dough, and using a stiff rubber spatula and your hands, round the dough into an evenly greased ball. Cover with plastic wrap and allow to rise for 1½-2 hours or until doubled in size. Punch down the dough.
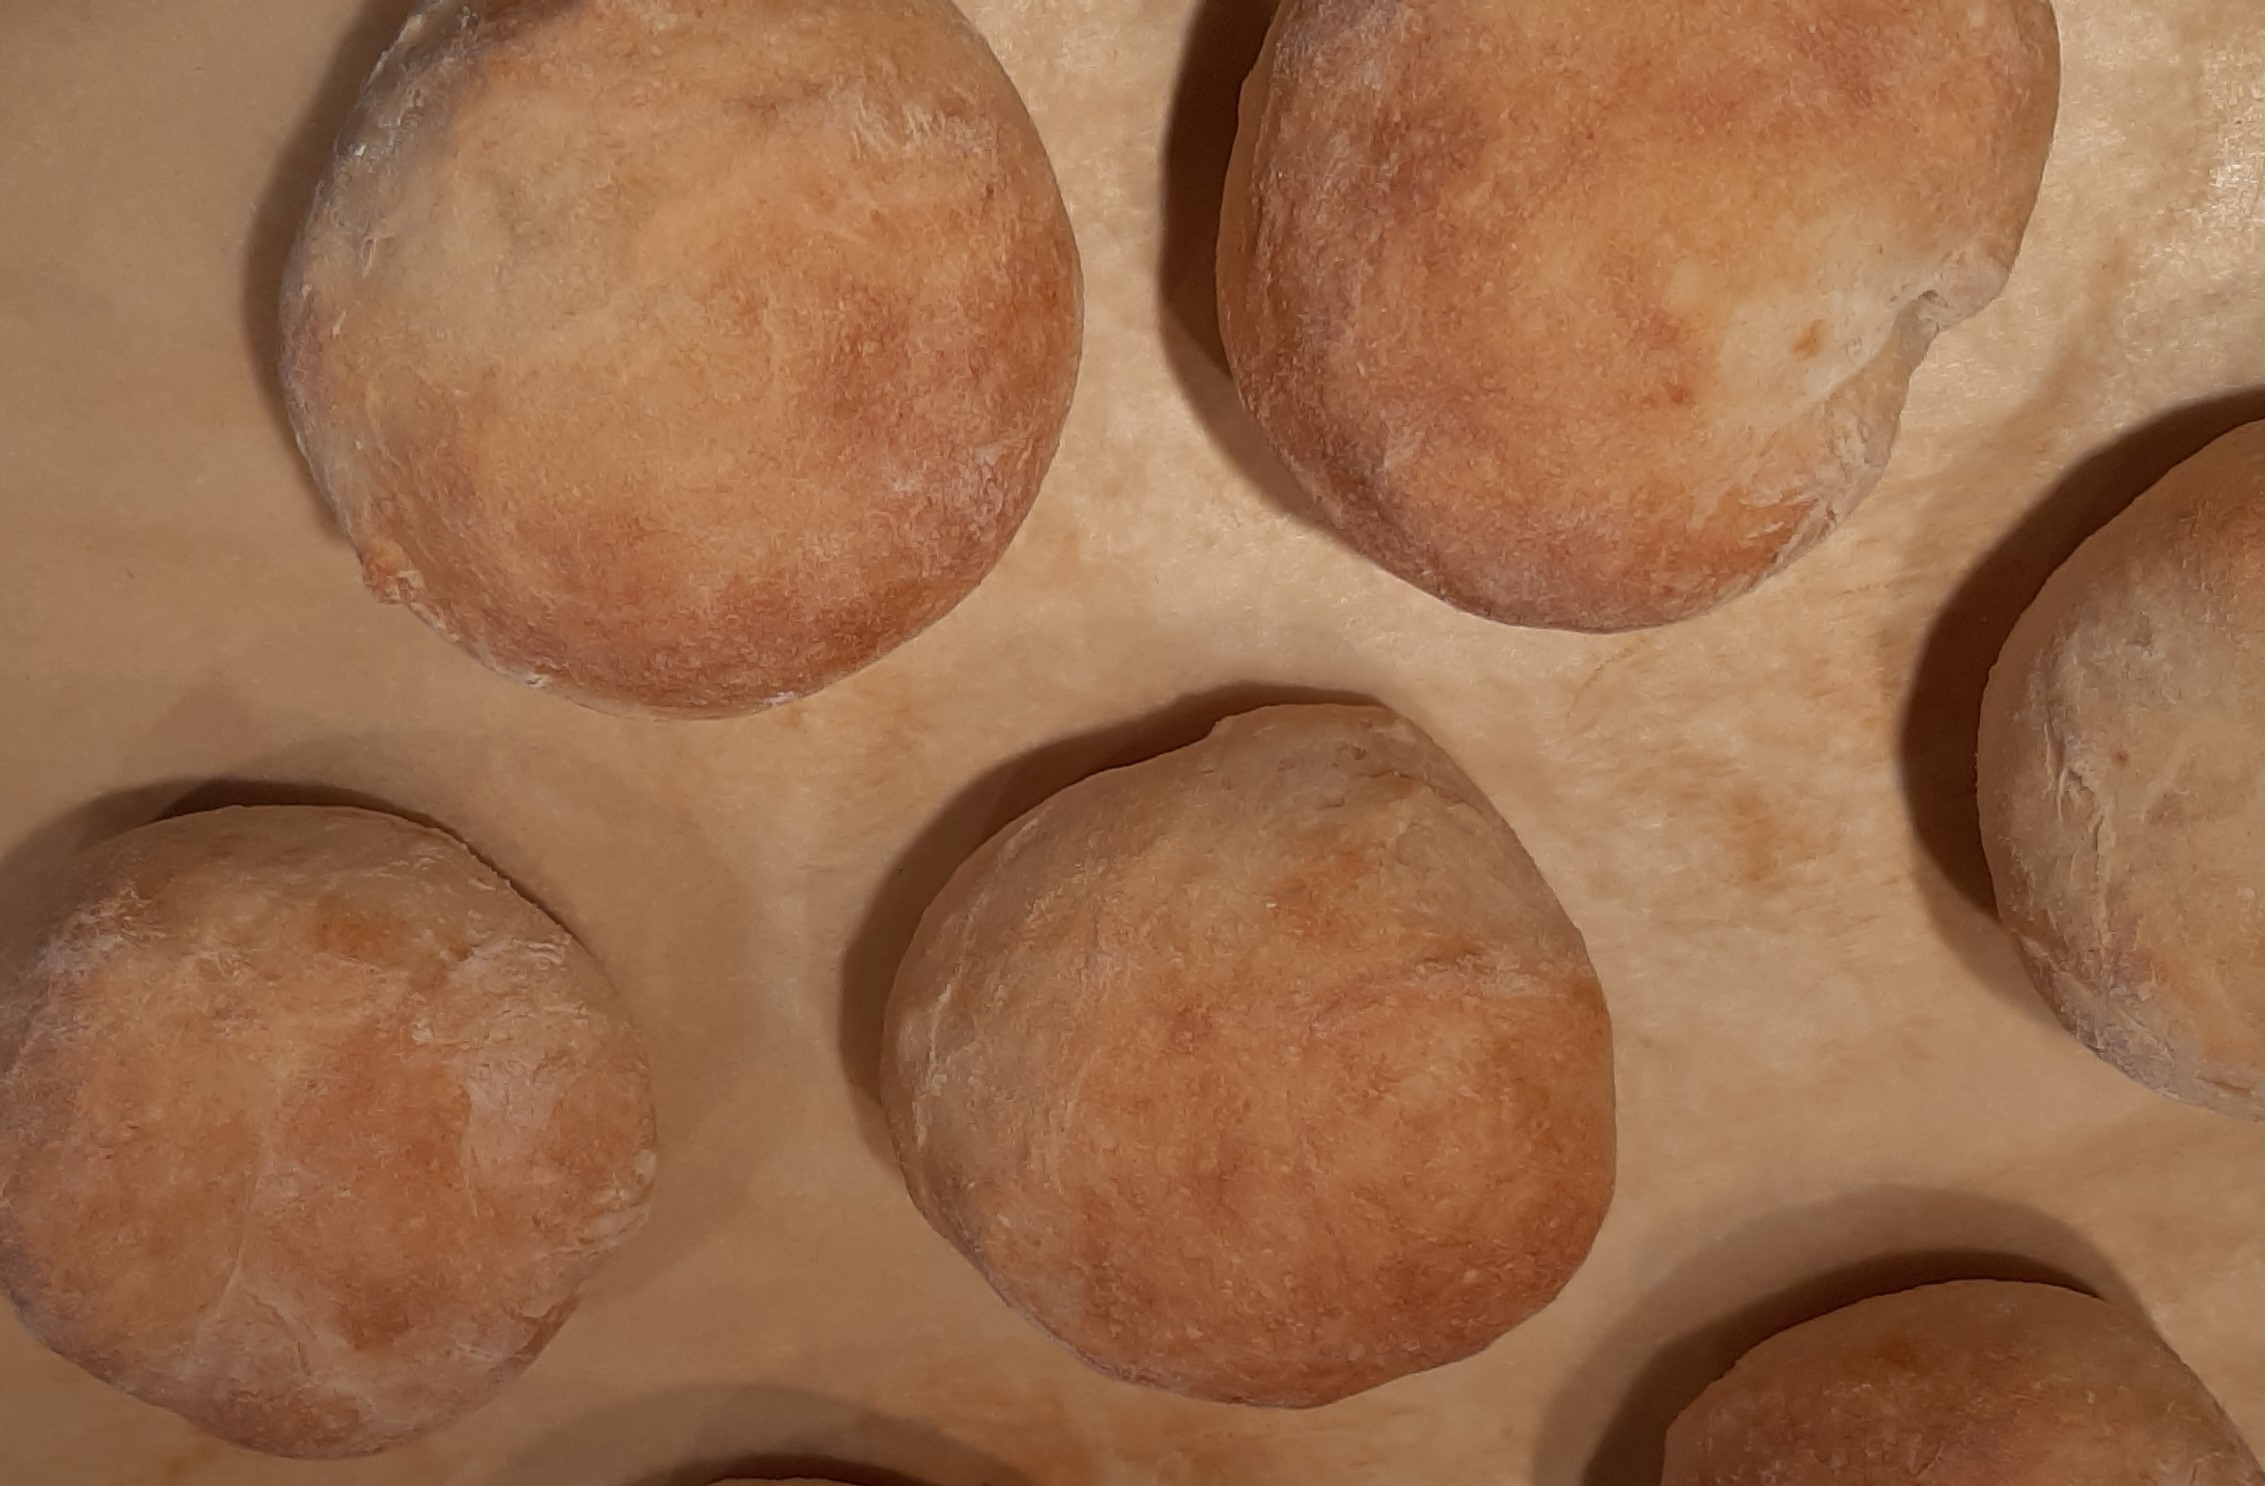
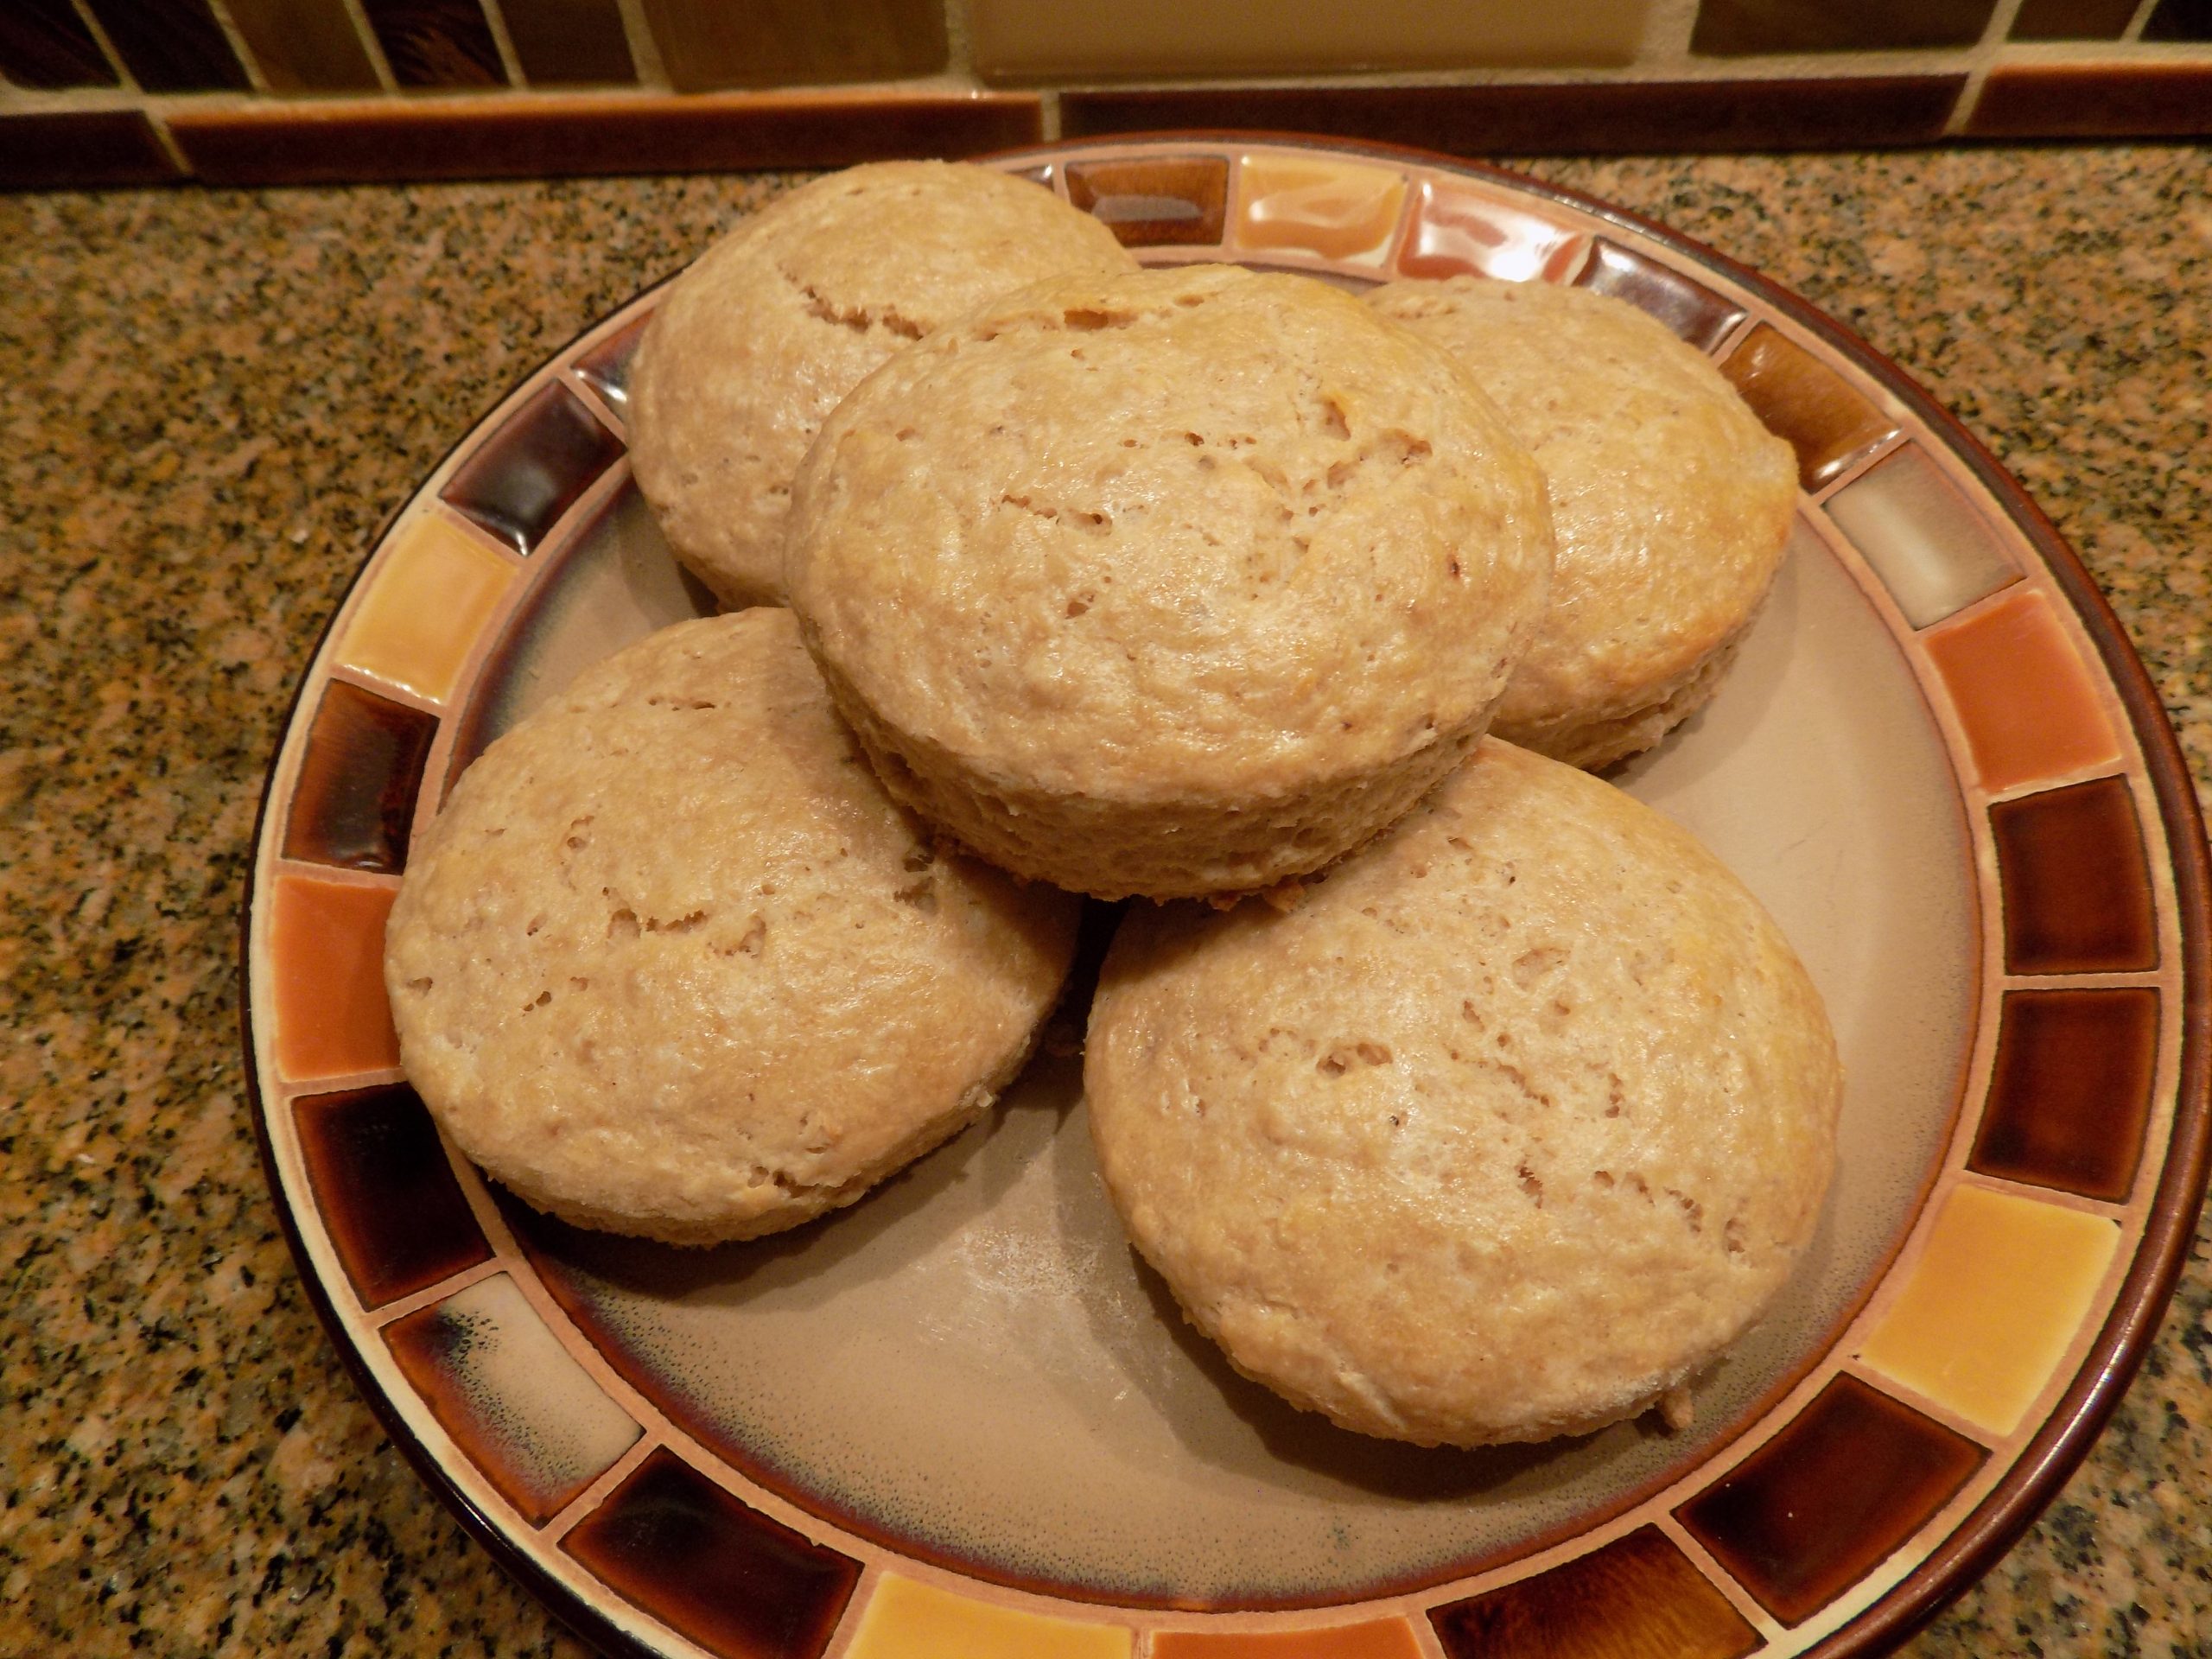
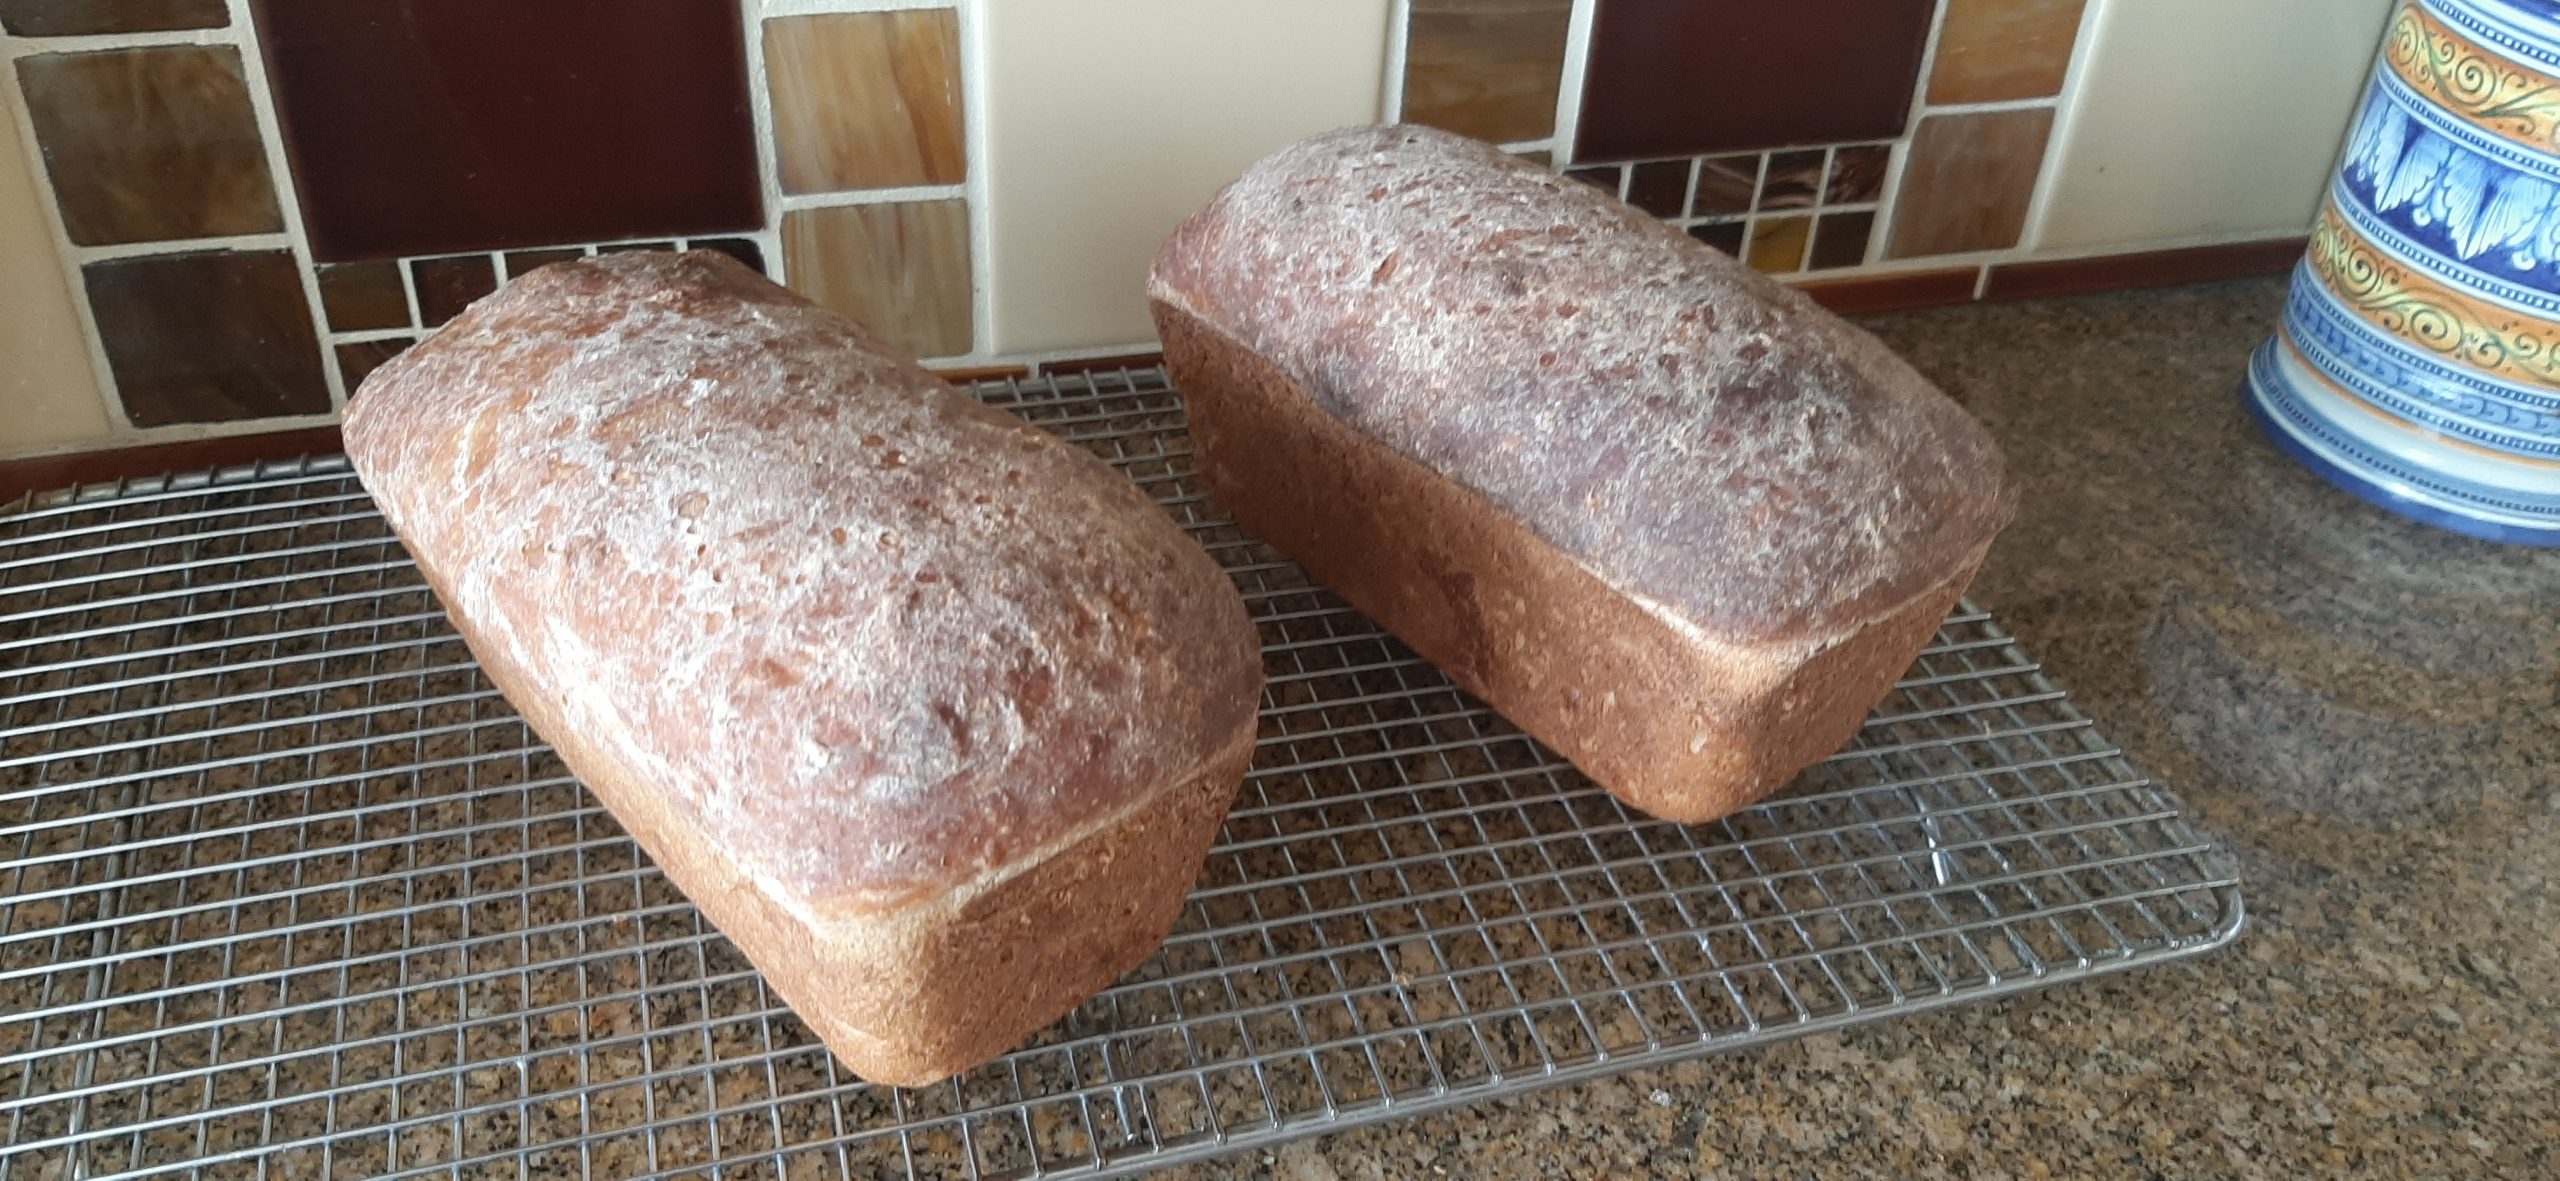
Grease 1 (9×5-inch) loaf pan or 2 (7½ x 3½-inch) loaf pans with cooking spray. (Divide the dough in half if you are using smaller pans.) Shape the dough, place in pan(s), cover with plastic wrap (I grease the plastic wrap before placing on the loaf or loaves), and place in refrigerator overnight.
Remove from fridge and place on counter for 1-2 hours or until the dough is about ½ inch over the top of the pan or pans.
Bake in a pre-heated 400-degree oven for 35-40 minutes for a single loaf. (25-30 minutes for 2 loaves). If making a single loaf, check after about 25 minutes to make sure the top is not getting too brown. If the top is already brown, place a piece of aluminum foil over the top. Continue baking until the internal temperature of the bread reaches at least 195-degrees.
Remove from oven and let cool for about 10 minutes before removing from pan or pans. Allow the loaf or loaves to cool completely on a wire rack before slicing.
Store in an airtight container at room temperature.