When I start to prepare a menu for a dinner party or for a special event, I always know that I am going to have the most fun finding just the perfect bread to serve with the meal. And that’s because I love everything about bread. I love how it goes together so easily in my KitchenAid mixer, I love how it smells while it’s baking, and I love how it tastes right out of the oven smothered with butter. I also really love the fact that baking bread is such an inexpensive alternative to buying truly good artisan bread at a grocery store, bakery, or farmer’s market.
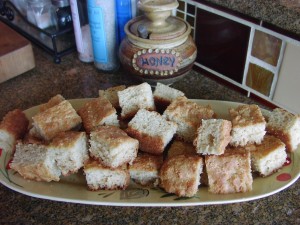
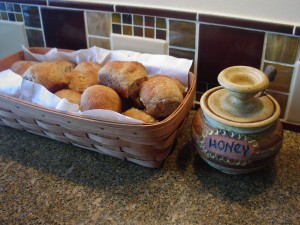
I’m always astounded at the amount of money artisans get for a loaf of homemade bread. Now granted, some artisan breads I can’t make at home because I don’t own a brick bread oven. (I asked for one for my birthday, but Mr. C. just laughed at me. They run in the 5 to 10 thousand dollar range you see. But still, he shouldn’t have laughed!) So when I find bakers who advertise brick oven baked breads, I usually can’t resist and give in to their blackmail demands. (Want to see this loaf of bread in your kitchen lady; then show me the color of your money!) And usually, I’m not disappointed. But when I can bake 2 loaves of bread that are almost as good, and I’ve only spent 50 cents on the ingredients (if that), I feel on top of the world.
I know I keep writing and telling people how easy it is to bake bread. So what I’ve decided to do is write a “cooking class segment” on bread baking. So for the next few days, I’m going to take a break from posting recipes and concentrate on “Bread Baking 101”. It’s not going to be a dissertation, the likes of which would earn me my first PhD, but it will have enough common sense information to start or expand your knowledge of baking the perfect loaf.
And yes I know, bread is caloric and not really “in” right now. But “bread” is the staff of life, and in some form or another is enjoyed by almost every ethnic group on this planet. And if prepared with nutritional ingredients and eaten in moderation (I am such the expert on moderation), bread can be healthy and provide needed vitamins and fiber our diets so desperately need. Now, if someone will just hide my butter container!
- 1 T. or 1 pkg. active dry yeast
- 2 c. warm water
- 2 tsp. kosher salt
- 3 tsp. sugar
- 1 T. + 2 tsp. olive oil
- 5 1/2 – 6 cups all-purpose flour
- 1 T. cornmeal
- spray olive, coconut, or vegetable oil
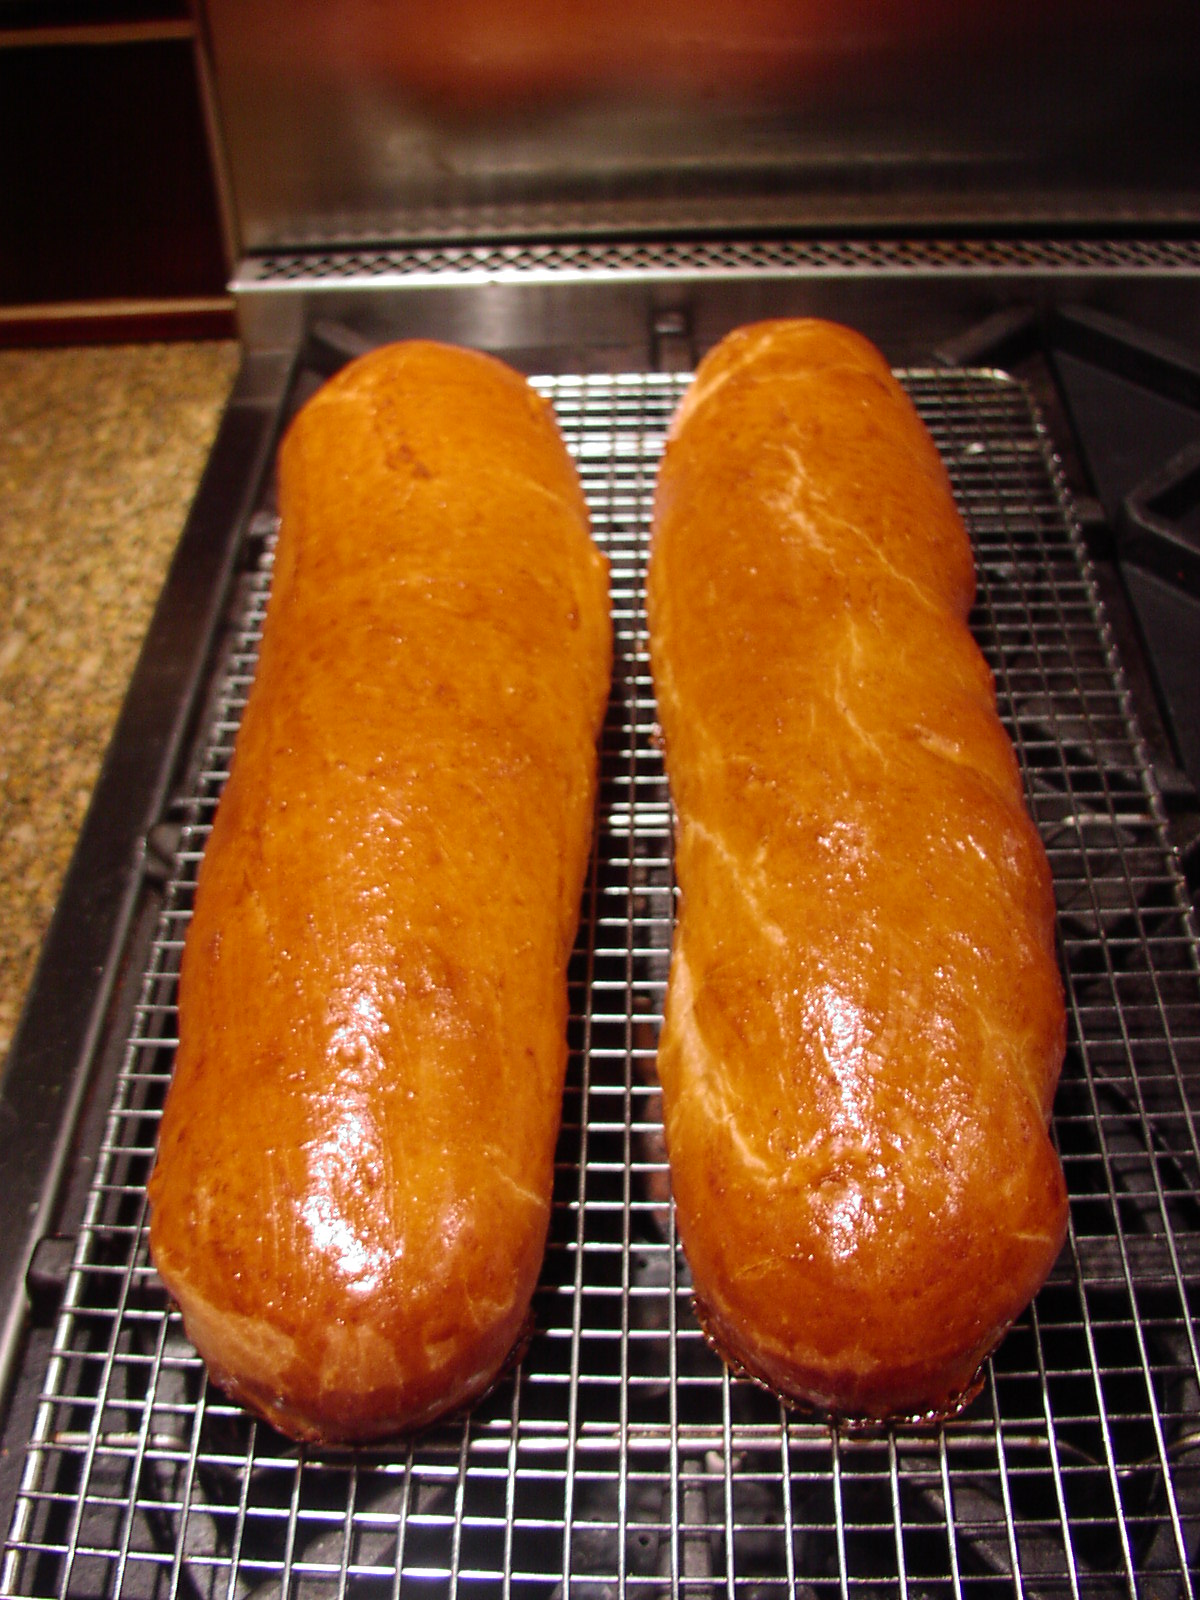
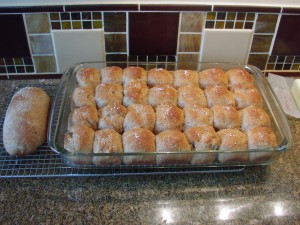
In a large mixing bowl, (I use the bowl of my Kitchen Aid mixer), combine the yeast, warm water, salt, sugar, 1 tablespoon olive oil, and about 2 cups of the flour. Let proof until the mixture becomes frothy, about 15 minutes. Add enough remaining flour to form a medium stiff dough. Pour the remaining 2 teaspoons olive oil over the dough and roll into a ball. When dough is completely greased, cover the mixer bowl with plastic wrap and let rise for about 90 minutes or until doubled. Punch down and divide dough into 2 pieces. Form each into a torpedo-shape and place both loaves well separated on a greased baking sheet that has been sprinkled with cornmeal. Cut 4-5 diagonal slashes across each loaf; cover with a tea towel, and allow to rise again for about an hour or until doubled. Place a pan of water on the bottom rack of the oven. Turn on the oven and bring it to 375 degrees. (The water will get hot as the oven heats.) Spray bread lightly with oil and bake in the pre-heated oven for approx 35-40 minutes or until the bread sounds hollow when you gently thump it and the top is a nice golden brown. After the first 15 minutes of baking time, spray the loaves again lightly with oil, and then again 10 minutes later. Remove bread from oven and cool on a rack.