One of my fondest childhood memories is of the after school treats I adored when I was in 4th and 5th grade. A small store occupied a part of the block just across from my elementary school. And every afternoon after school I would walk across the street to the store and buy a maple bar. Then I would lovingly carry it to my bus stop and wait for my bus to take me home. And ever since, I have been passionate about the taste of maple.
As an adult, I mostly worked in downtown Seattle or downtown Bellevue. And on every street corner (or so it seemed) there was a Starbucks coffee shop. I didn’t much care for the coffee (I was a Torrefazione fan until they were purchased by – who else? – Starbucks. And no the coffee is not the same anymore!) Anyway, at the time, maple scones were one of the breakfast items that Starbucks offered. And when I felt I needed a treat, I would buy a scone and eat it at my desk. (A maple scone and a cup of Torrefazione coffee – breakfast of champions I tell you.)
Then, to my dismay, Starbucks stopped making maple scones. I have to say, that was the final straw. Not only did they deprive me of my favorite coffee, they stopped making my favorite breakfast treat. I was devastated! But never being one to let a mega corporation ruin my life, I decided to make my own scones. And I tried. But they were never quite right. (I think the missing ingredient was the ground up oats.) So for several years I went without my beloved maple scones.
Then just before Christmas, I got a wild hair to try once again. So I looked on line and found the basis for this recipe on the Food.com website. I baked up a batch and low and behold, the universe was once again aligned along the right path.
So if you too were fans of Starbuck’s maple scones, I can hardly wait for you to give these a try. They are truly amazing. As far as Starbucks – I never go there anymore, unless of course, it’s a coffee emergency. Then all bets are off!
Scones:
- ¾ c. oats
- 1¾ c. unbleached all-purpose flour
- ¼ c. packed light-brown sugar
- ¼ c. granulated sugar
- 2½ tsp. baking powder
- ¼ tsp. baking soda
- ½ tsp. salt
- ½ c. heavy cream
- 1 lg. egg, room temperature
- 1 tsp. real maple extract
- ¾ tsp. real vanilla extract
- 10 T. cold unsalted butter
- 1 c. chopped toasted pecans, divided
In a food processor, pulse oats until ground into a coarse flour, about 1 – 2 minutes. Pour oats into a large mixing bowl along with the all-purpose flour, brown sugar, granulated sugar, baking powder, baking soda, and salt. Whisk well to combine.
Using a box grater, grate cold butter and mix into the flour mixture until it resembles coarse meal. (I use a regular table knife for this action.) Stir in 2/3 cup of the pecans.
In a small mixing bowl whisk together the heavy cream, egg, maple extract, and vanilla extract. Pour cream mixture into flour mixture and stir until evenly moistened and the dough starts to come together in large clumps. Gently knead mixture in bowl by hand several times until it forms a ball.
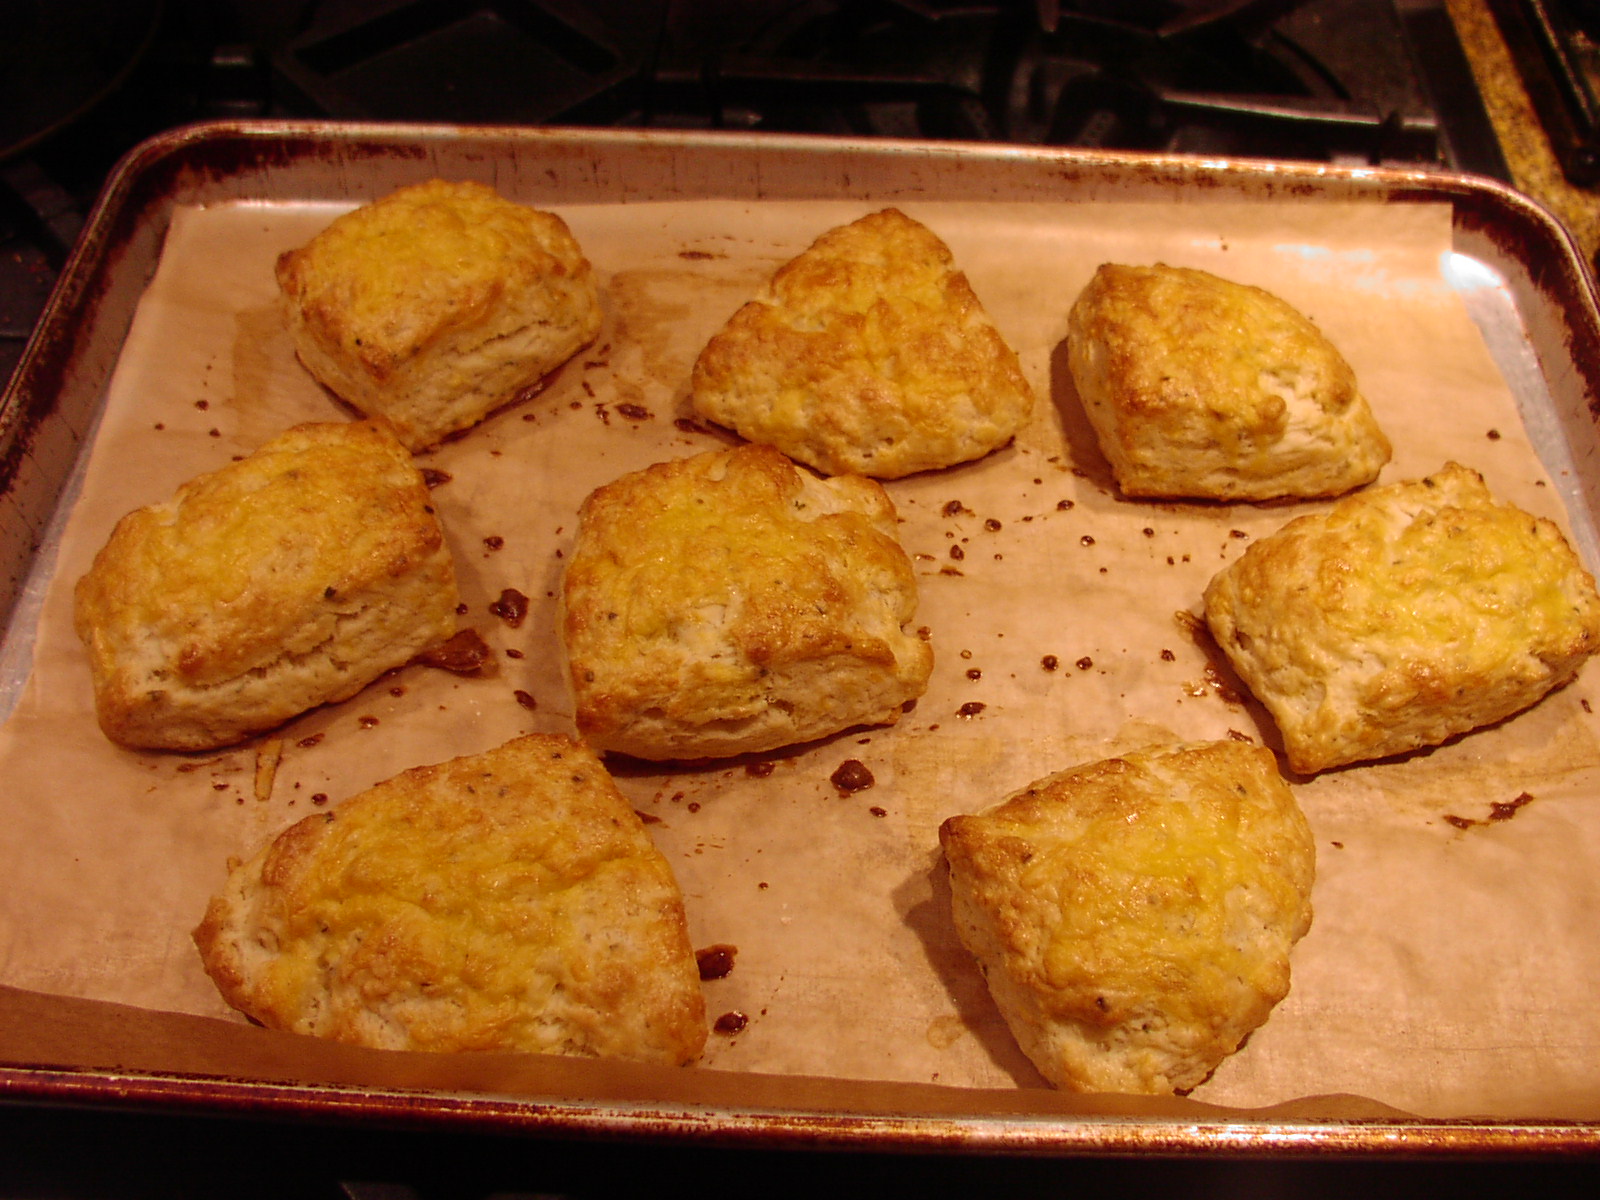
Scoop onto a lightly floured surface and gently shape into an 8-inch square. Cut into 8 equal squares. Cut each square diagonally. (You will end up with 16 small triangles.) Transfer to a parchment paper lined baking sheet.
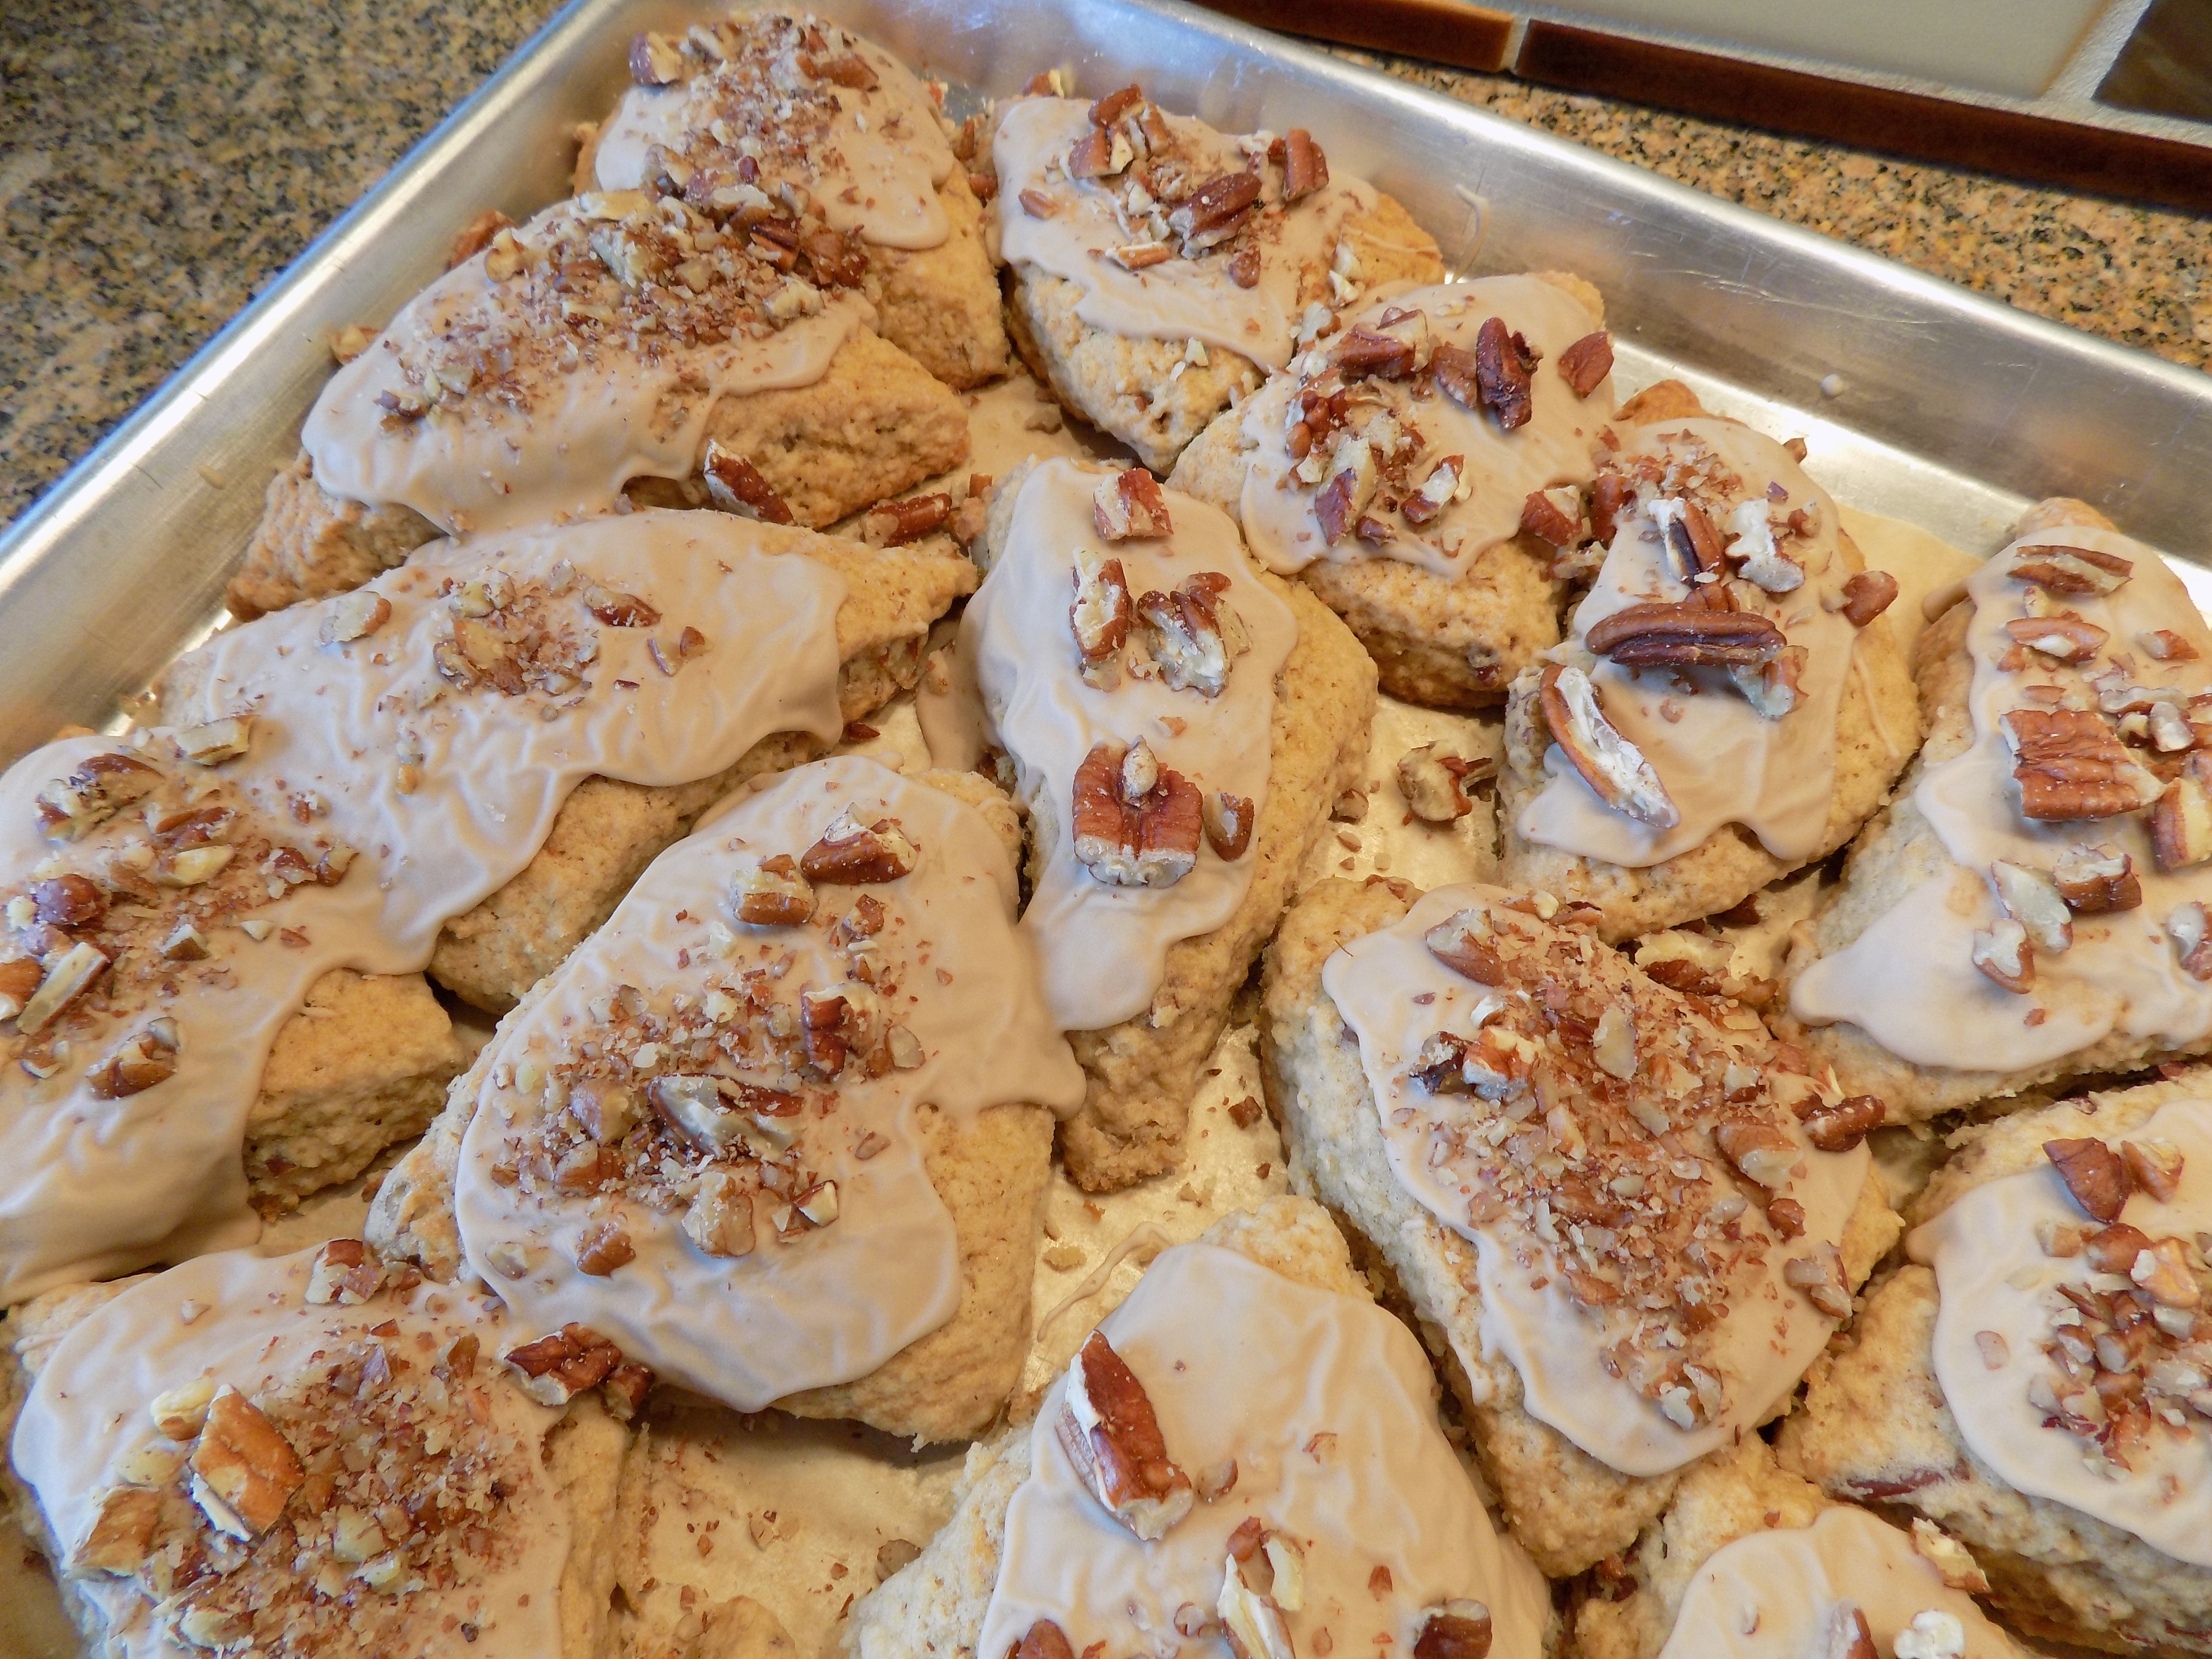
Bake in a preheated 425 degree oven until set and golden brown on the bottom, about 13-15 minutes. (Don’t overbake.) Cool on a wire rack until just warm to the touch; spoon glaze over scones and sprinkle with remaining 1/3 cup pecans. Allow glaze to set before storing in an airtight container.
Glaze:
- 1 c. powdered sugar, or more as needed
- 1 T. heavy cream, or more as needed
- 1 T. whole milk
- 1½ tsp. maple extract, or more to taste
Whisk together all glaze ingredients in a small mixing bowl until well combined. Thin with additional cream as needed, 1 tsp at a time. Or add more powdered sugar a tablespoon at a time.