So, this is one of those recipes where you can either start with a loaf of frozen white bread dough, or you can build your own bread dough and save yourself a bit of money. (For using frozen bread dough and a picture of this fabulous sandwich, enter Rotolo al Forno in the search box, and go from there.) (If you want to make your own bread dough, follow the instructions below.)
When I first made this yummy baked sandwich, I was still working full time raising 4 children. And even though I usually baked bread when we were having company for dinner, I simply did not have the time to serve only homemade bread to my family. There are, after all, only so many hours in a day! Plus, we lived only a couple of miles away from a Great Harvest bread outlet. So, about every 6 weeks or so, the kids and I would pay a visit to that store and fill up a cart with various and sundry bread products.
Luckily, we had been offered an old, commercial sized freezer, from family friends. And as hard as I tried, I never once filled that behemoth to capacity. Not just with bread, but with homemade freezer jam, chicken and beef stock, applesauce, every kind of berry the kids and I could pick, etc. etc. I truly loved that old freezer. And even if it was decades old when it was given to us in the early 70s, it lasted until the mid-90s. Anyway, enough nostalgia about a big old appliance. And on to why you should make this baked sandwich whether you make your own bread dough or not.
There is just something enticing about a warm sandwich. Whether it’s grilled cheese, Grilled Tuna Melt, Reuben, French Dip, Hamburger Dip, pulled pork, etc. And this sandwich is no exception. And even if the rolled sandwich isn’t served warm, the delicious combination of meat and cheese wrapped in tender bread is still absolutely wonderful.
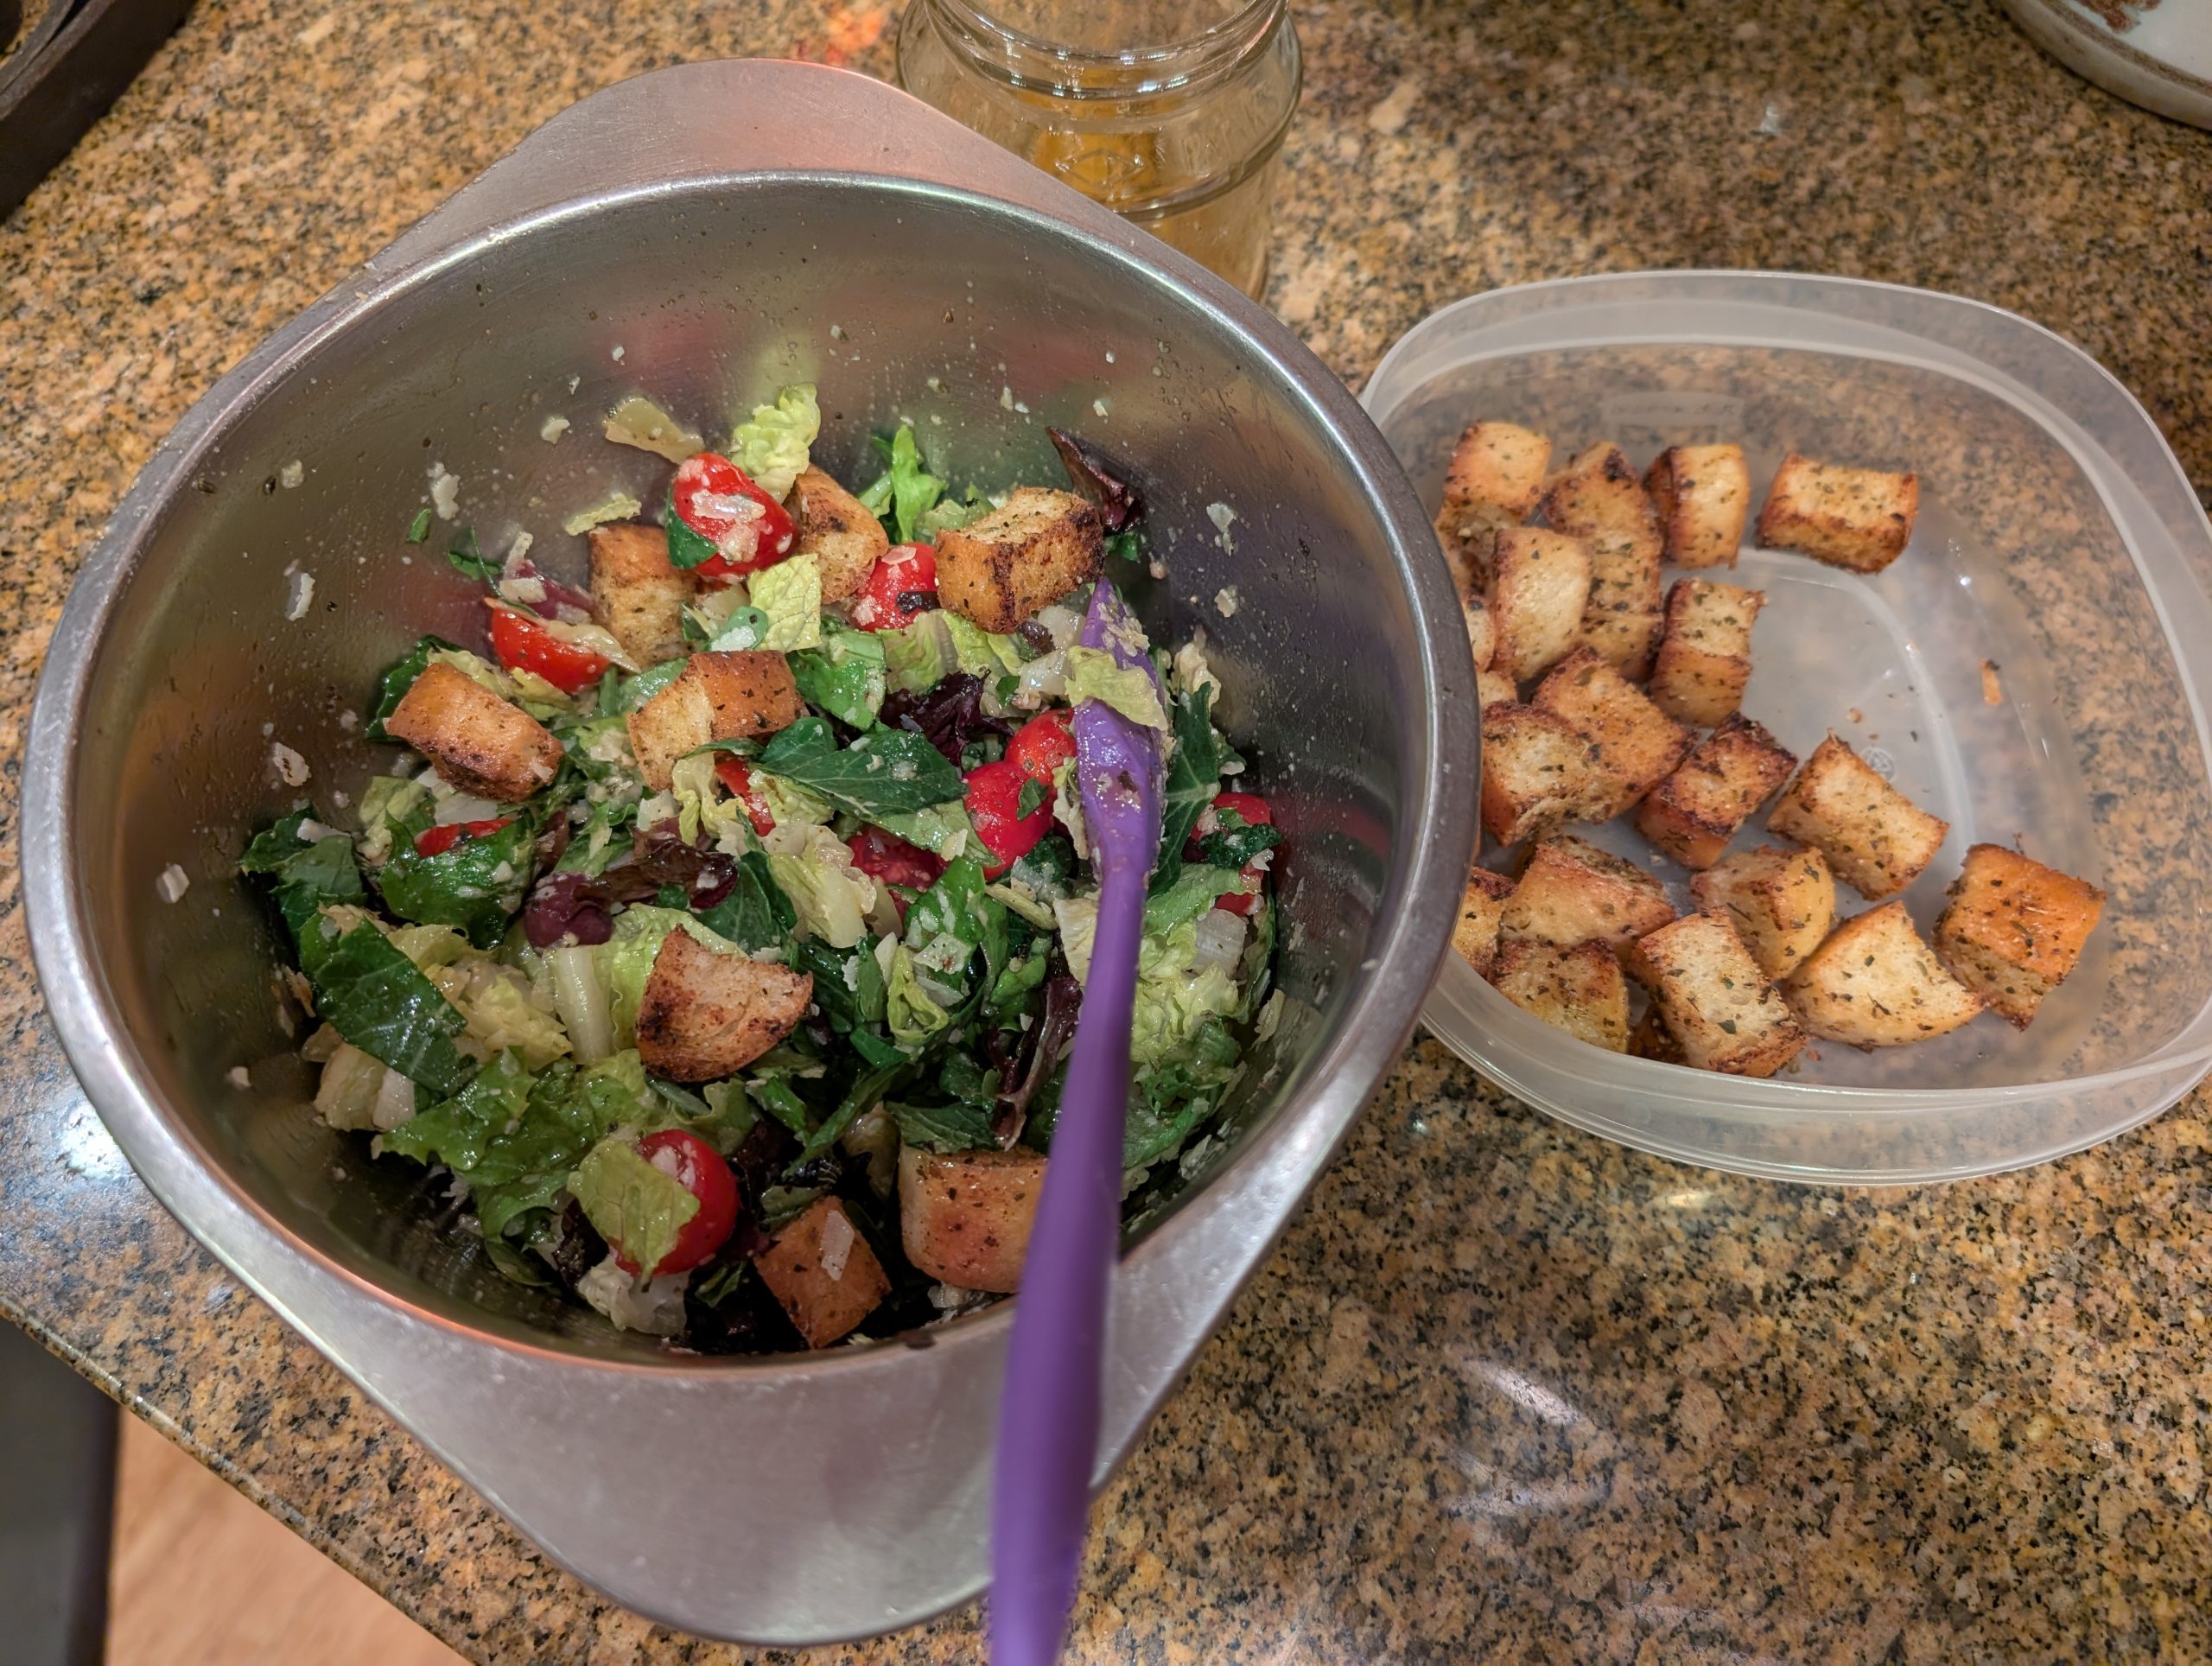
So, next time a sandwich would be the perfect pairing with a nice salad or a lovely bowl of soup, this is the recipe for you.
Well, that’s it for now. Mr. C. had a gig last night in Bellevue, a dance gig tonight in Anacortes, and tomorrow we are going to Pacific Northwest Ballet’s performance of Roméo et Juliette at McCaw Hall. Then up to The Old Edison, in Bow to hear The Atlantics. Two of the members, Cary and Mark, are band mates of Mr. Cs in other bands. But as popular as The Atlantics are, we have yet to hear them. So, from music written by Sergei Prokofiev to rhythm and blues, Motown, Top 40, rock from the 50s-80s, soulful jazz, and easy-listening genres performed by local artists, it should be a glorious day filled with music. And, if that isn’t a definition of a wonderful day, I don’t know what it would be.
May you too have days filled with what makes you happy, brings you joy, and causes you to laugh. We are on planet earth for such a short time. Make the most of it while you can. And always remember, laughter is, and always has been, the best medicine. And with laughter, there are no pesky sides effects like there are with many of the “medicines” we take to keep us healthy. And no insurance required, or cost involved!
So, on that happy and inexpensive note, peace and love to all.
For the bread:
1 scant T. active dry yeast or instant yeast (or 1 pkg.)
1 tsp. granulated sugar
1 c. warm water
2 T. olive oil, plus more for greasing bowl
1 tsp. kosher salt
2½ – 3 c. bread flour
Combine yeast, sugar, and warm water in the bowl of your stand mixer; let proof for 5 minutes.
Then add the olive oil, salt, and 2 cups of the flour to the bowl. Using your dough hook, beat until ingredients are combined. Gradually add additional flour until dough begins to leave the sides of the bowl and pull together. Knead for about 5 minutes or until dough appears soft and smooth.
Pour a small amount of olive oil over the dough, and using your fingers and a stiff spatula, form the dough into a ball, making sure the entire surface is covered with the oil.
To prepare the sandwich the same day, cover the bowl with plastic wrap and let rise until doubled in size. Punch down and roll out to approximately a 12×16-inch rectangle.
To prepare the dough, refrigerate overnight, and make the sandwich on day 2, cover the bowl with plastic wrap and place it in the refrigerator. When you are ready to use the bread, remove the dough from the refrigerator. Leave the dough in the mixing bowl, and let it come to room temperature (about an hour). Punch down and roll out to approximately a 12×16-inch rectangle.
For the filling:
Dijon mustard
¼ lb. thinly sliced deli salami
¼ lb. deli pastrami, thinly sliced
¼ lb. deli ham, thinly sliced
⅓ lb. thinly sliced Swiss cheese
⅓ lb. thinly sliced Provolone cheese
1 beaten egg yolk
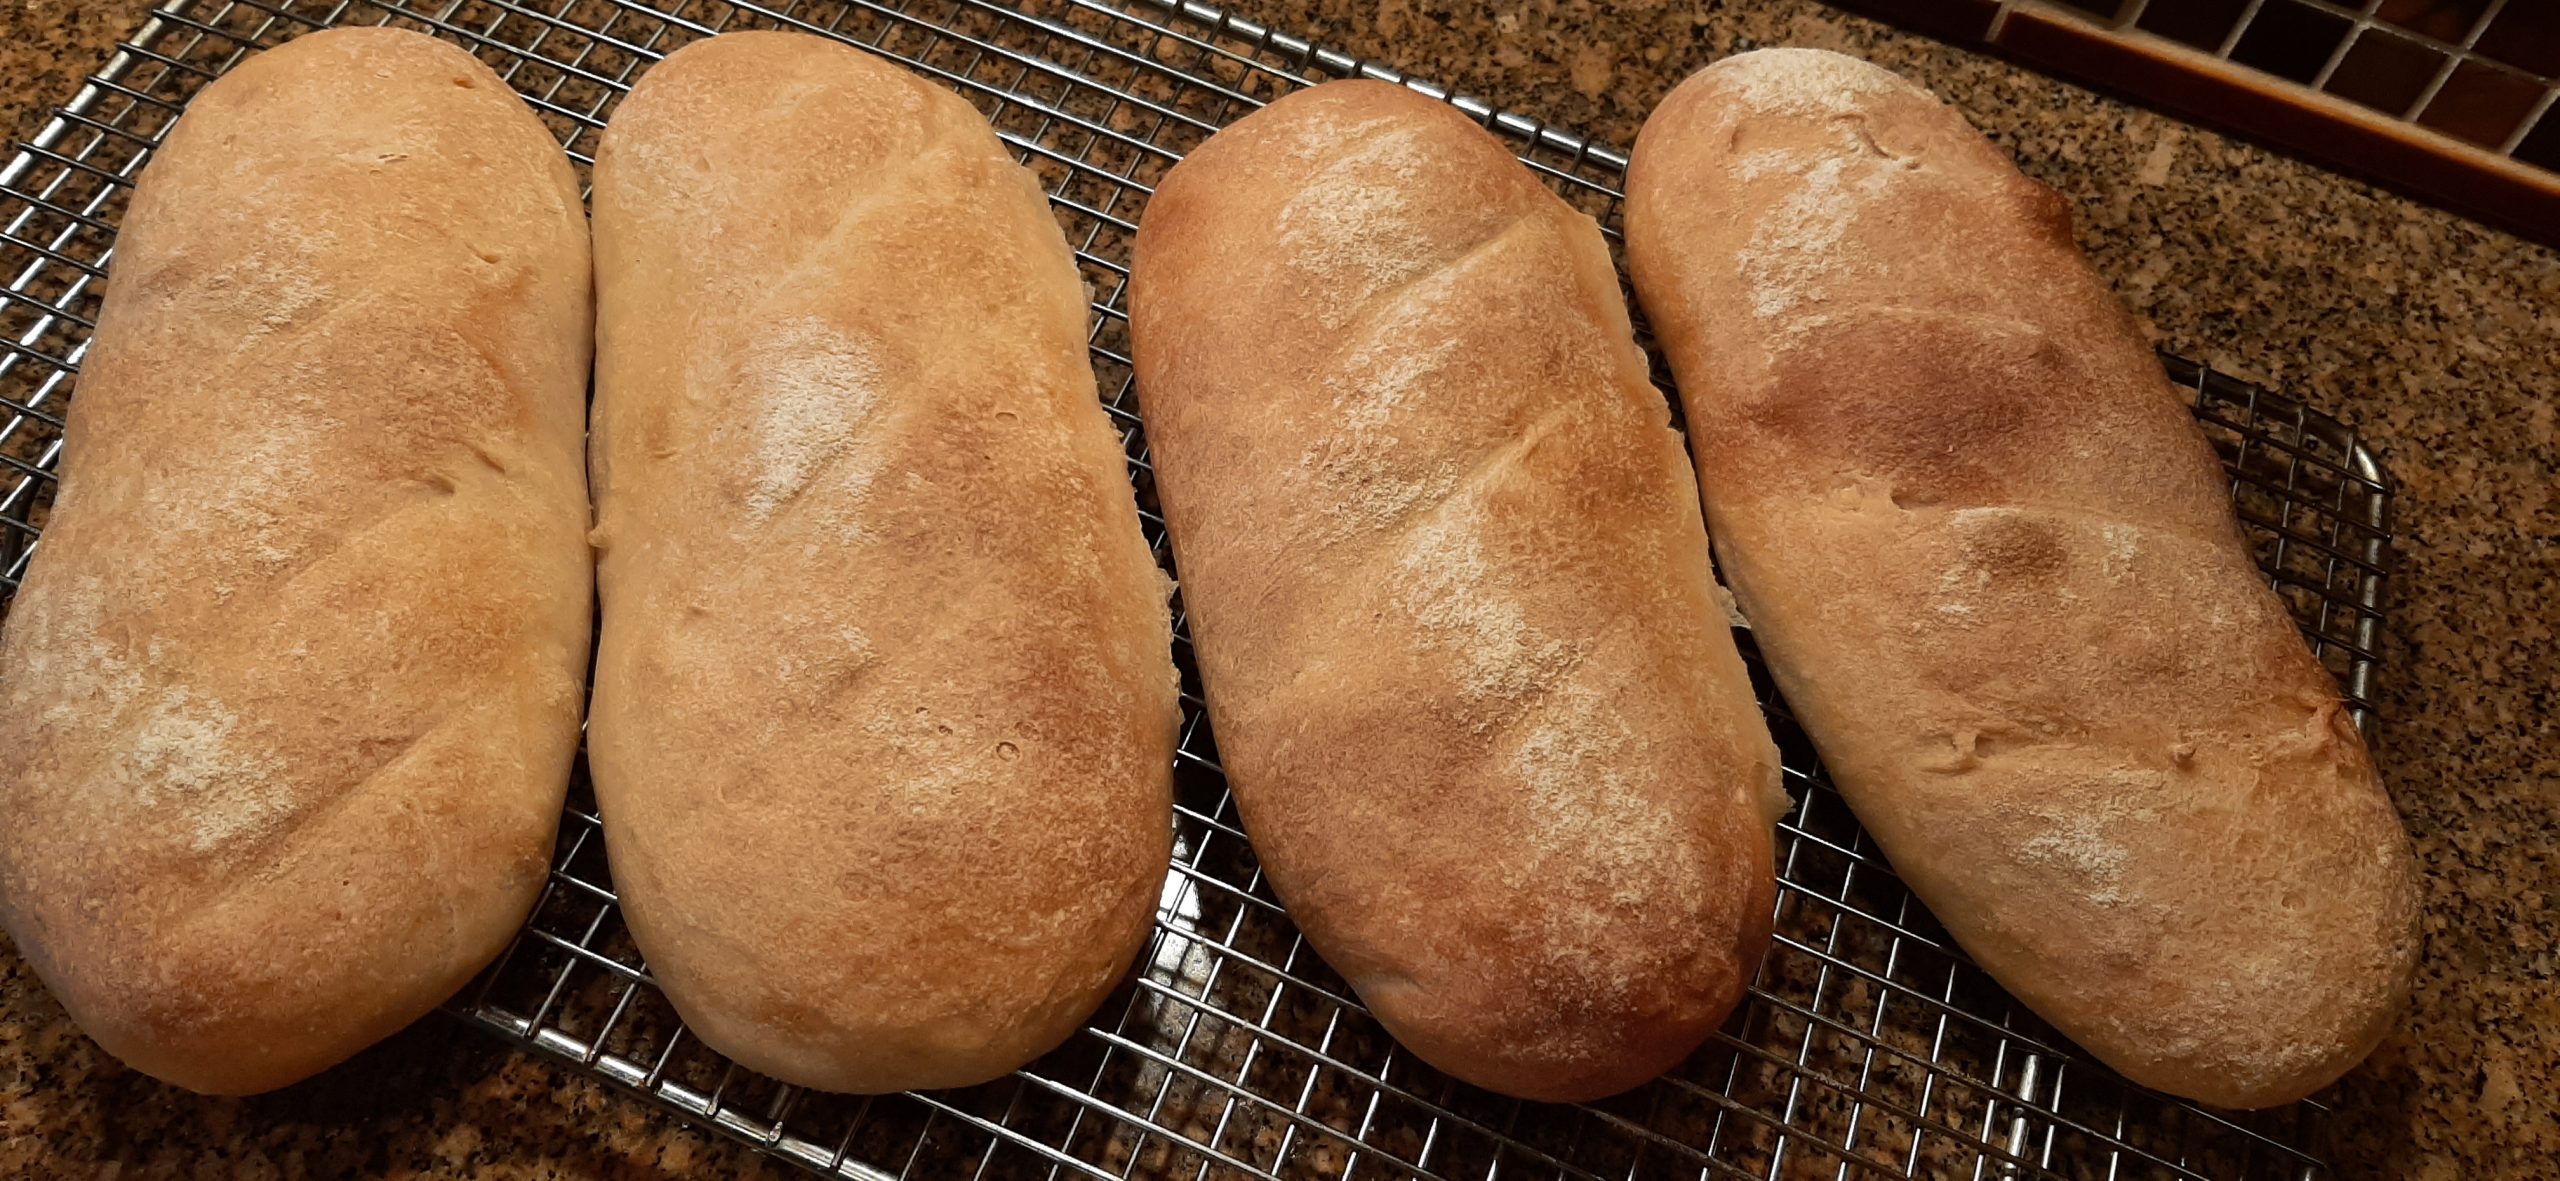
Using a pastry brush, spread a very thin layer of Dijon mustard over the bread dough. Layer with meat and cheese and roll up like a jelly roll. Pinch the seam together and place, seam side down, on a parchment paper lined or lightly greased cookie sheet. Brush with egg yolk. Let it sit uncovered for 30 minutes.
Bake in a pre-heated 375-degree oven for 20-25 minutes or until the top is golden brown.
Remove from the oven and let sit for about 25 minutes before cutting into 1-inch slices. Serve warm or at room temperature.