Last evening I served a N’awlins style dinner to our dear friends Margo and Jim, Phyliss and Tim, and of course Mr. C. and yours truly. I made homemade Muffaletta Sandwiches (recipe soon to be posted), Classis Southern Macaroni Salad (recipe also soon to be revealed, and Tim’s (different Tim) potato chips. And for dessert – a Triple Bourbon Chocolate Brownie Ice Cream Cake. Well, the brownie part was so hard it made the dessert very difficult to eat. Tasty enough, but suffice it to say, this dessert is now an official “work in progress”.
As I was putting the salad together, I decided I really needed a southern style appetizer to serve while people decided what adult beverage they would enjoy before dinner. And I decided on some sort of cheese spread.
I knew Jim and Margo were bringing an appetizer, but I wanted to make something too. So, I went online to find an easy cheese spread recipe. And I found one. I’m not even going to bother you with the owner of the “lifted” recipe I started with, because of the 5 original ingredients, I deleted one, changed the amounts on two of them, and added 4 ingredients of my own. So, I feel justified in not giving anyone else the credit.
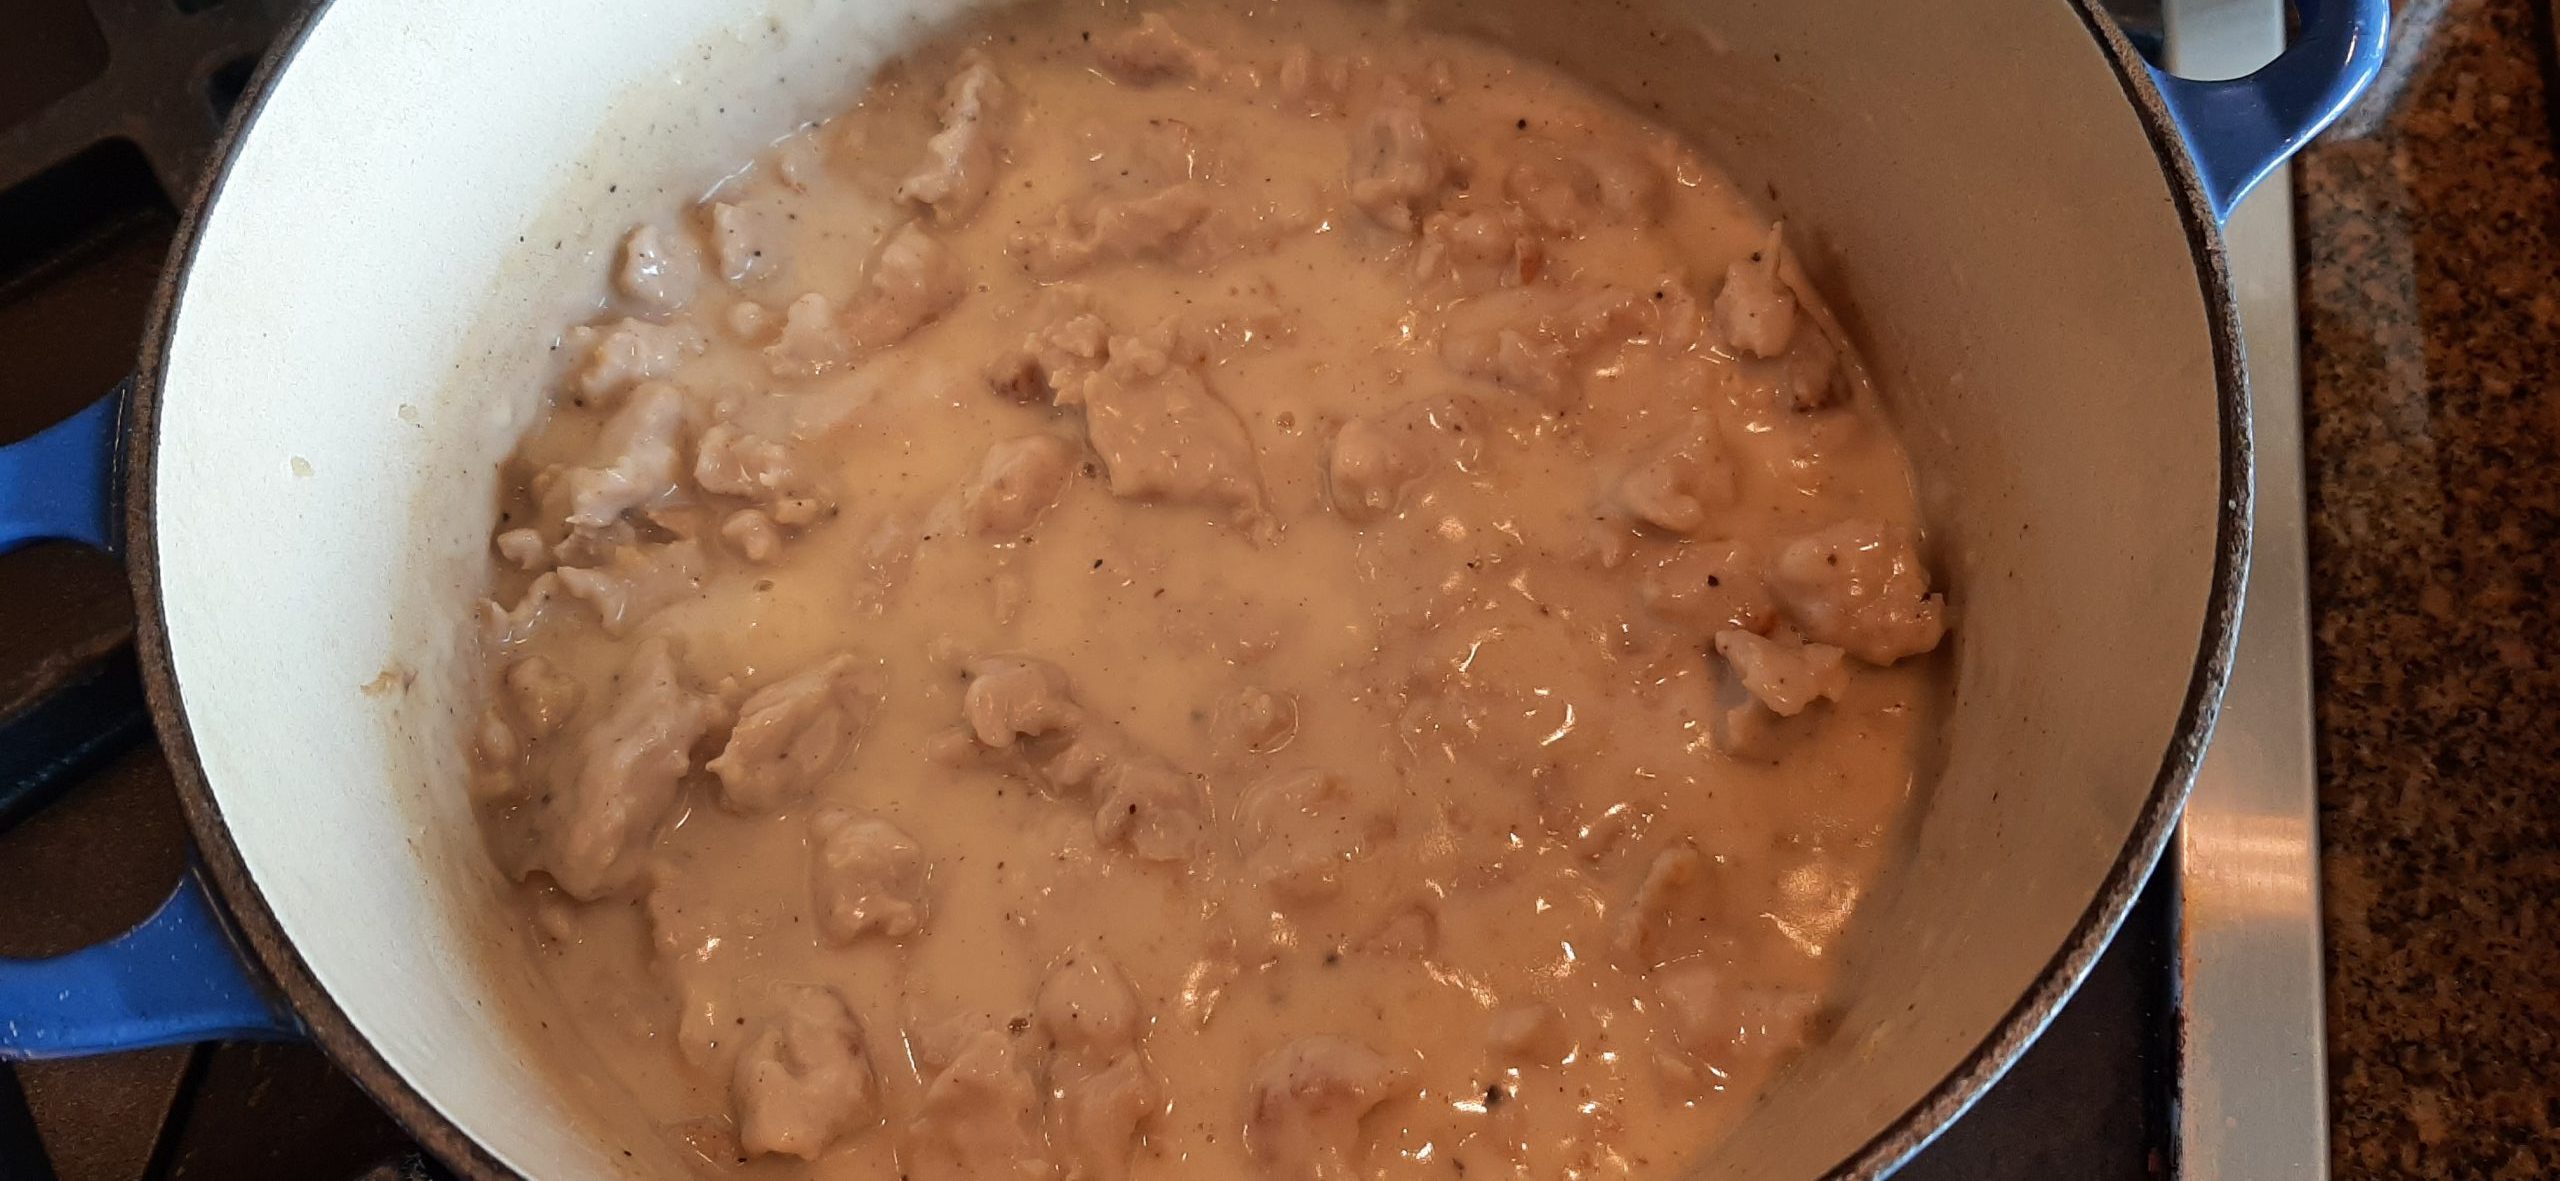
But I will give credit to Jim for coming up with a sensational baked crab and shrimp appetizer with a creamy sour cream sauce. And when he writes down all the changes he made to the original recipe, I will publish that recipe too. It was freaking amazing!
Bottom line. We had a great time together eating, drinking, and planning.
After dinner we reviewed the spread sheets, Phyllis had prepared with two proposed itineraries for our next trailer trip together in the fall of 2025. And yes, anymore, you must plan trailer trips months in advance! But back to this cheese spread.
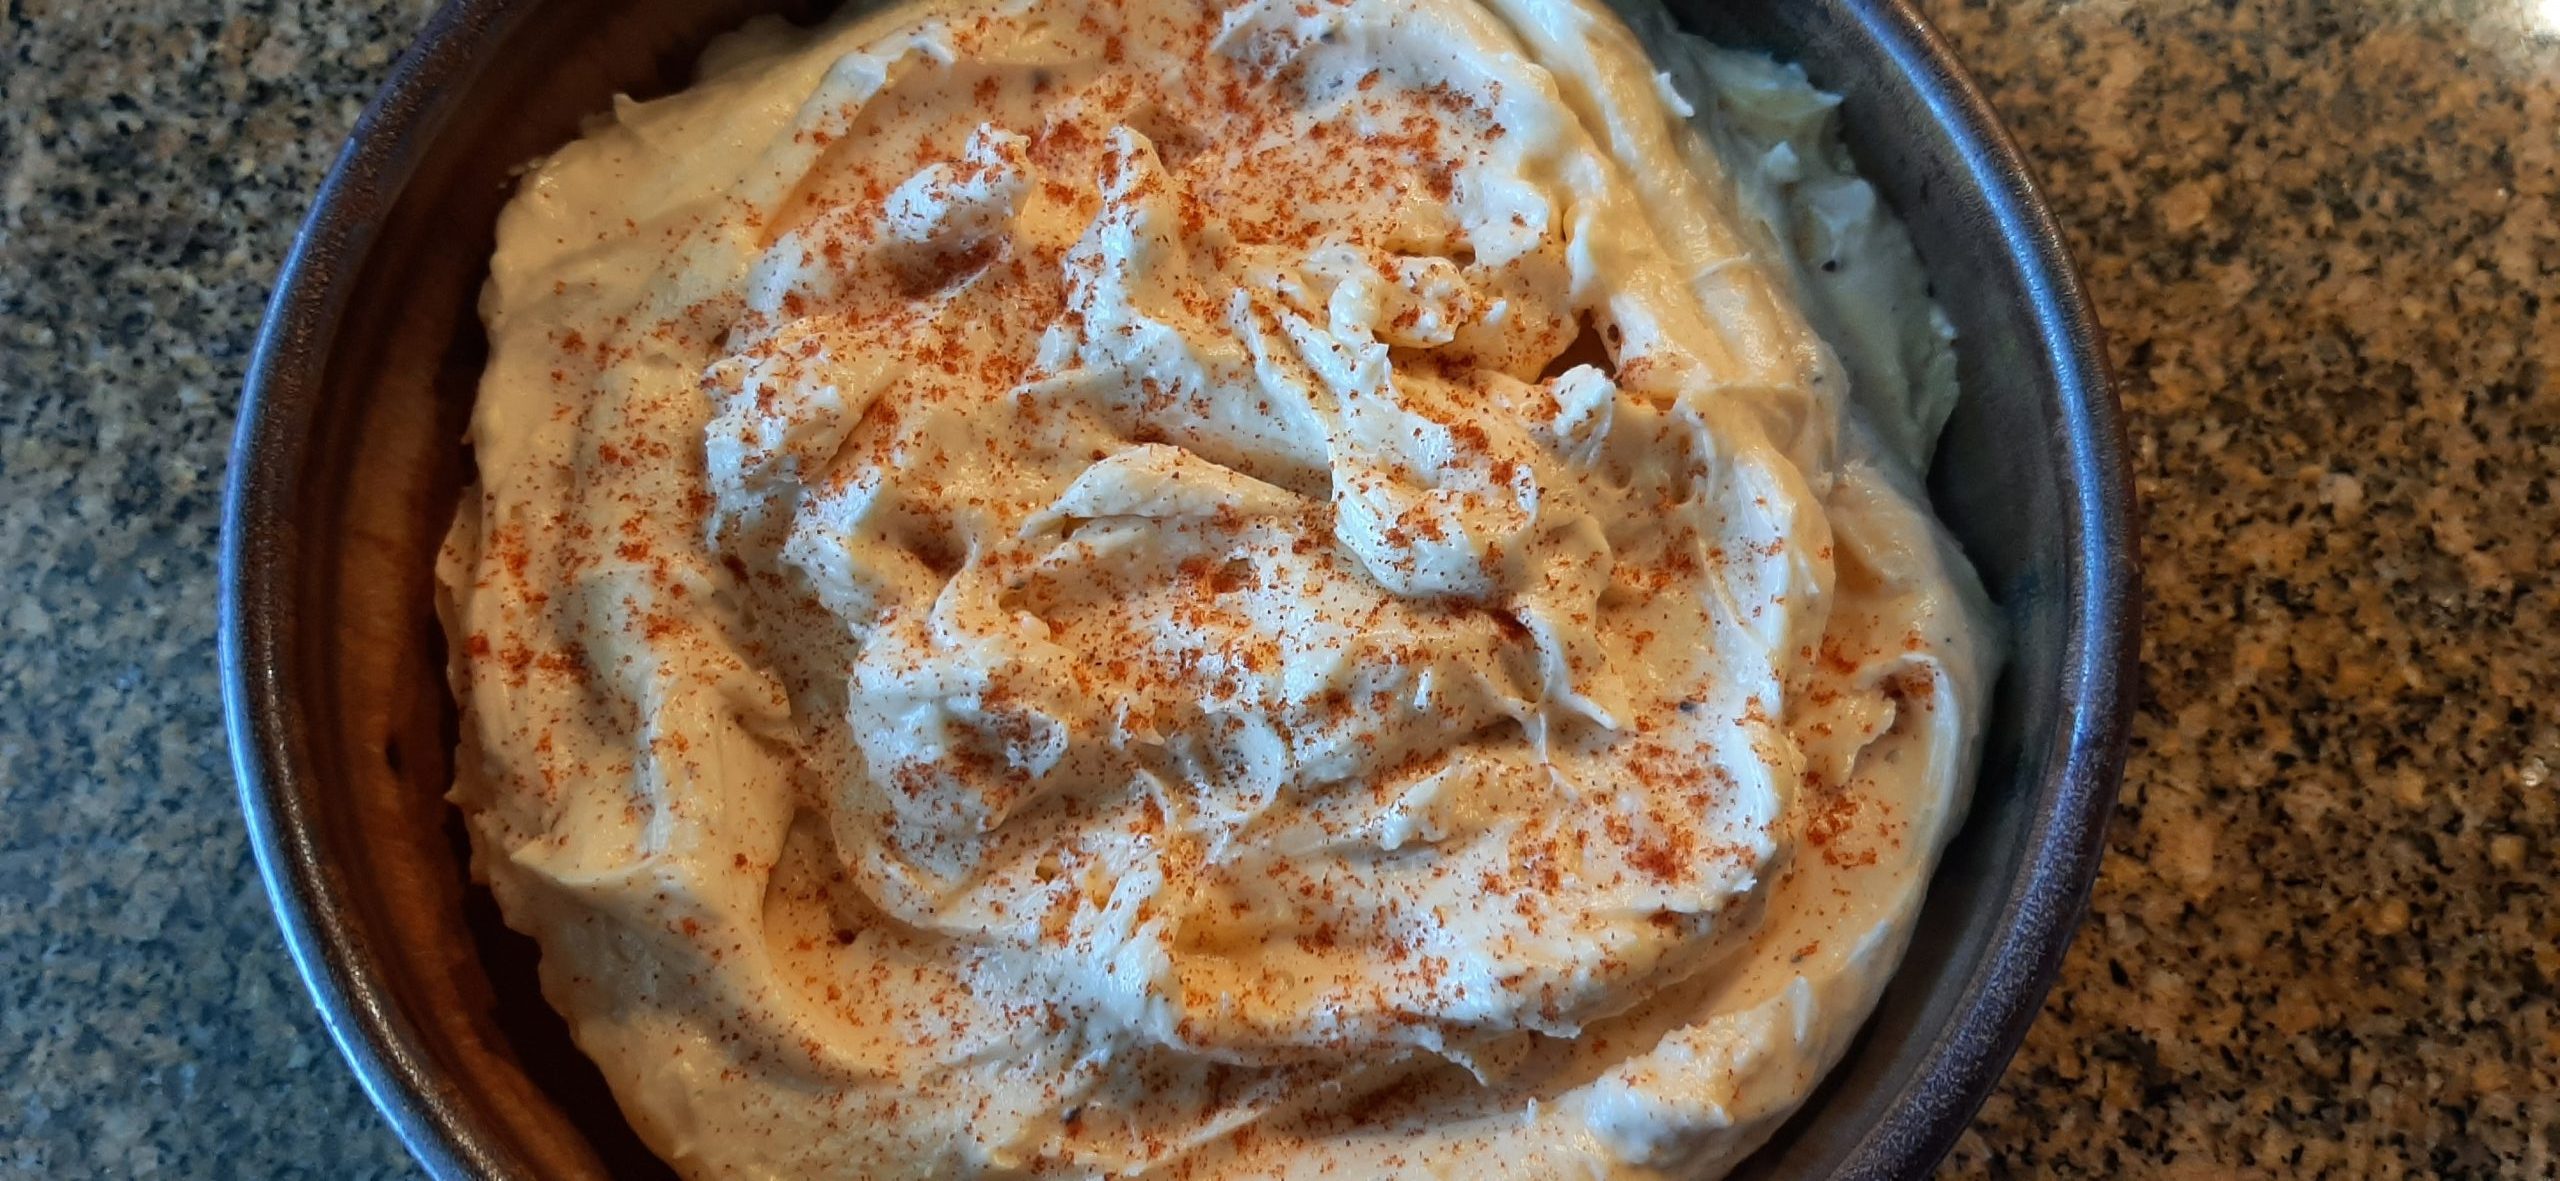
If you would like an easy to prepare but very tasty cheese spread, this is the recipe for you. And unlike many cheese-spread recipes, this can be made and served the same day. How great is that?
Well, that’s it for today. After posting this recipe I am going to sit down in our courtyard and read more of my book. I am currently reading The Handmaid’s Tale by Margaret Atwood. A dystopian (relating to or denoting an imagined state or society where there is great suffering or injustice) story if I ever read one. Beautifully written, but scary as hell! I’m only halfway through the book, but I just can’t imagine a happy ending. Almost like if a certain former president (not mentioning any name here) gets into office again. (In my humble opinion.)
Anyway, have a wonderful rest of your summer. And do make this spread. It’s terrific.
And if you haven’t read this book, do so. It’s an amazing read.
And as always, peace and love to all.
1 c. cubed sharp cheddar cheese
2 T. dry white wine
¼ c. whole milk
3 T. unsalted butter, softened
tiny clove of garlic
tiny pinch kosher salt
freshly ground black pepper
1/8 tsp. paprika, plus more for garnish
Place cheese, wine, milk, butter, garlic, salt, pepper, and paprika in a small food processor and blend until ultra smooth. Transfer to a nice serving dish and sprinkle lightly with paprika.
Cover and store in refrigerator but serve at room temperature with crackers or Crostini. (Check this site for how to make crostini.)